|
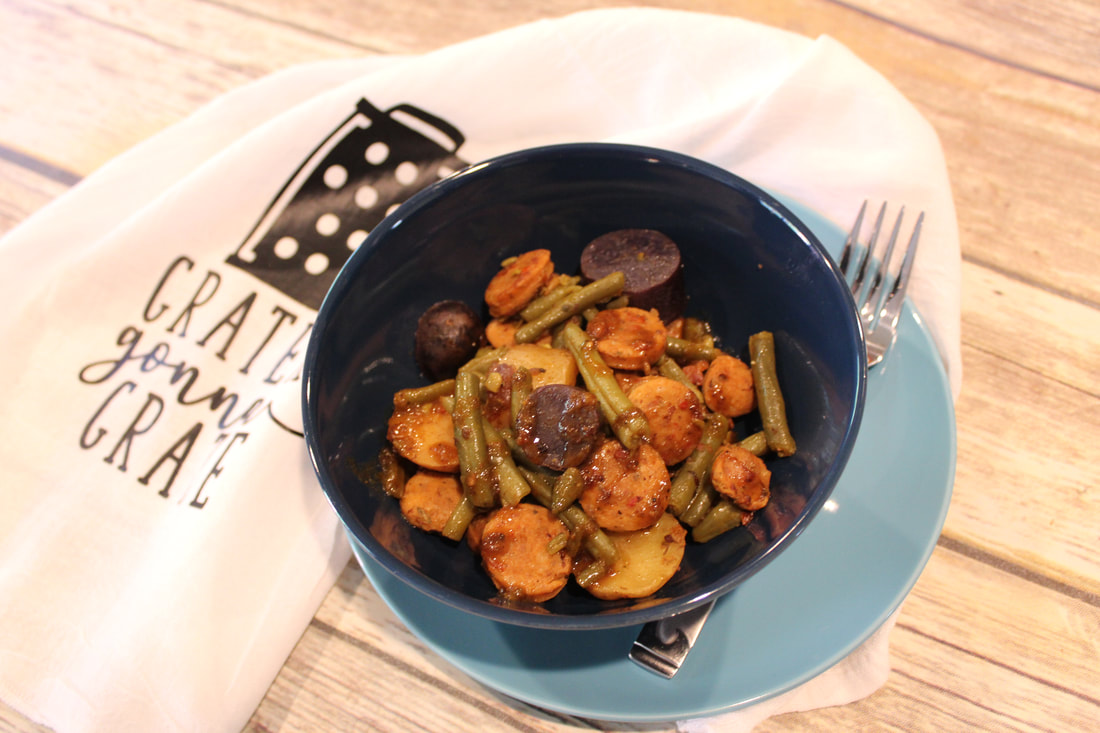
Wade is probably tired of eating this meal because it's one of those recipes that I just throw together when I don't have anything planned. It's maybe 10 minutes of prep and 15 minutes to cook. It really is a matter of convenience! I always have Brats in the freezer because Lidl puts them on sale and there are forever potatoes and green beans in the pantry. 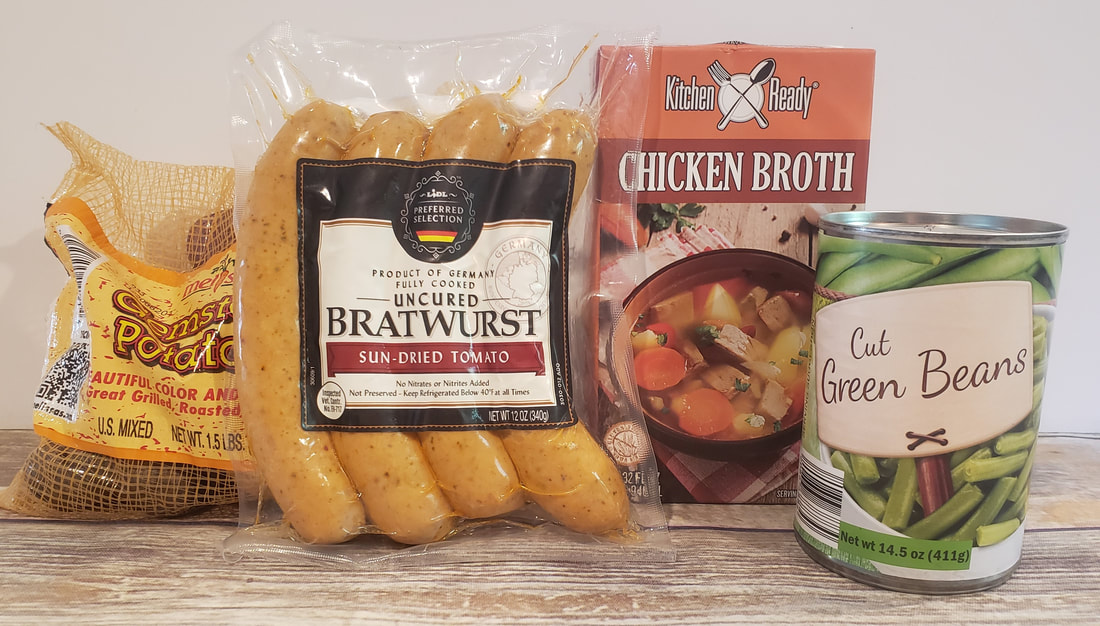 Once you have all the gathered ingredients, cut the bratwurst to about half an inch thickness. They don't have to be perfectly uniform. The Instant Pot does a great job of consistently distributing the pressure and heat for cooking the small or big pieces. Then dice up your potatoes as small as you want them to be. I cut them to about 1 inch square at the biggest. Use as many potatoes as you want. I'm trying to cut the carbs so I just went with a few. My favorite is the little gemstone potatoes because you get all the pretty colors. Maybe it's all in my mind but I feel like the more colorful your food is the more vitamins and antioxidants you are getting. Use about a tablespoon of olive oil to lubricate the pot and sear the sausage to your taste. Once it has been cooking for a little bit, I like to put half of the old Bay seasoning to ensure that the flavor is really cooked into the meat. You don't want to do that for too long though because it will burn into the bottom of the pot. But, it's good to do it when you're almost done searing. once you have gotten the seasoning cooked into the meat then add the chicken stock or chicken broth. 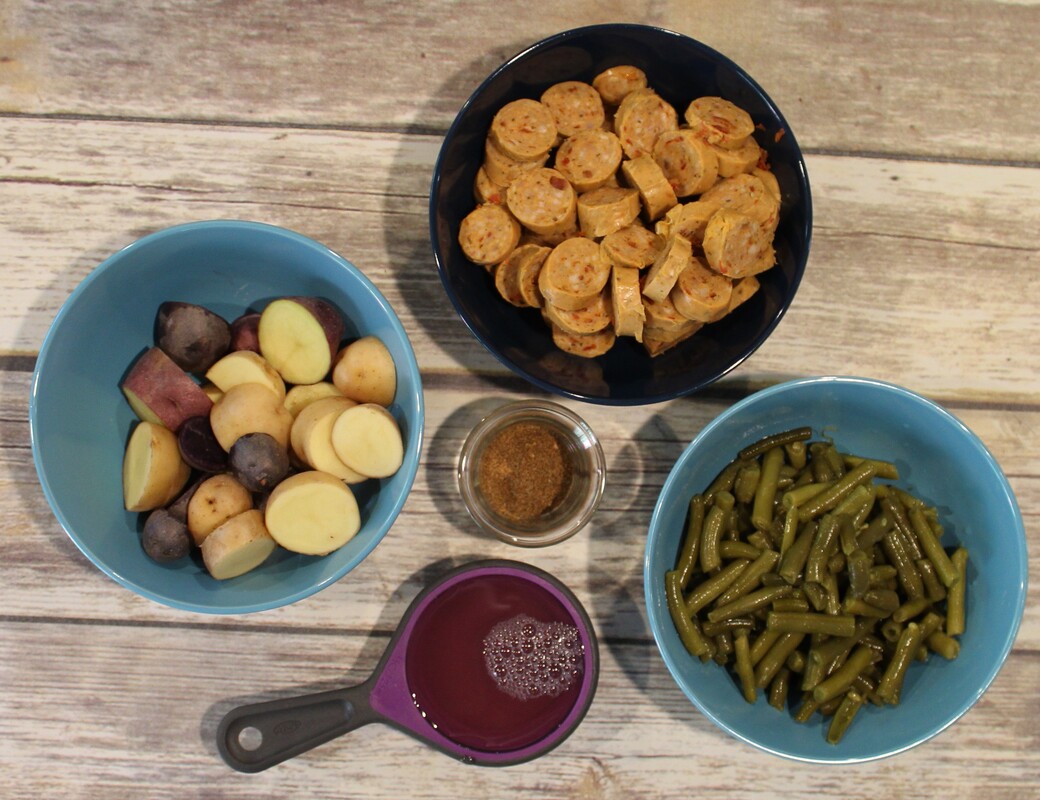 Do you want chicken broth or chicken stock? Honestly, either one will work just fine. But, if you have a choice, grab the chicken stock because it has more flavor. Use that to de-glaze the pan. In other words, use a nice spatula (see link to the one I use below) to scrape off the little burnt parts. Now throw the rest of the ingredients in there. The potatoes, green beans, and the rest of the old Bay seasoning. Seal the instant pot and set it for 8 minutes. It should come to pressure pretty quickly because the chicken stock should already be boiling. If it's not quite boiling then bring it to boiling so that the instant pot will steal really quickly. I let it slow release for about 5 minutes before I do the quick release. Depending on how much chicken stock you used, there may be a little or a lot of juice underneath the meat, potatoes and vegetables. If you scooped everything out you can boil the sauce for a little bit and turn it into a nice thick glaze to pour over your meal. If it's too thin, you can always add a little bit of cornstarch slurry which is about half a teaspoon of cornstarch with about a teaspoon of water with together. That will thicken it up nice and quickly. But I would only do that if you have to. Then, eat and enjoy! It reheats really well so it's a good lunch or leftover as well. 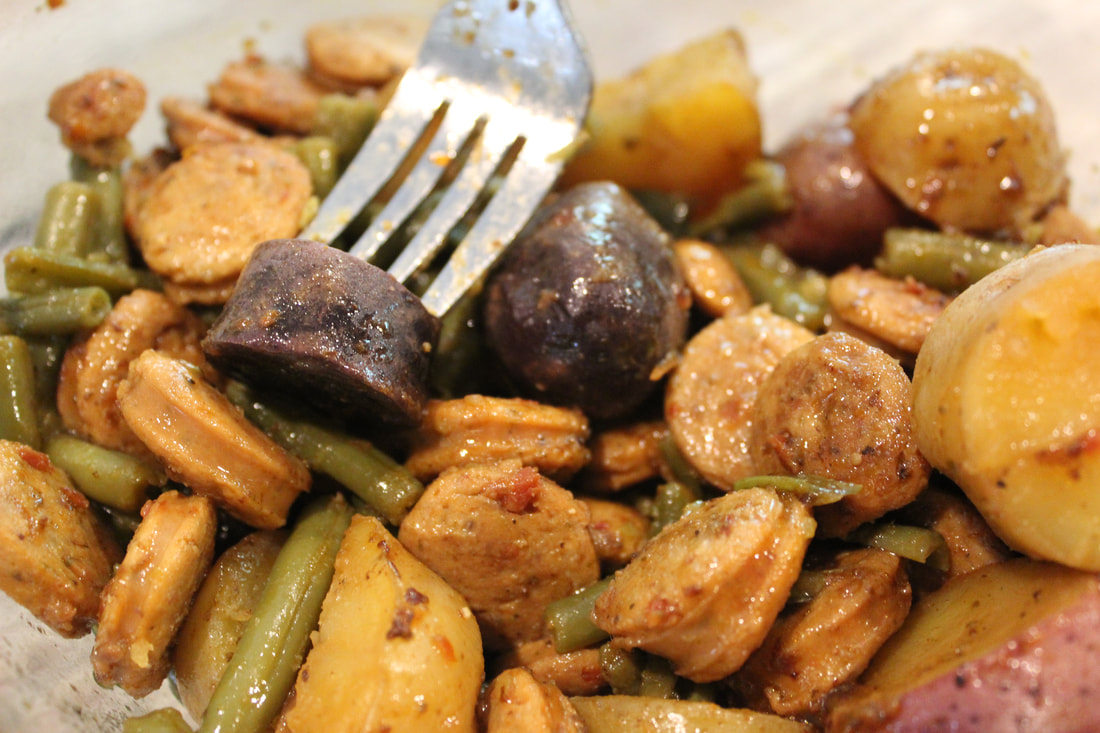 Consider changing it up with some broccoli, cauliflower, asparagus or maybe even throwing in some crazy seasonings like red pepper flakes or Italian seasonings instead. If you're interested in some of the fun toys that I used in this video, check out the affiliated links below for the chopper and scraper, silicone spatula, instant pot and cutting board. Let me know how it goes! Recipe Ingredients:
Directions:
 Interested in some of the tools that I used in this video? Check out the links below:
**Throughout this article, there may be several affiliated links. Purchasing items through these links generates revenue to cover the cost of running this website at no extra cost to you. In fact, in most cases the links provide you with an extra discount or sign-up bonus** 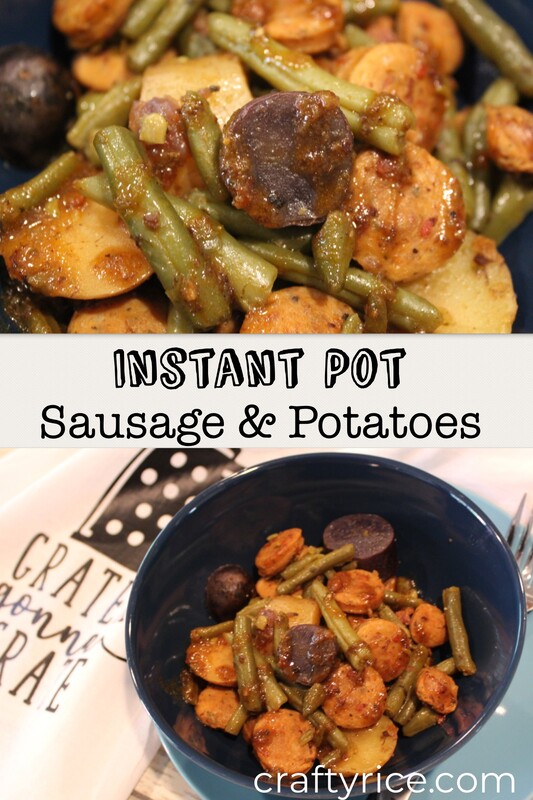 Instant Pot Sausage, Potatoes and Green Beans - quick and easy weeknight dinner.
2 Comments
The story of a little rescue puppy, her struggles, and how she found her new home.Cheap and easy crafts that are great to do with the kids.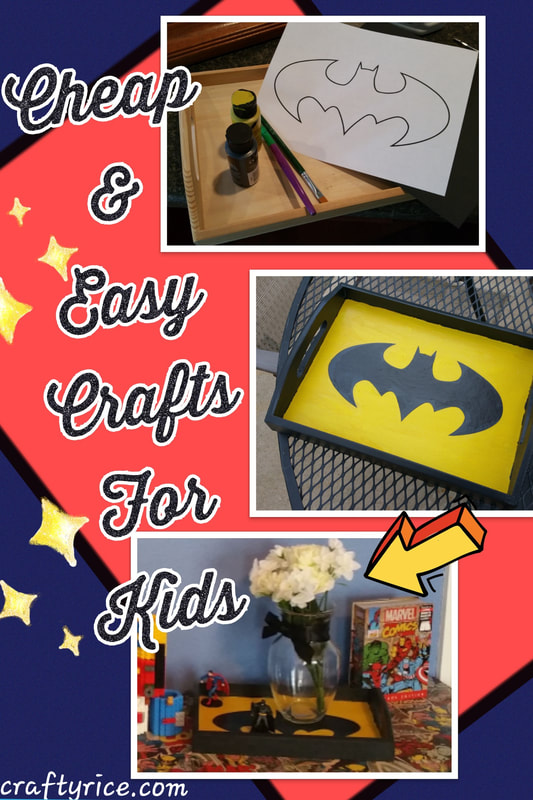
About a week into summer break, you are grasping at straws, desperate to find something to keep the kids entertained for 5 minutes. Anything to give you some peace and quiet but still keep them away from their screens and prevent their brains from turning to mush.
But it's not like you can spend $100 a day on amazing, interesting projects. So, I'm working on building a library of posts on cheap easy crafts that can keep the kids entertained. This is post number one. I tend to keep an eye out for craft supplies or craft projects in the clearance section. It might be popsicle sticks, paint brushes, glitter glue or yarn. Whatever is on sale, I try to grab it when it's super cheap because I can always think of a project or check Pinterest for an idea later. That way I've always got supplies on hand for just such an occasion.
I happen to see that the paintable wood items were on sale at my local craft store for 40% off. Generally, the big craft stores have a coupon you can bring up on your phone to save 40% on almost anything. (Me, standing in line: "Okay Google, Hobby Lobby Coupon"). I already had the paint and paintbrushes on hand, but you can get the little acrylic paints for under a dollar each on sale (I tend to find them the cheapest at AC Moore) and a little $0.99 paint brush pack if you don't keep craft supplies on hand. All in all, it cost me about $2.50, but if you need to buy those other things, it might cost you around $5.
First things first, pick your theme. I love superheroes and I have plenty of yellow and black so I went with Batman (yeah, I know that technically he is a vigilante and not a superhero). Anyway, I just did a quick online search for things like "batman silhouette" "batman symbol outline" "batman stencil" and other similar verbiage until I found a nice symbol that was printer friendly. No need to waste all that expensive ink on a big Batman that I'm just going to throw away. I also found some good Superman symbols or Wonder woman, etc. Lots of things out there. 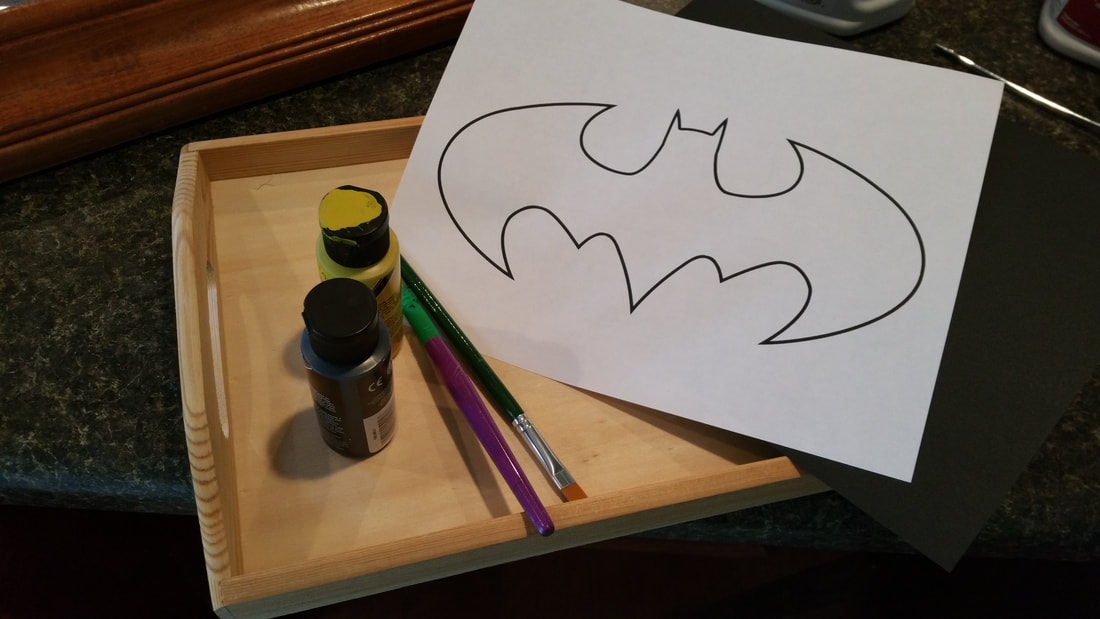
Cut out your stencil and use it to draw on your symbol. I put the yellow coat on the whole tray and added the black around the edges prior to drawing the batman symbol on. It took 3 or 4 coats before it looked really good (which means more peace and quiet time for you while the kids paint). Paint in your symbol with your color of choice and let it dry for an hour or so.
I always recommend adding a coat of sealer to your painted objects to protect it from spills & scratches, but also to make it a bit more cleanable. 
Need to stock up on craft supplies? Here are some of my recommendations from Amazon:
**Throughout this article, there may be several affiliated links. Purchasing items through these links generates revenue to cover the cost of running this website at no extra cost to you. In fact, in most cases the links provide you with an extra discount or sign-up bonus** Follow this step-by-step tutorial to create a sweater for your pup from the socks that are collecting dust in the closet.
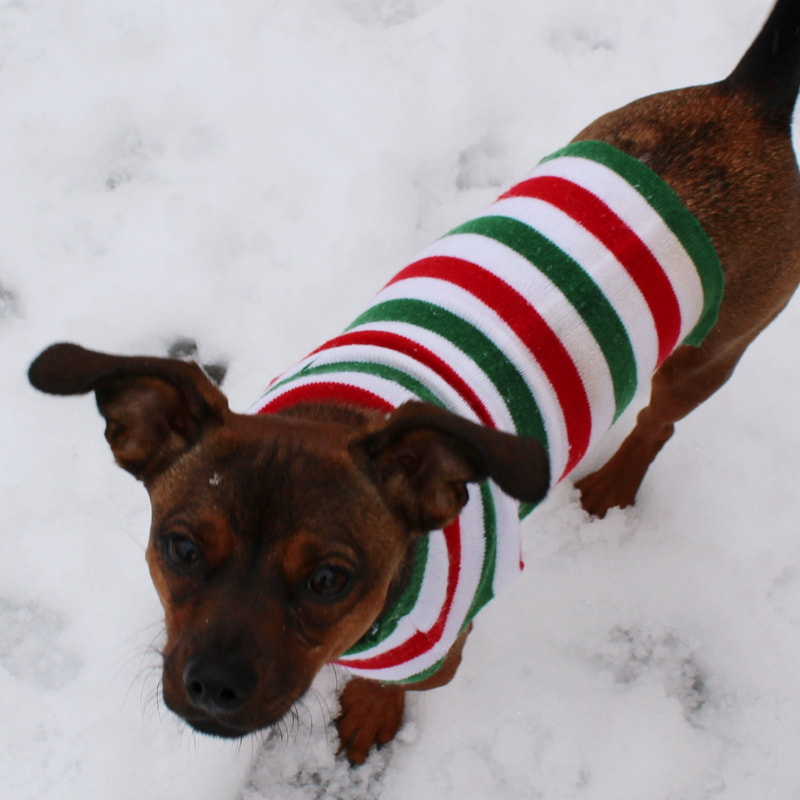
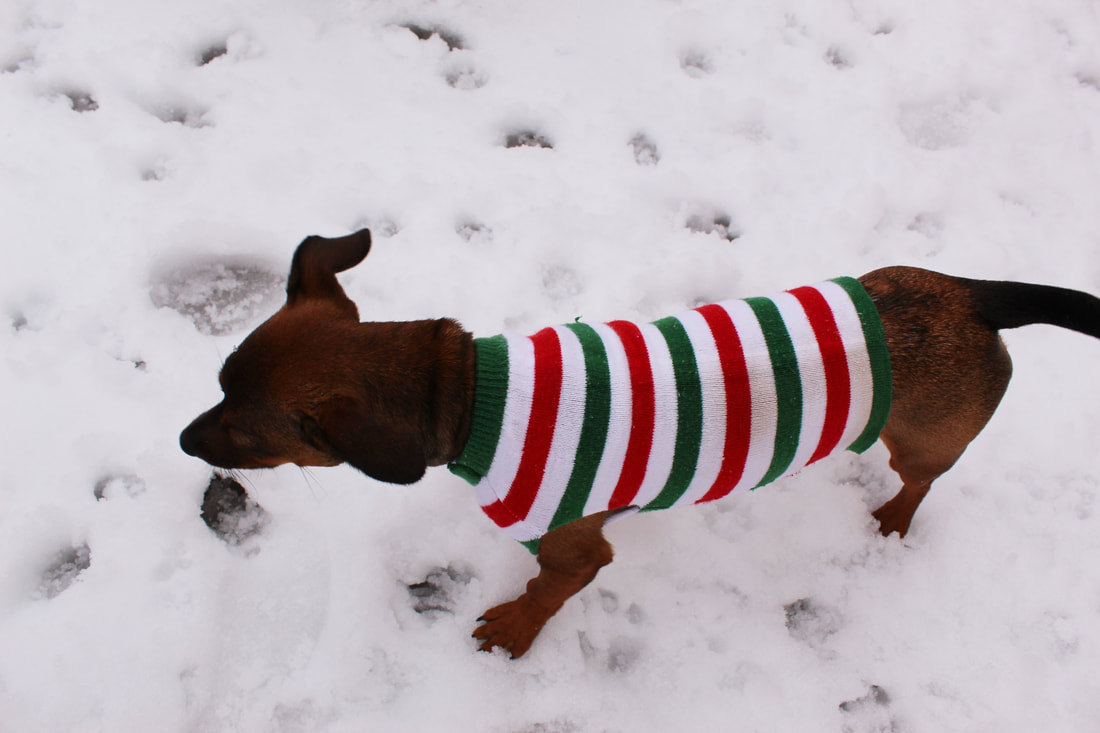
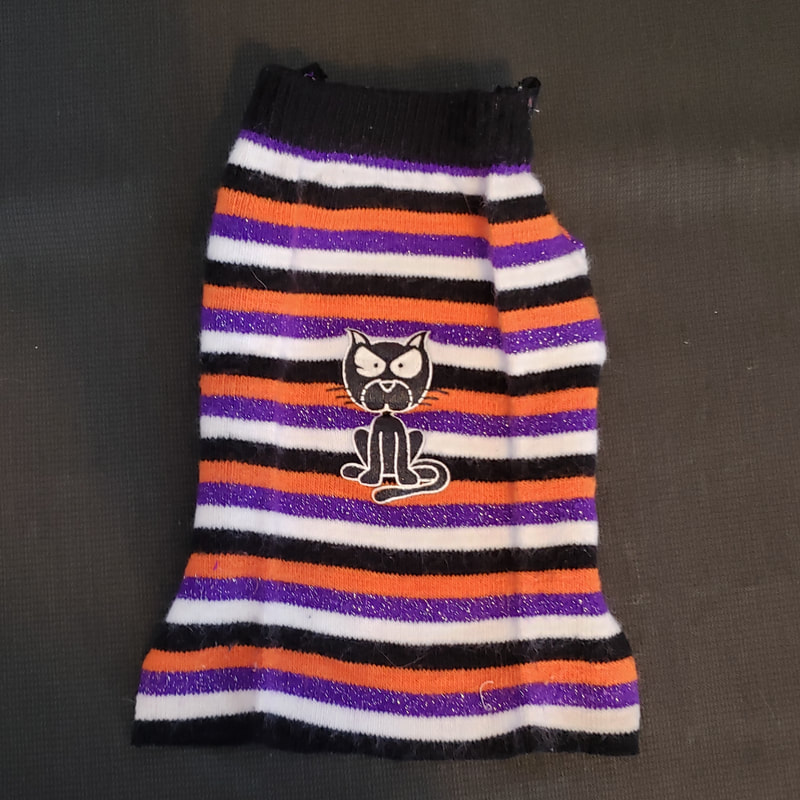
Remember when toe socks were a thing? I never really much cared for them. But I still ended up with a few pairs in my closet that were never being used. So, I decided to turn them into a sweater for my poor little shivering chiweenie. #dobbytherescuechiweenie
She needs to wear sweaters in the winter because she gets so cold and she needs to cover her scars on her back in the summer so she doesn't get sunburned. They don't seem to make dog sweaters long enough to cover up the scars all the way down her back. Therefore I decided to make my own. I used one of her best fitting sweaters as a starting template. 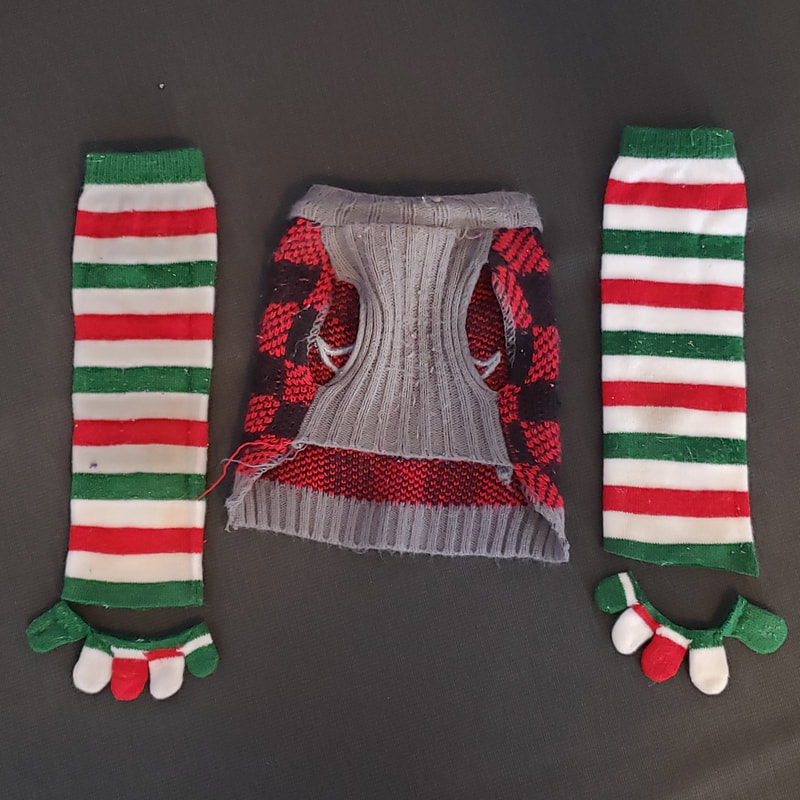
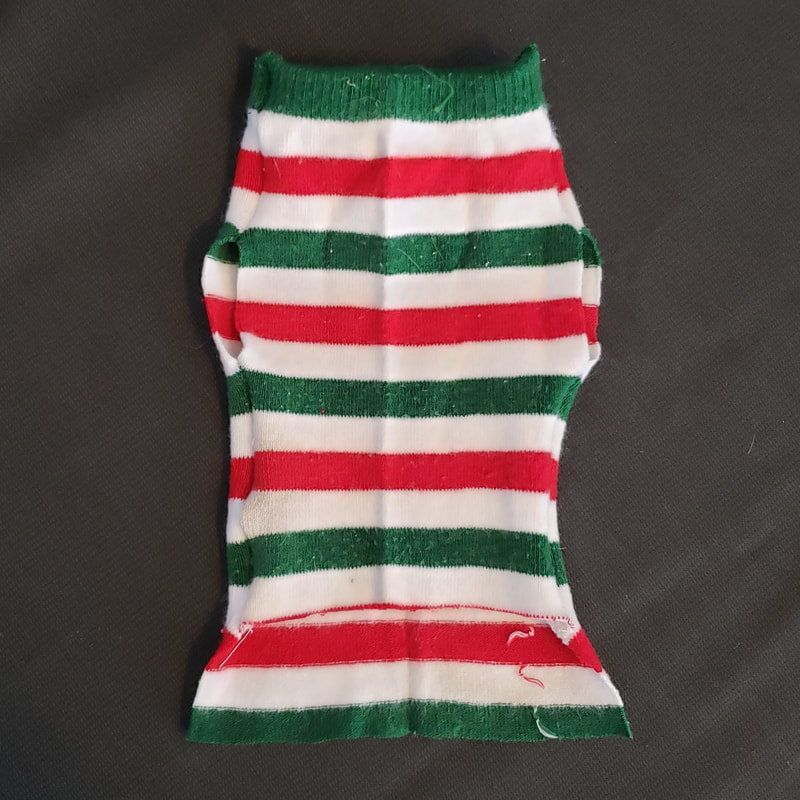
These socks work really well because they have a cuff on the top of them that can be the neck for the sweater.
The first thing I did was cut off the toes and cut both socks down the side so I have two big rectangles of fabric. One of them should be slightly narrower and shorter than the other to go on the underside. 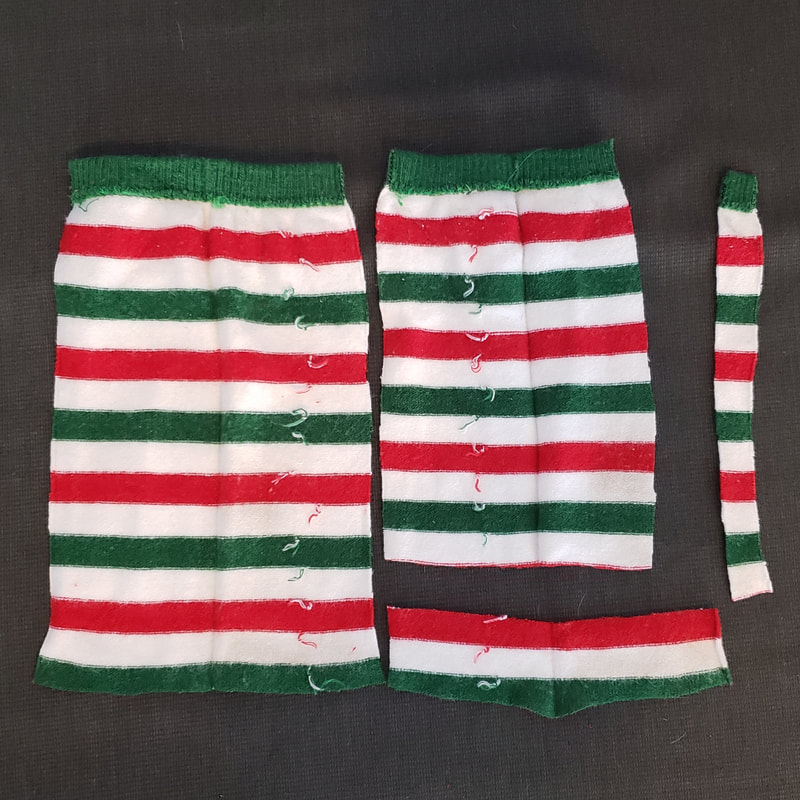
I pinned them with the good side together leaving a gap for the arm holes with a little mark of washable marker to make sure I don't sew too far.
I don't have a serger so I zigzagged the edges. Since it is sweater fabric, I zigzagged each of the seams twice just to be safe. 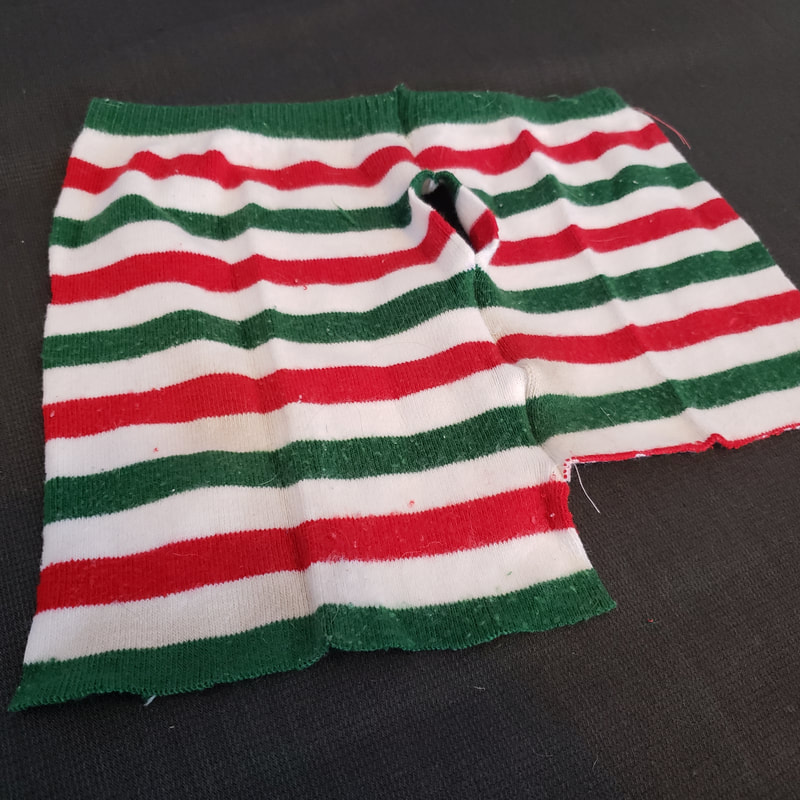
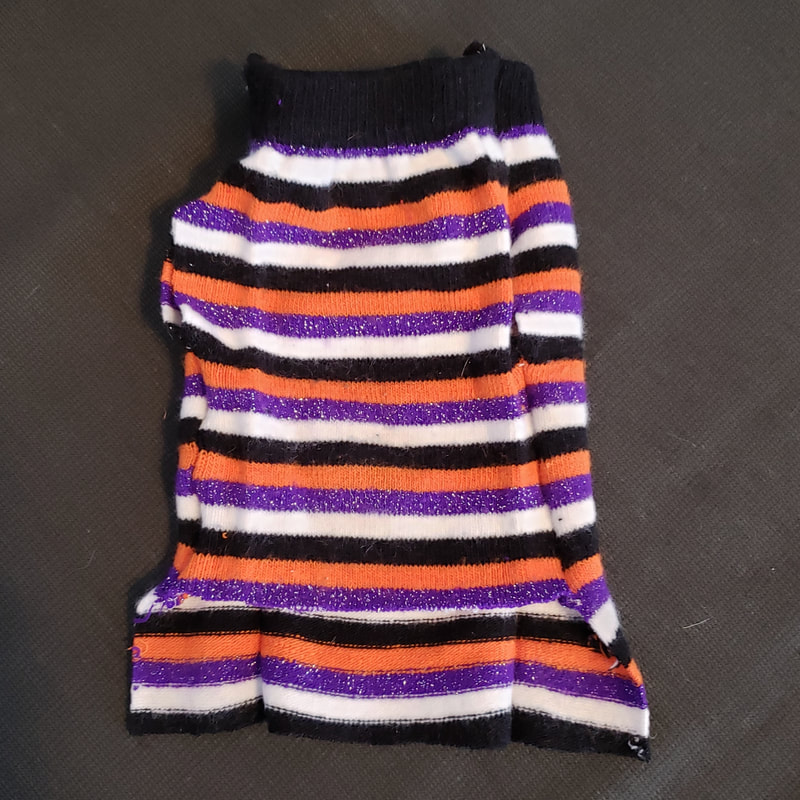
The first one that I made, the underside was a little too big so when I made the sweater from the Halloween socks, I cut the other sock a little bit smaller and it fit her perfect.
There is still a stack of socks on my sewing table that will become a new wardrobe for Dobby!
Here is a Pinterest-Friendly picture. Feel free to pin and share :)
And as always, here is a list of some of the supplies that I used in this project in case you want to take a look:
**Throughout this article, there may be several affiliated links. Purchasing items through these links generates revenue to cover the cost of running this website at no extra cost to you. In fact, in most cases the links provide you with an extra discount or sign-up bonus** 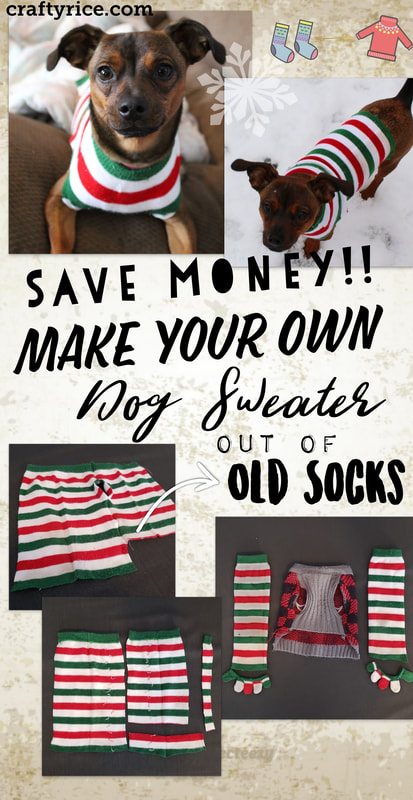
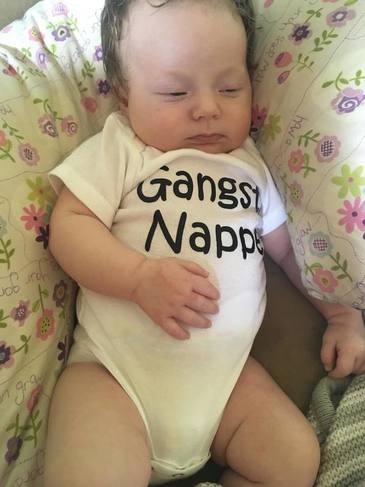
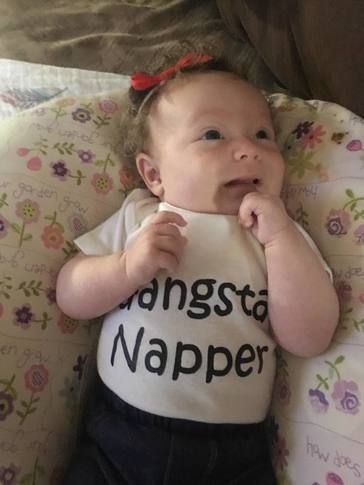
Download these free cut files to make personalized onesies for your next baby shower gift.
I don't know about you, but I love having the most unique creative gift for everyone at the baby shower, wedding shower, Christmas, birthday party, it doesn't matter. I love having the most thoughtful gift. Maybe that's a little selfish... But I'm okay with that.
So when I found out that one of my favorite co-workers was having a baby, I had to come up with something creative. She has a great sense of humor so I decided that I could go with something funny, and maybe a little offensive. I did a little bit of Googling for ideas and found some adorable onesies with hilarious quotes. But, of course, I had to put my own personal spin on it. First things first, here is a link to the onesies that I found for a really good price on Amazon:
Now onto the designs. I'm a little weird because I tend to make my cut files on PowerPoint because I'm just so comfortable using it. Since I am a trainer by day, and a crafter by night, I am in PowerPoint all day long.
I have a cricut explore air and I like to use the Siser iron on. It's much more inexpensive than the cricut iron on but you have to make sure that you maintain the right temperature. Here is a great tutorial that I found: http://www.siserna.com/files/heat-transfer-vinyl-instructions.pdf Here are the cut files, feel free to download them and use them for yourself.
After the usual, cutting, weeding and ironing, here is the final product.
Look at this beautiful lady napping in her onesie!
The first of many posts...Everyday I am crafting, creating, painting, coloring, sewing, cooking or planning. Basically creating anything I can. I want to share the process of what I do and how I do it so you can make, bake, craft and create for yourself too! Categories |
Rebecca RiceOwner of Crafty Rice LLC. Categories
All
My Crafty Life is full of recipes, crafts, DIY, sewing, crafting, cooking, sanding, painting, glueing, cutting, planning, organizing and so much more! |
||||||||||||||||||
 RSS Feed