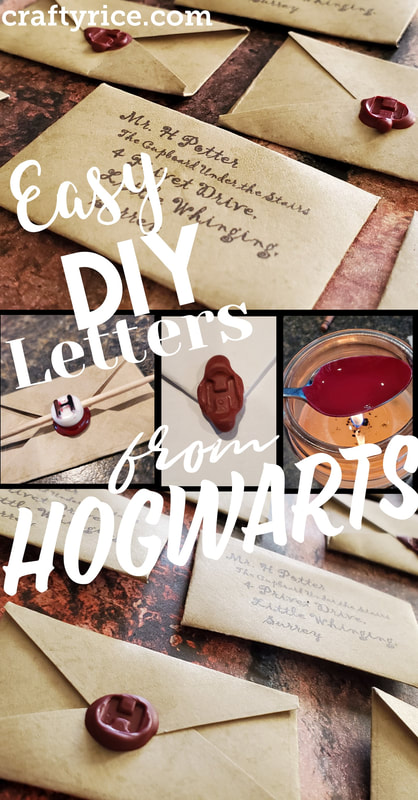
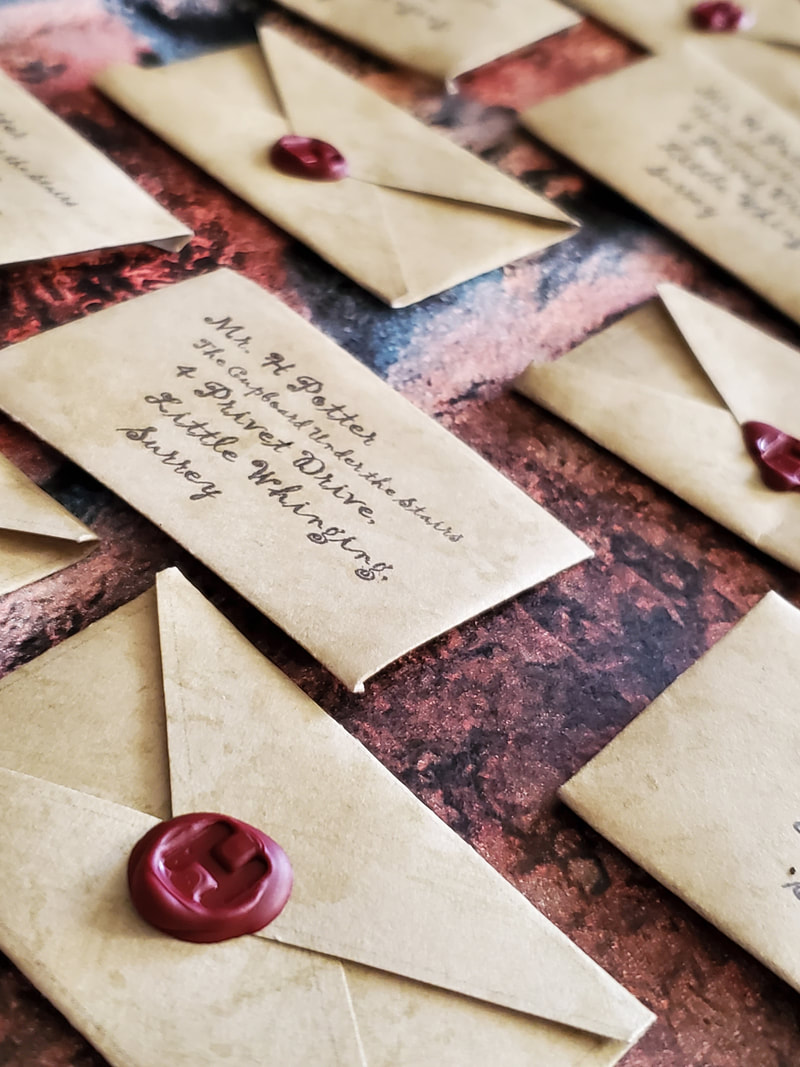
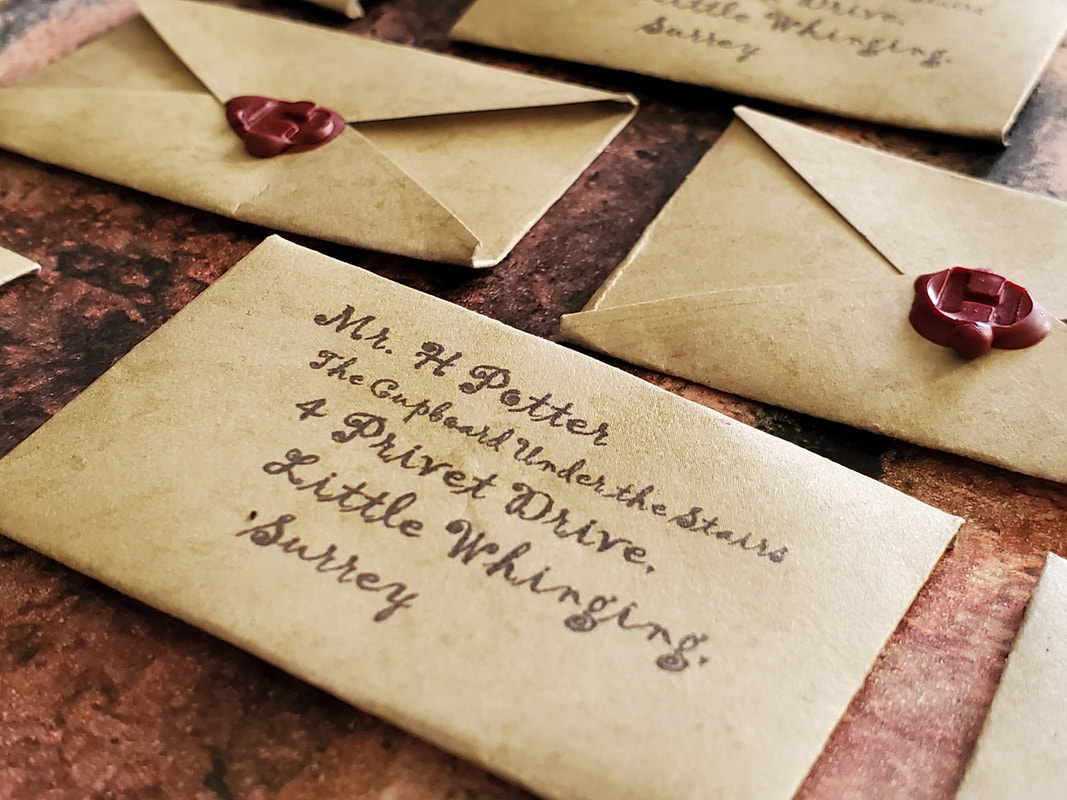
Make these invitations for your Harry Potter birthday party or baby shower or hang them for decorations.I am getting so excited about the upcoming Harry Potter themed Baby Shower for my nephew on the way! Don't worry. I will try to remember to take pictures of all the crafts I made in preparation :) The first project that I made for the party was little acceptance letters from Hogwarts. I had seen similar projects on Pinterest, but they were huge and I didn't want to use up that much space. This project cost me a whopping total of 50 cents because I just looked for stuff around the house to use. My list of supplies (with suggestions in case you don't have them lying around the house)
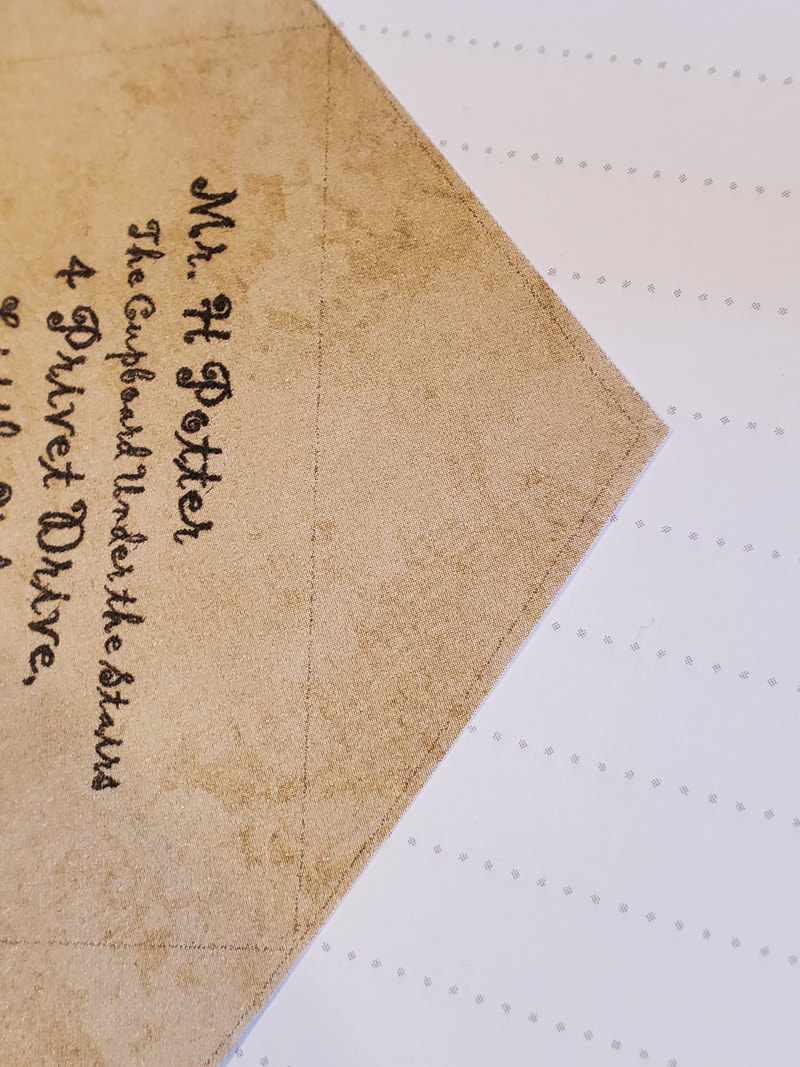
First, I needed to have the address printed on the paper because I have terrible handwriting. I found a cute font and printed it out but I tried to cut it out the shape of the envelopes freehand and it wasn't looking pretty. So, I made document to print out the dimensions and text. You can download it here to print it on some lovely antique paper of your own.
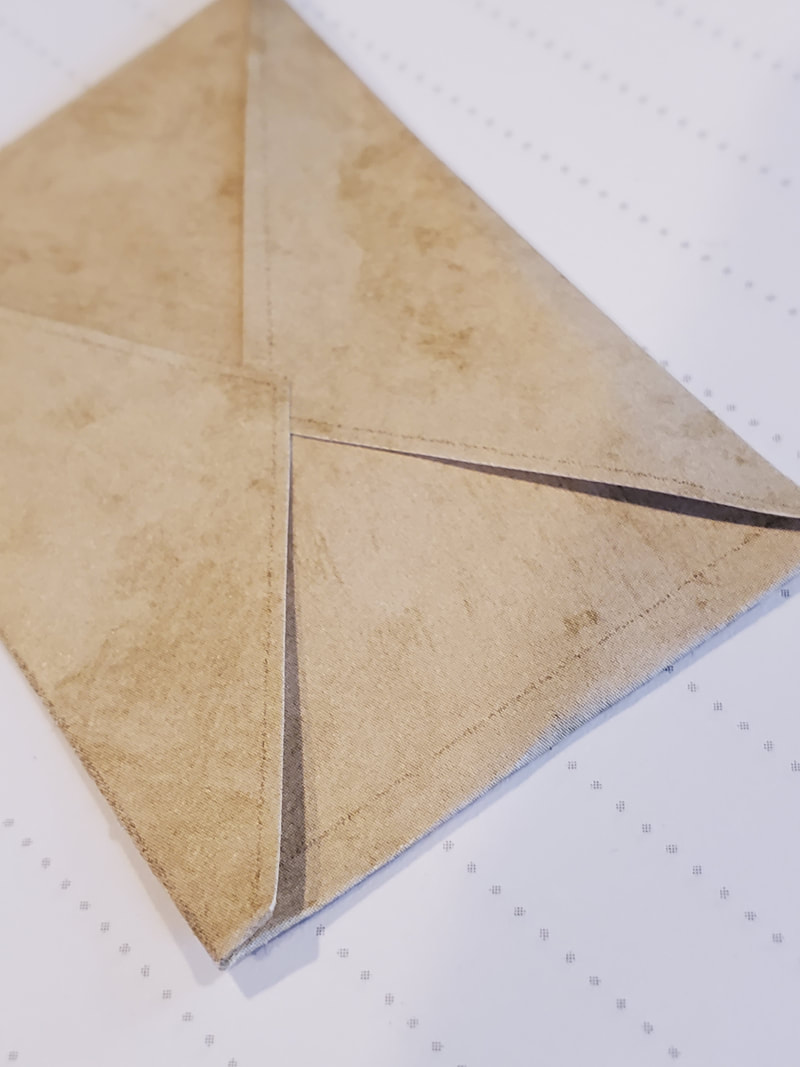
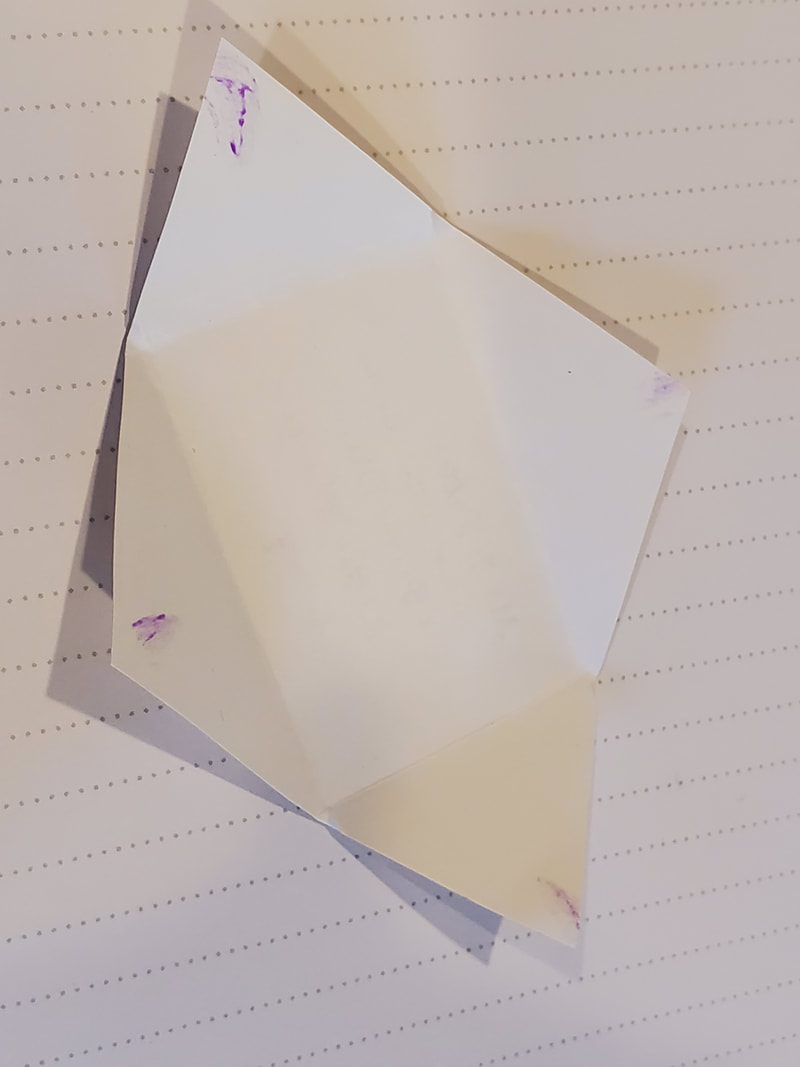
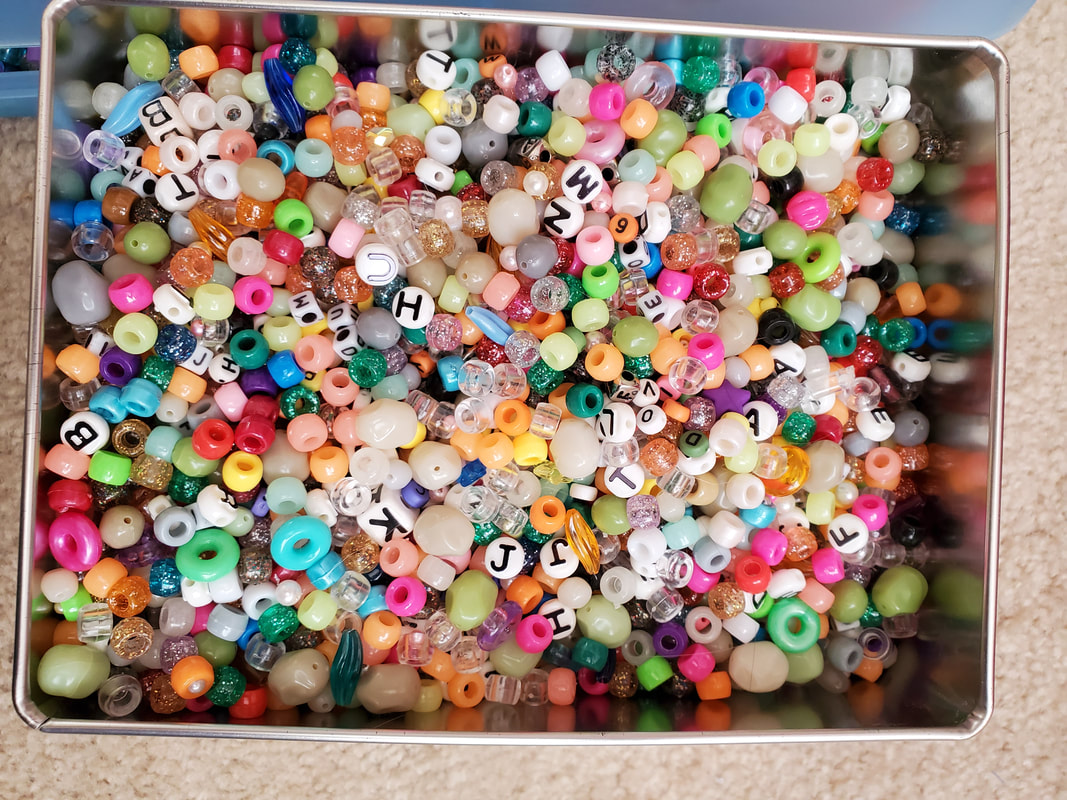
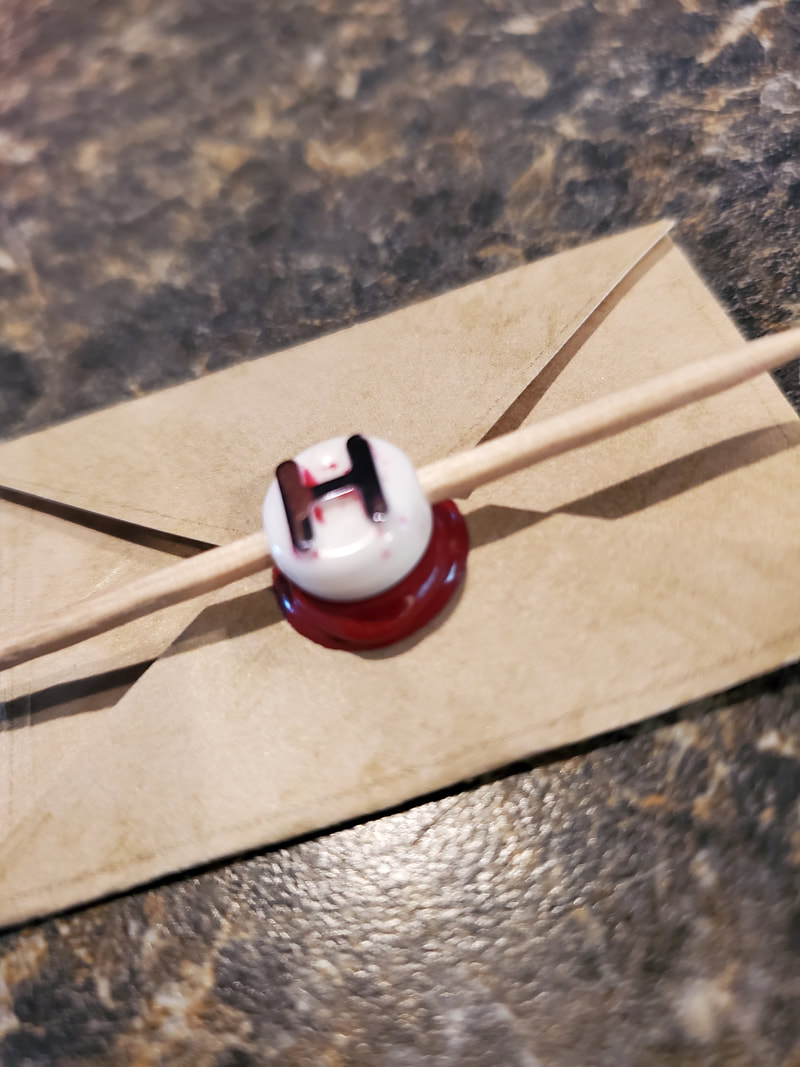
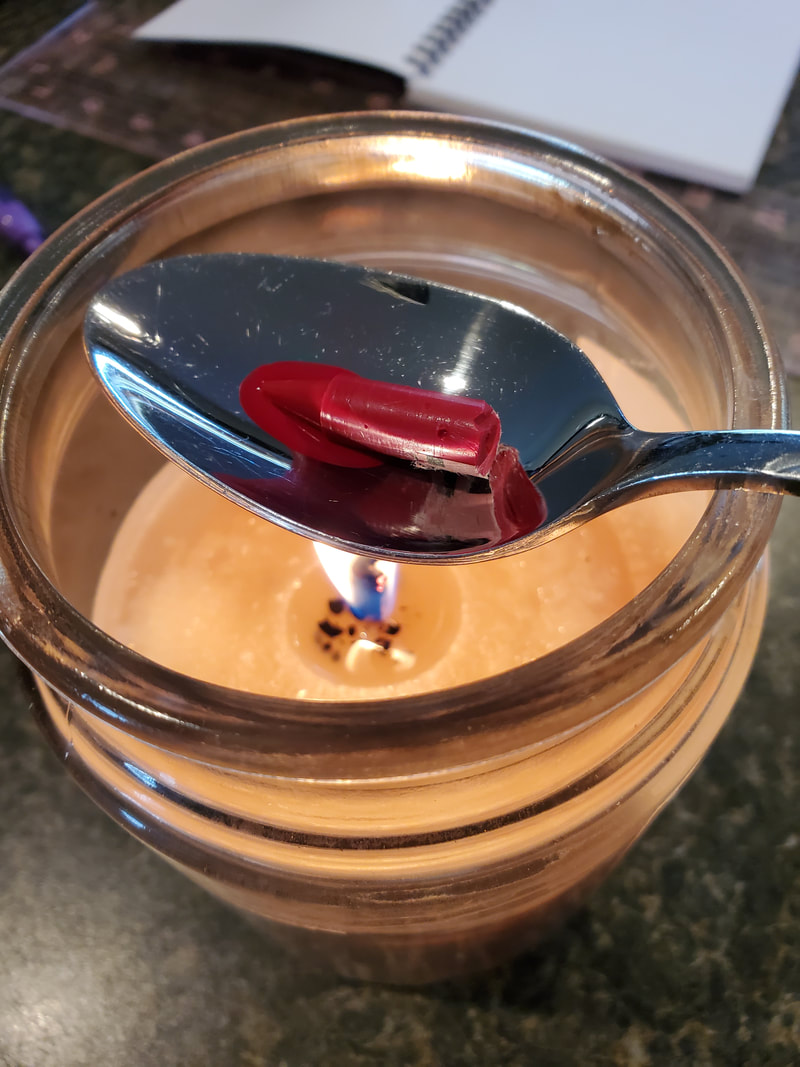
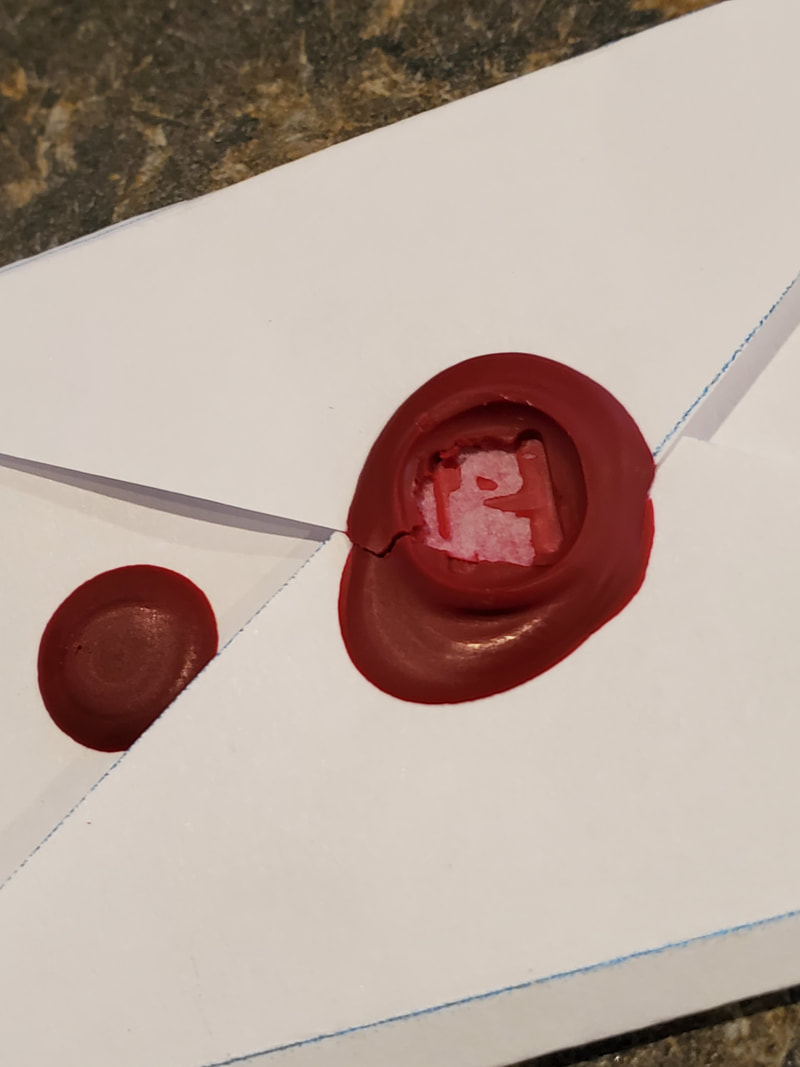
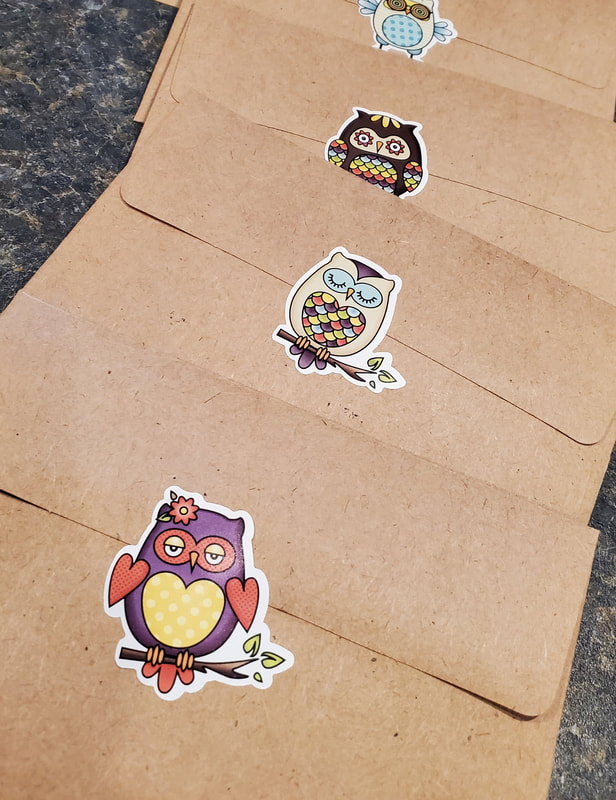
I played around with the sizes because I had bought only two sheets of the antique paper (The whopping 50 cents that I spent on this project) and honestly I didn't want to chance another trip to hobby Lobby. Bad things happen when I go to craft stores. (My poor credit card...) In the end, I was able to fit 9 on one sheet for a total of 18. I needed to have a guide for cutting but I didn't want the lines that show up in the letter so I made the lines really light. When you cut them out, I found that you should cut just a little bit past the lines or fold it a little bit tighter than the lines it will give you just the right size. Make sure you fold the left and right sides in first, then the bottom. If you save the top for last then it really looks like an envelope. Just put a tiny little bit of glue on each of the corners in the very center of the back. You don't want too much glue because you won't be able to run the string through it later if you are going to hang them. I had to hold them for about 20 seconds to let the glue dry. Now that they look like little letters, they needed an official Hogwarts seal. I looked at these seals online (like the ones above) and I wasn't willing to invest $10 or so for something I might use once so I looked around the house for anything round with an "H". Sure enough, I had a bucket of beads that I had almost gotten rid of not too long ago. I put a toothpick in it as a makeshift handle and tried it out. Sure enough, it was the perfect size and shape. For the wax, I just broke off the tip of a red crayon and a tiny bit of brown to get a good color. I put them in a teaspoon over a candle and they melted in just a few seconds. Very cautiously and carefully just touch the tip of the spoon to the letter where the top folds down and slightly tilt the spoon so only a tiny bit comes out. You really do not need much at all. Now, your first instinct is to shove the seal in there right away. I did that with my first practice one and this is what happened. Give it a couple seconds to cool. Even blow on it a bit until you see it slightly harden. Then gently place the seal with just a little bit of pressure. After that, I put them in the fridge for about 30 seconds to make sure that they were fully hardened. Then just wiggle the bead gently till it comes off. I would recommend practicing at least once on a trash piece of paper. I think the little H bead worked perfectly as a seal. I'm so glad I didn't get rid of these a while back like I wanted to... See how I justify my craft supply hoarding? Every now and then it comes in handy. Now, you could stop right here and just use these lovely invitations. I sent them out with the seal then put them in an envelope to protect the seal. I even added an owl to deliver the letter for me. Or, you can keep going and turn these into a banner or mobile for decorations at the party. I would love to see what you do with them. Please do share some pictures or tag me on social media 😁
9 Comments
|
Rebecca RiceOwner of Crafty Rice LLC. Categories
All
My Crafty Life is full of recipes, crafts, DIY, sewing, crafting, cooking, sanding, painting, glueing, cutting, planning, organizing and so much more! |
||||||
SOCIAL MEDIAwww.facebook.com/craftyrice
www.pinterest.com/craftyrice www.instagram.com/crafty.rice poshmark.com/closet/craftyrice |
ADDRESSP.O. Box 742
Lyman, SC 29365 |
|
Proudly powered by Weebly

 RSS Feed