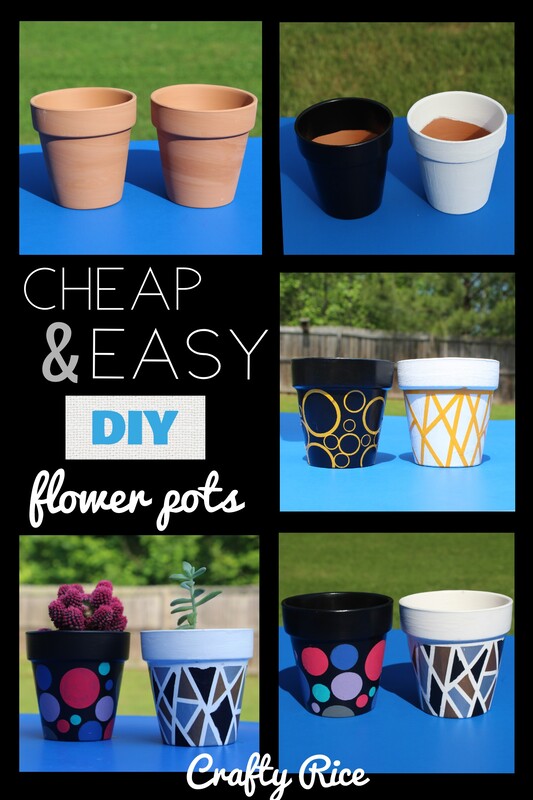
Quick and easy way to turn cheap, boring terra cotta pots into functional home decor.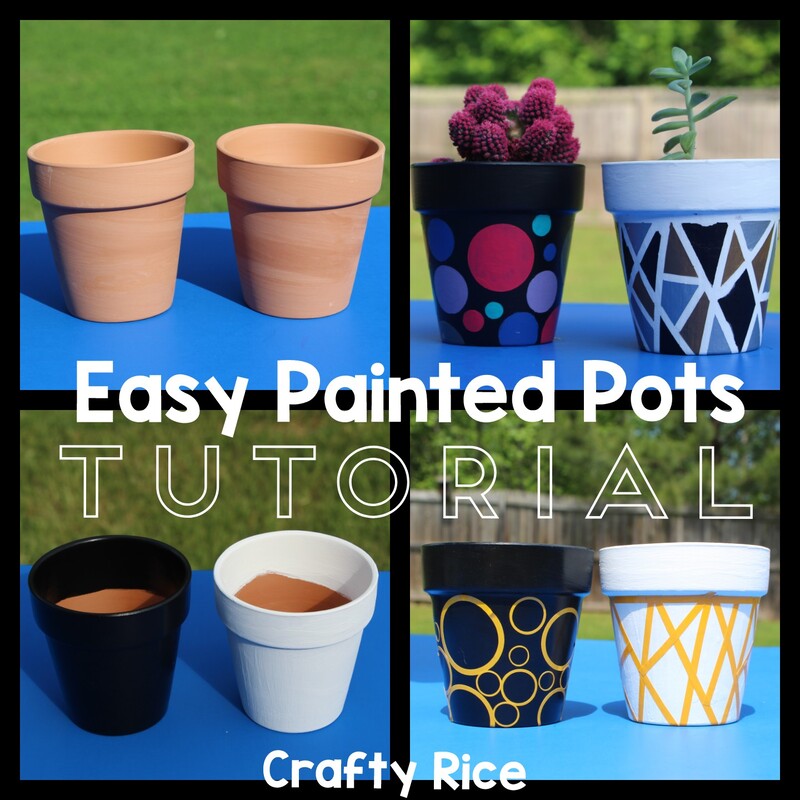
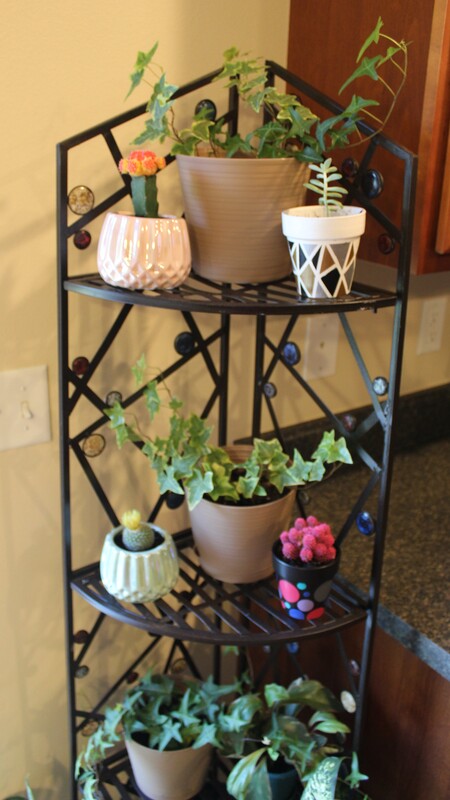
Can you believe that I got a new 6 foot tall plant shelf for $15 off of Facebook Marketplace??
I was really excited to get some new plants to fill it up. However; there was no way that I was going to spend $5 a piece for some nice little pots. As usual, I decided to paint my own.
Dollar tree had packs of two clay pots for only $1 but I wanted something colorful. 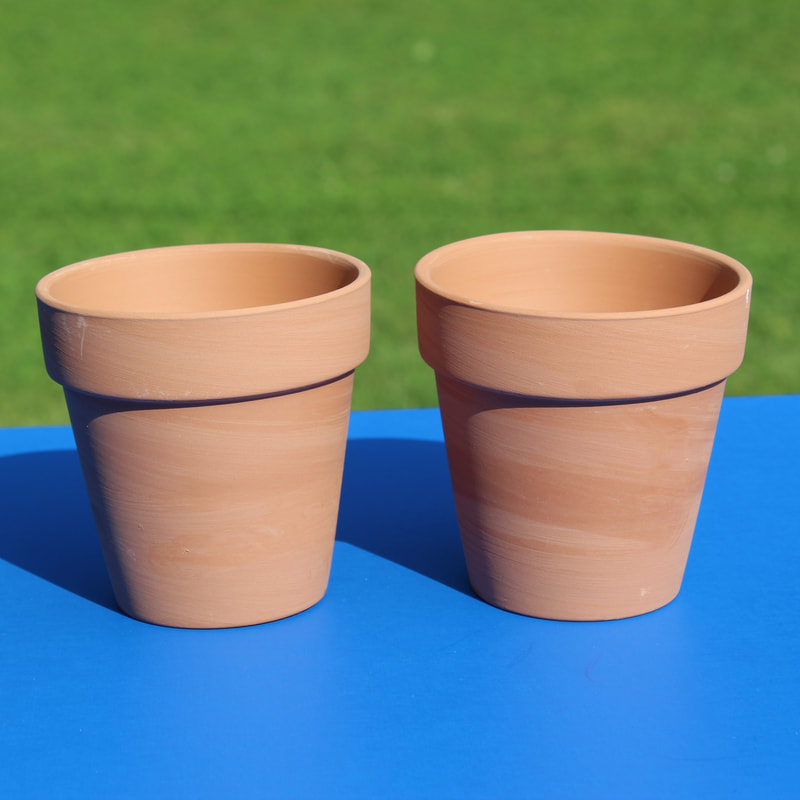
I found inspiration from those nail painting videos that I'm obsessed with watching all the time. They use stickers to cover parts of the fingernails and then paint amazing designs. I can watch them all day (and sometimes I do).
I gathered up all my supplies: acrylic paint, paintbrushes, newspaper (because I always make a mess), clay pots and I looked through my craft bins for stickers that would make neat designs.
These are some of the products that I used or suggestions for something similar:
That's when I cheated a bit. I didn't really have great stickers for this project so I went into Cricut Studio and just cut a bunch of circles and lines. You want to make sure that they are thick enough so you can paint on top of them and it won't end up in the wrong section.
This is what my sticker sheet looked like: 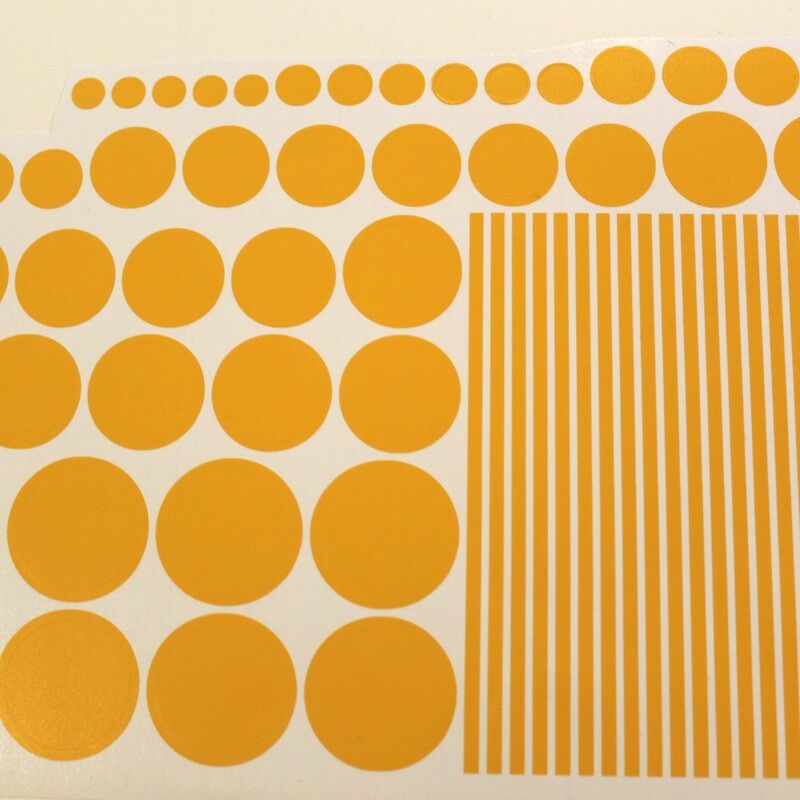
Layer on a few coats of the base color until you can't see the color of the pot anymore. I needed two of the black and 3 of the white.
Make sure that you paint down far enough on the inside to where the dirt is going to reach. No point in wasting time or effort or paint for the part that you won't be able to see. 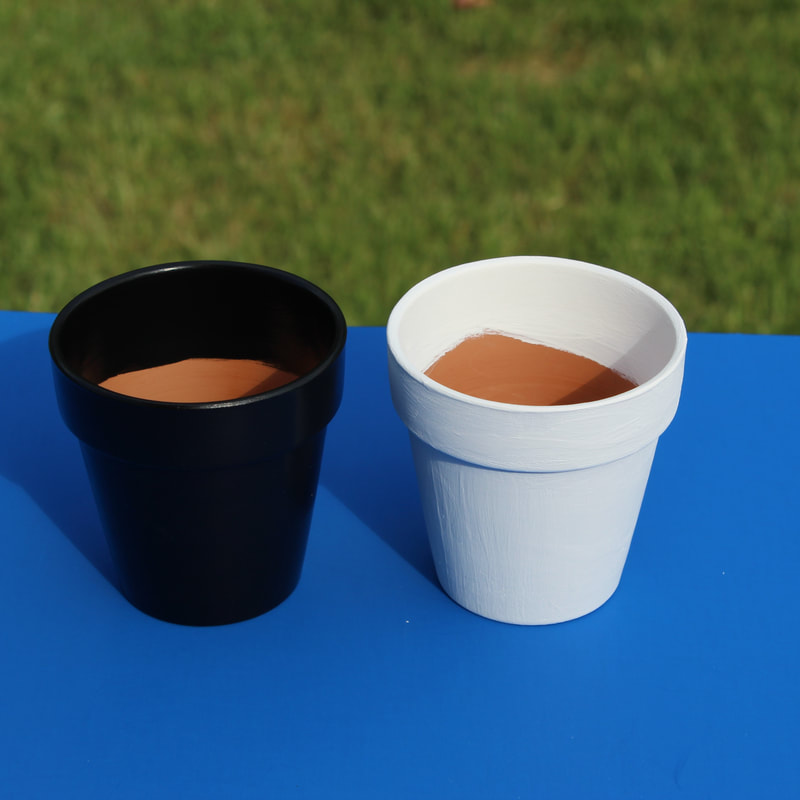
Once it's dry, arrange the stickers as randomly as you can. This is where I usually struggle. I am a bit OCD with how I need things to be organized and straight, so most of my designs are too symmetrical. I think these came out okay.
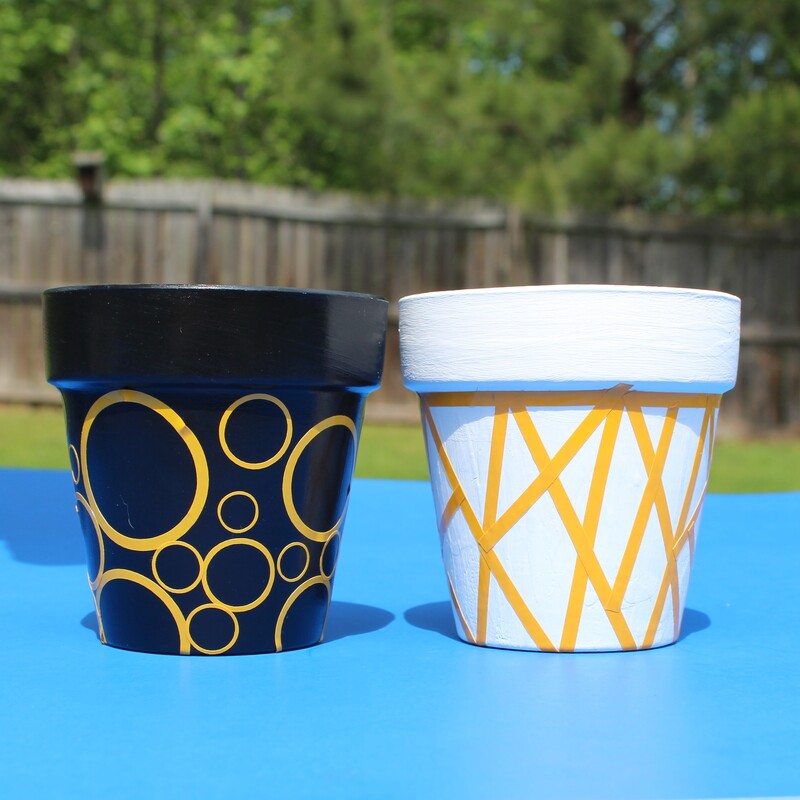
Have some fun painting all sorts of random colors inside your design. I went with metallic paints for the white one and bright colors for the black one.
You need to paint a few layers so the color of the base coat does not bleed through. 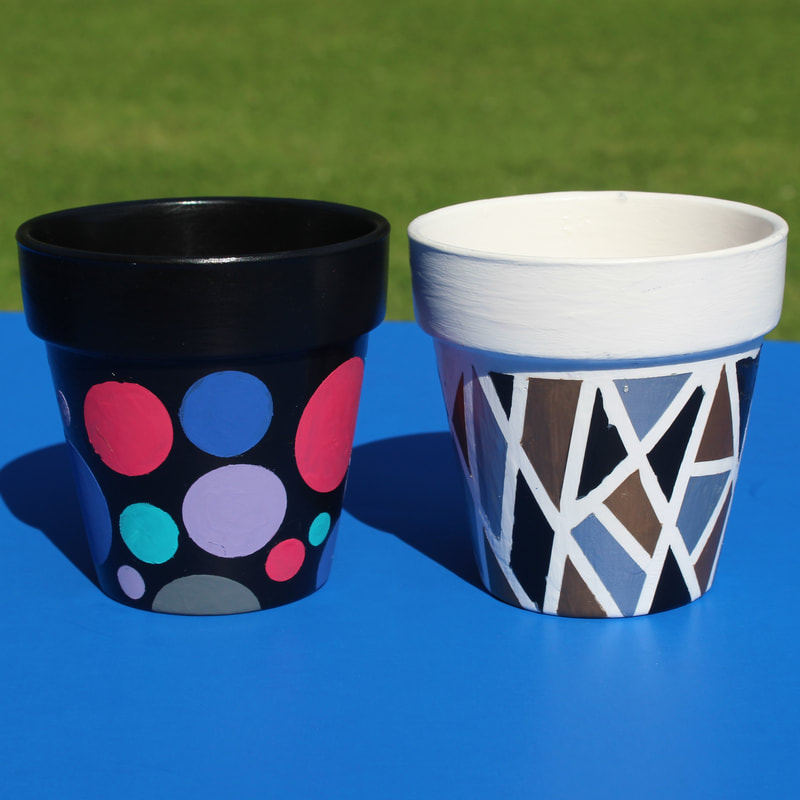
I used my Xacto knife to pull off the stickers and there were a few spots where I painted outside the lines but the knife also worked well for scraping those small spots off. A little bit of the paint peeled off with the stickers in a few spots too, but I'm happy with the result.
As a rule, whenever I paint something with acrylics, I like to spray some sealer on it or put a coat or two of Modge Podge to protect it. All that is left is to find some cute little flowers or succulents for your adorable little pots. I used a little bit of landscaping fabric and rocks in the bottom to avoid a mess. Here they are! 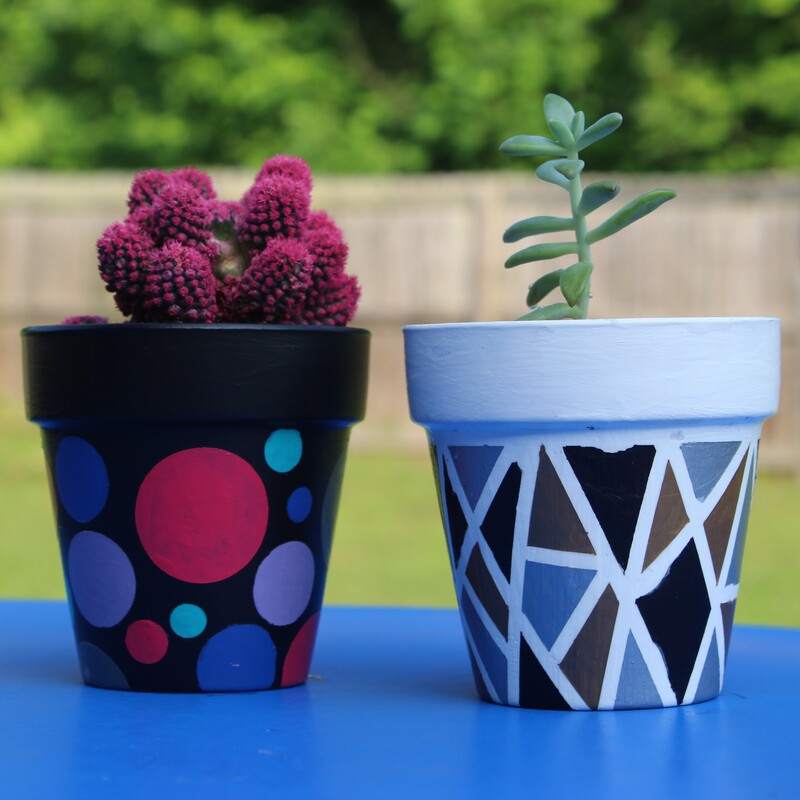
Don't they look fantastic on my new cheap shelf!!
2 Comments
All it takes is a little bit of patience to make this super easy, beautiful wreath.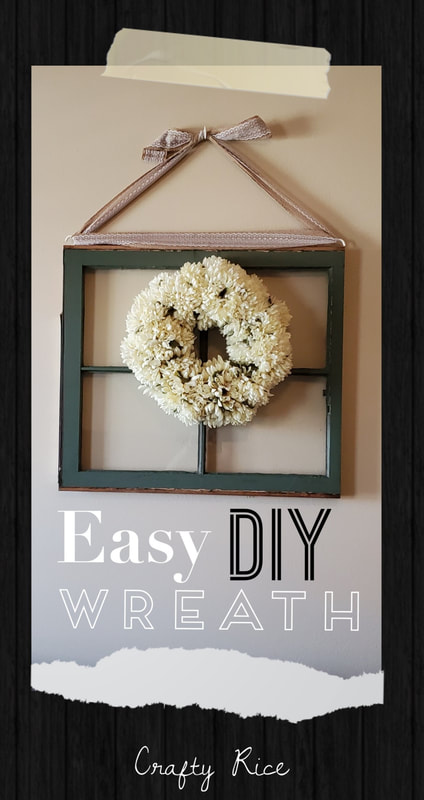 My dad has a huge stack of old windows for me and I finally getting around to making a few craft project with them. When I went to hang this lovely teal frame I felt like it needed something. Luckily, I got these white flowers on sale for a few cents at dollar general. Here are the steps to creating a wreath like mine. The supplies list for this project is very short. All you need is flowers, floral wire and a trimmer. 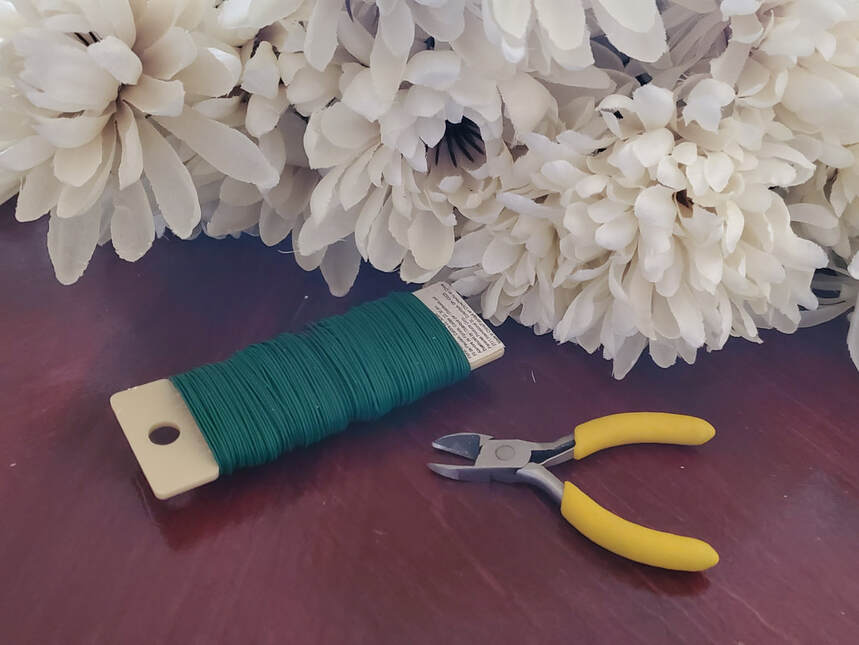 Here are some great examples from Amazon: These are some of the products that I used or suggestions for something similar:
Depending on how full you want the wreath, you may need more flowers. There were 7 flowers on each of the stems that I had and I used 9 in all. However; I had a lot of flowers crammed together so you might not need that many. Trim the stems of the flowers to just a few inches. Three or four inches should be perfect. 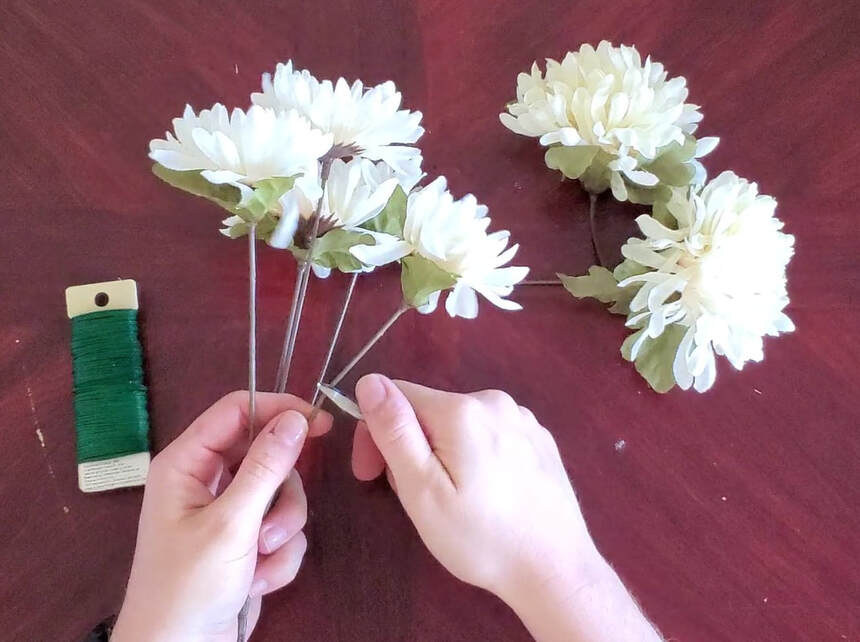 Then trim some of the stems to about twice as long to ensure some stability. Next, bend all the flower stems to a 90 degree angle so the flowers will be facing out while the stems can be connected. 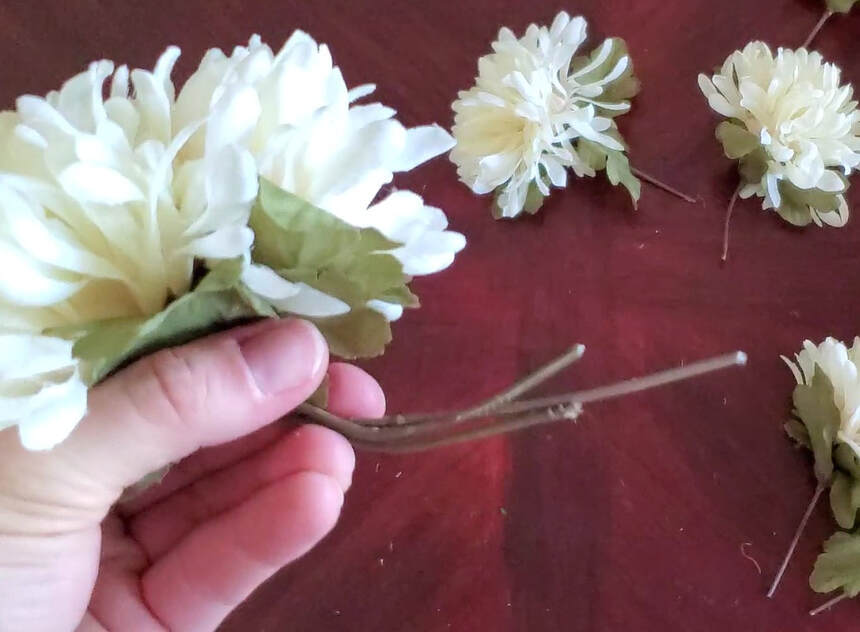 Bunch a few of them together with the flowers facing up. Use one of the longer stems bunched with a few of the shorter stems. 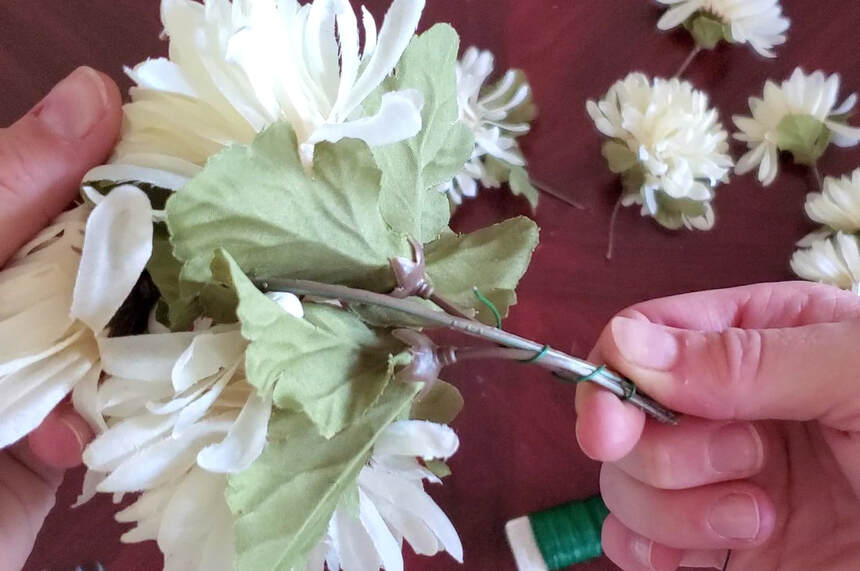 Now comes the fun part. Wrap the stems with flower wire, pulling it tight. Then add a few more and keep wrapping the wire. There's no need to trim the wire. Just keep adding more flowers and twisting the wire around it. 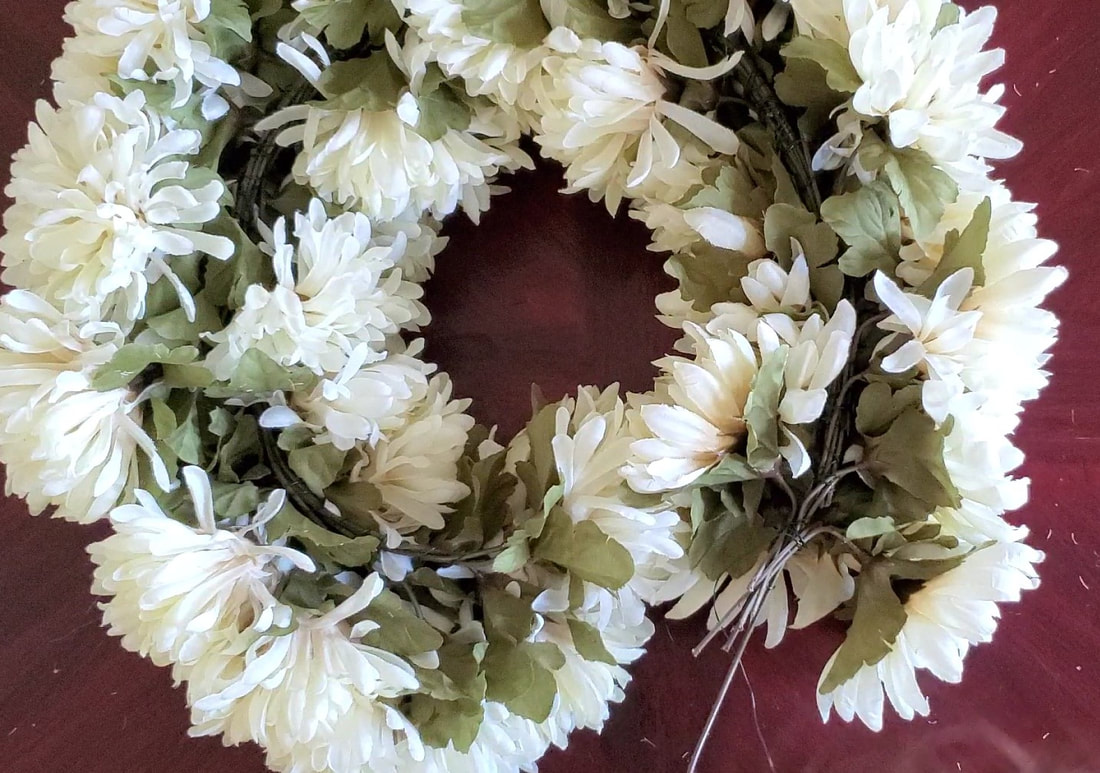 Once you have a long line of flowers chained together, curve the ends so they meet. 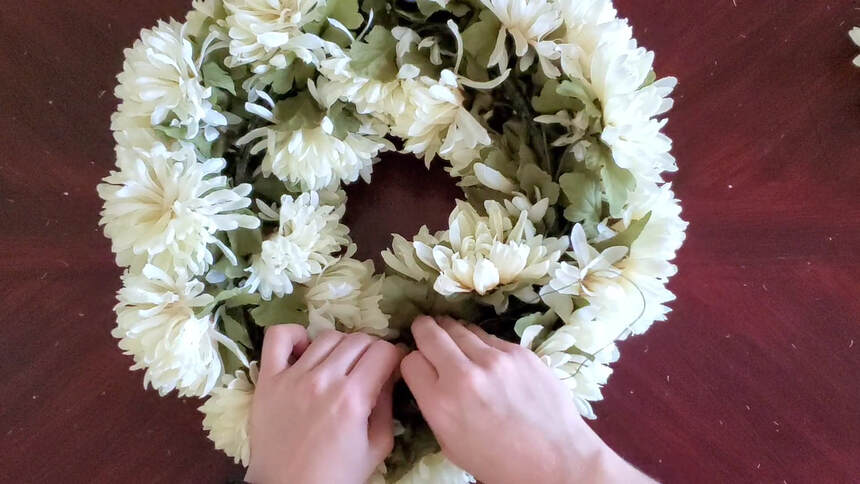 Then all you need to do is use the wire to connect the stems from one end to the next. Make sure you pull them tight enough together so there is not a gap. I used a little bit more of the wire to add a loop for hanging my wreath, but a nice big ribbon would also look lovely. 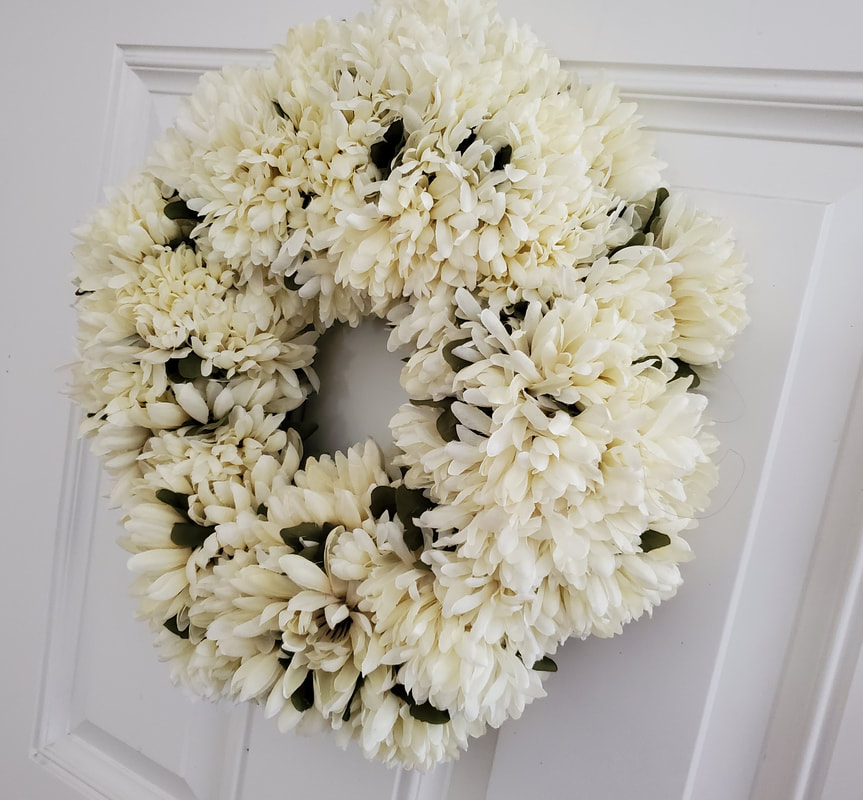 Let me know how your wreath making goes! I would love to see pictures.  Make these invitations for your Harry Potter birthday party or baby shower or hang them for decorations.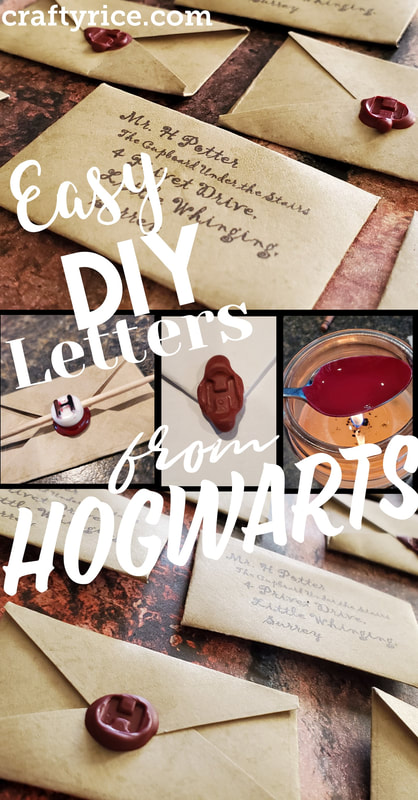 I am getting so excited about the upcoming Harry Potter themed Baby Shower for my nephew on the way! Don't worry. I will try to remember to take pictures of all the crafts I made in preparation :) The first project that I made for the party was little acceptance letters from Hogwarts. I had seen similar projects on Pinterest, but they were huge and I didn't want to use up that much space. This project cost me a whopping total of 50 cents because I just looked for stuff around the house to use. My list of supplies (with suggestions in case you don't have them lying around the house)
First, I needed to have the address printed on the paper because I have terrible handwriting. I found a cute font and printed it out but I tried to cut it out the shape of the envelopes freehand and it wasn't looking pretty. So, I made document to print out the dimensions and text. You can download it here to print it on some lovely antique paper of your own.
I played around with the sizes because I had bought only two sheets of the antique paper (The whopping 50 cents that I spent on this project) and honestly I didn't want to chance another trip to hobby Lobby. Bad things happen when I go to craft stores. (My poor credit card...) In the end, I was able to fit 9 on one sheet for a total of 18. I needed to have a guide for cutting but I didn't want the lines that show up in the letter so I made the lines really light. 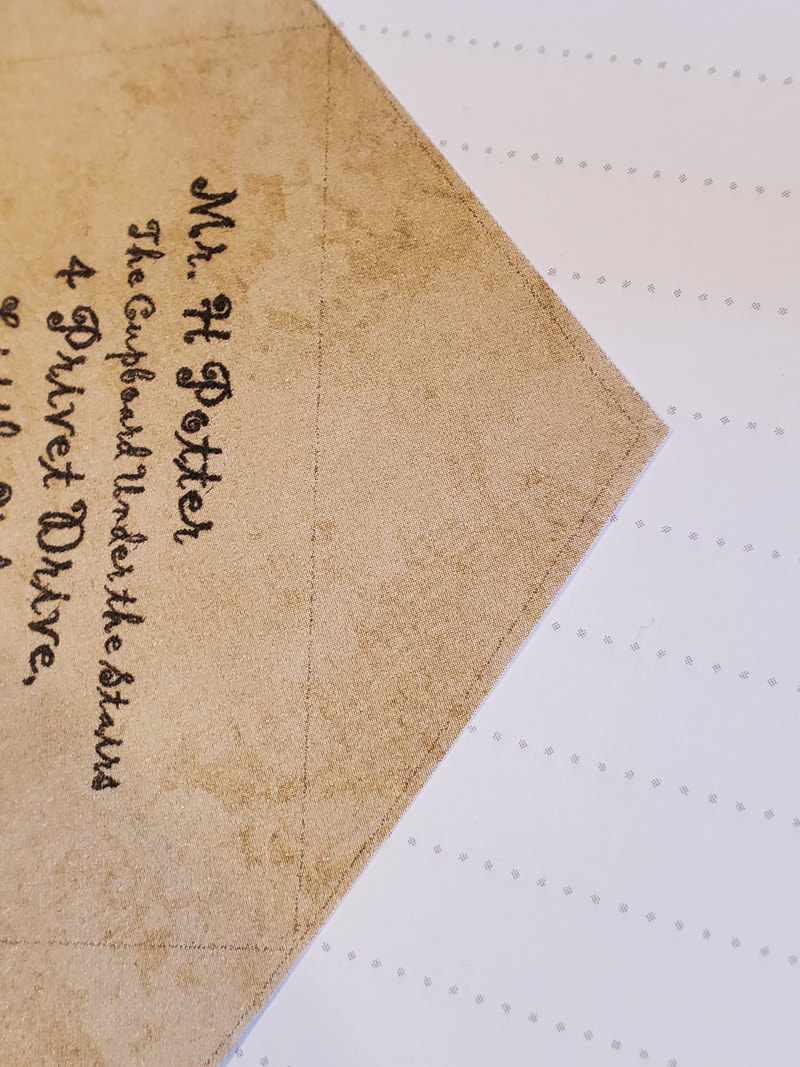 When you cut them out, I found that you should cut just a little bit past the lines or fold it a little bit tighter than the lines it will give you just the right size. 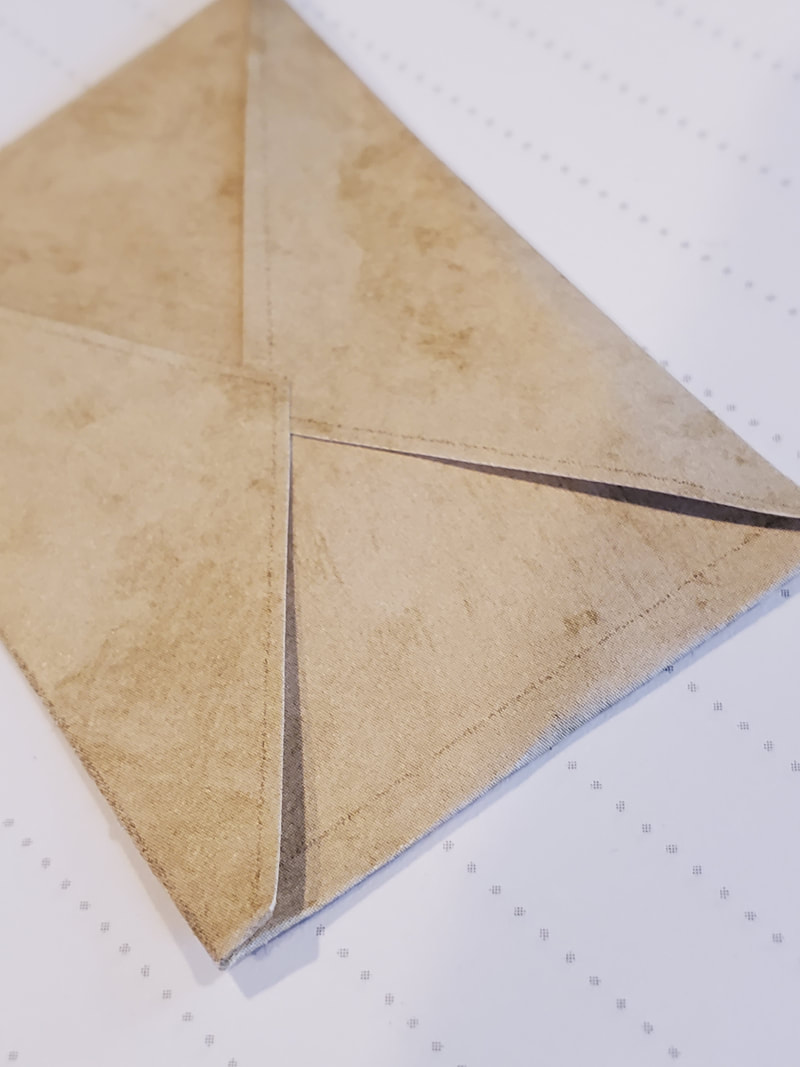 Make sure you fold the left and right sides in first, then the bottom. If you save the top for last then it really looks like an envelope. Just put a tiny little bit of glue on each of the corners in the very center of the back. You don't want too much glue because you won't be able to run the string through it later if you are going to hang them. I had to hold them for about 20 seconds to let the glue dry.  Now that they look like little letters, they needed an official Hogwarts seal. I looked at these seals online (like the ones above) and I wasn't willing to invest $10 or so for something I might use once so I looked around the house for anything round with an "H". Sure enough, I had a bucket of beads that I had almost gotten rid of not too long ago. 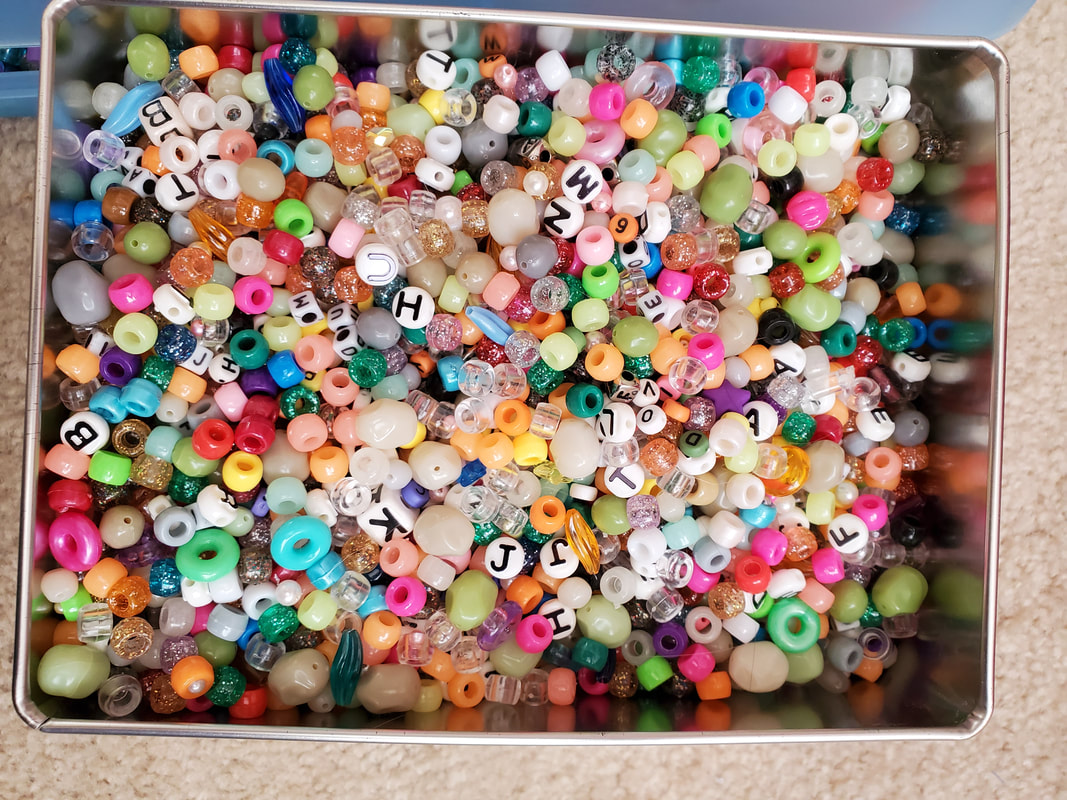 I put a toothpick in it as a makeshift handle and tried it out. Sure enough, it was the perfect size and shape. 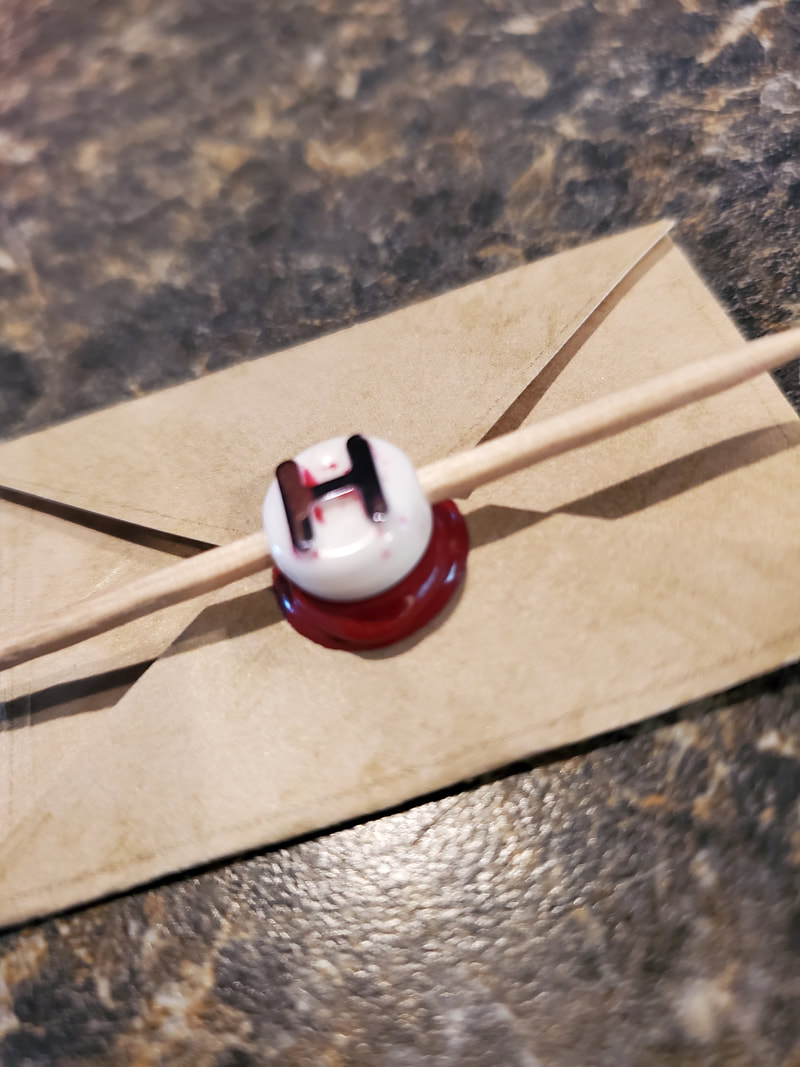 For the wax, I just broke off the tip of a red crayon and a tiny bit of brown to get a good color. I put them in a teaspoon over a candle and they melted in just a few seconds. 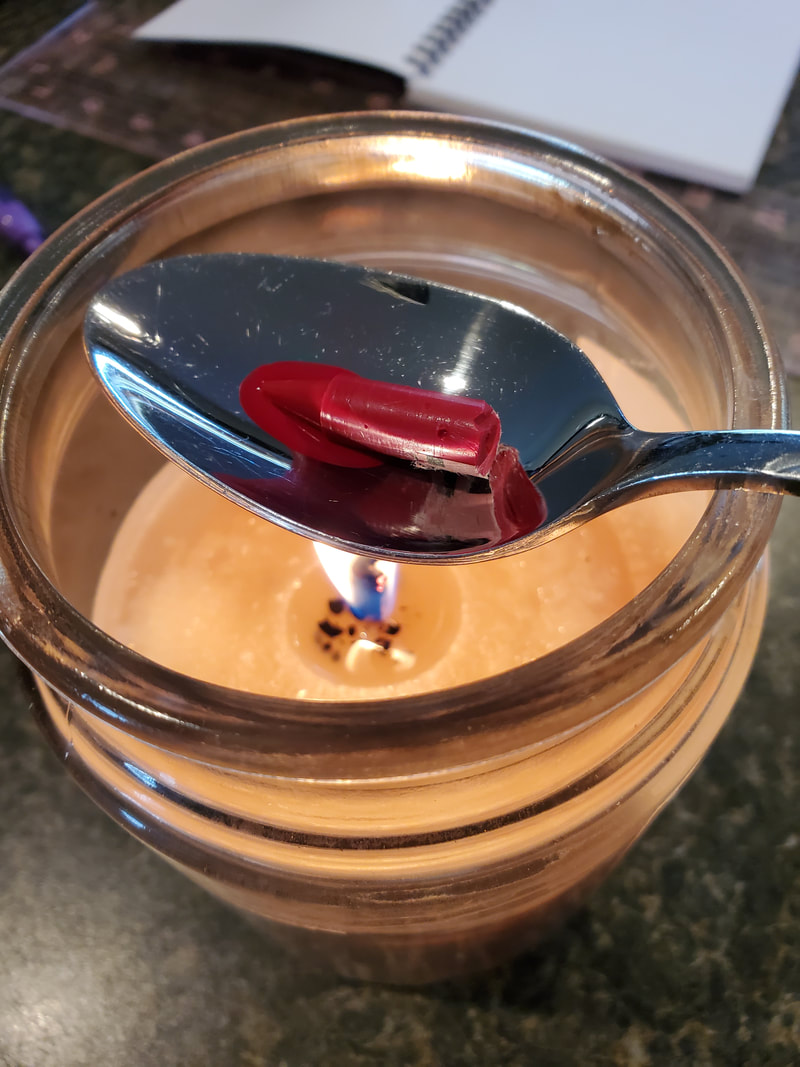 Very cautiously and carefully just touch the tip of the spoon to the letter where the top folds down and slightly tilt the spoon so only a tiny bit comes out. You really do not need much at all. Now, your first instinct is to shove the seal in there right away. I did that with my first practice one and this is what happened. 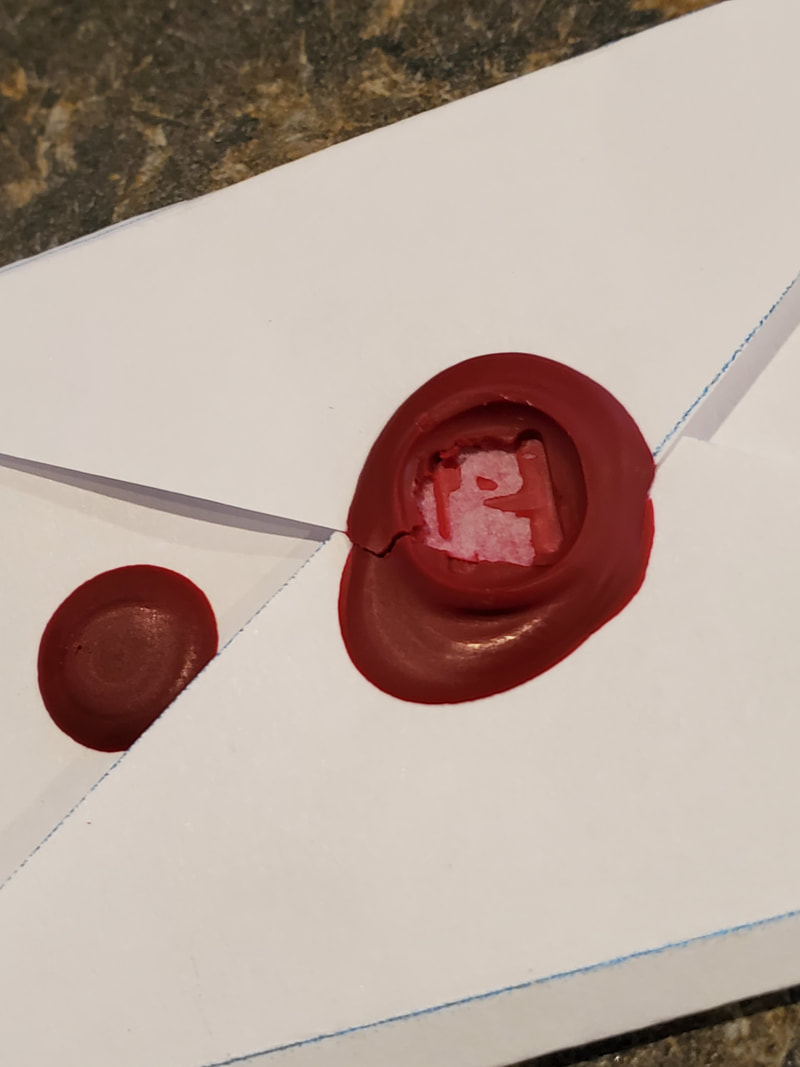 Give it a couple seconds to cool. Even blow on it a bit until you see it slightly harden. Then gently place the seal with just a little bit of pressure. After that, I put them in the fridge for about 30 seconds to make sure that they were fully hardened. Then just wiggle the bead gently till it comes off. I would recommend practicing at least once on a trash piece of paper. I think the little H bead worked perfectly as a seal. I'm so glad I didn't get rid of these a while back like I wanted to... See how I justify my craft supply hoarding? Every now and then it comes in handy. 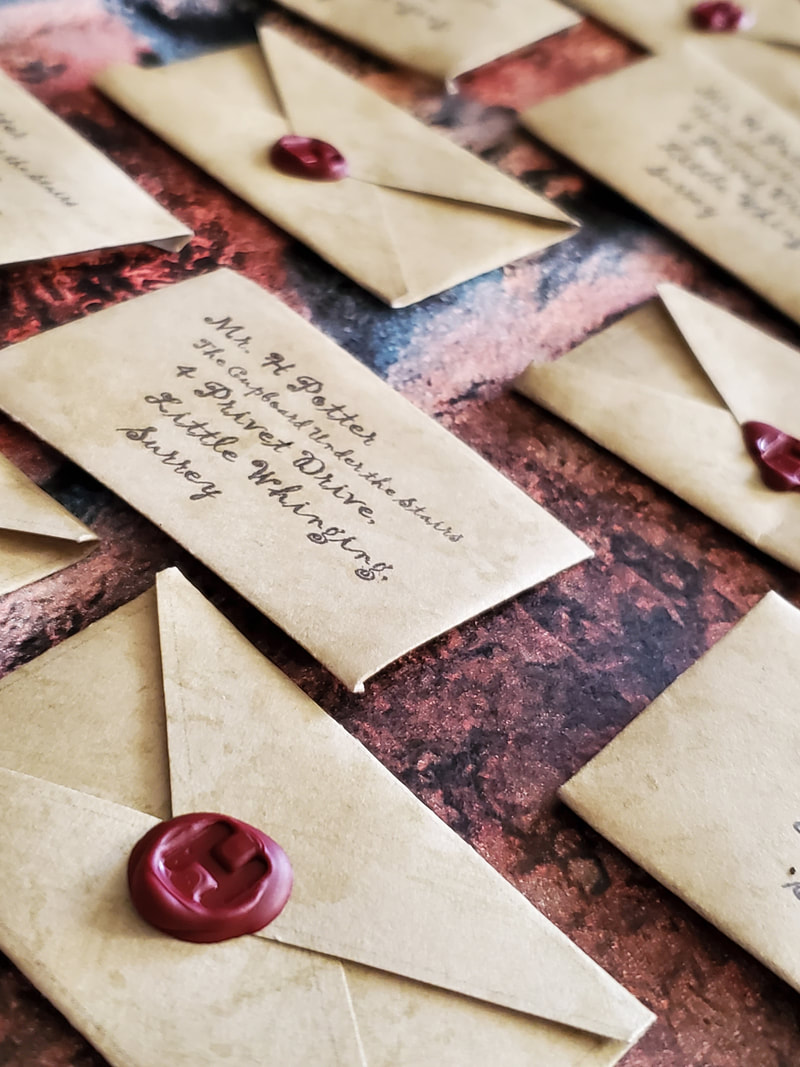 Now, you could stop right here and just use these lovely invitations. I sent them out with the seal then put them in an envelope to protect the seal. I even added an owl to deliver the letter for me. 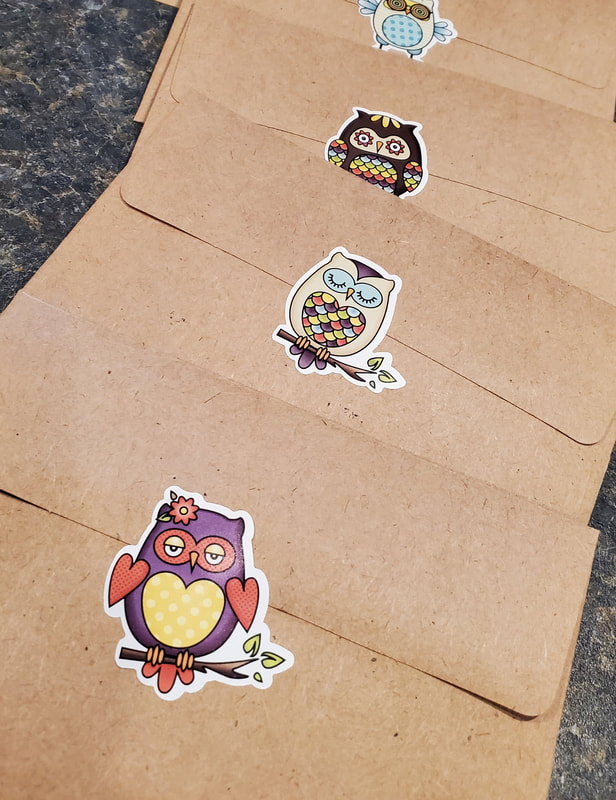 Or, you can keep going and turn these into a banner or mobile for decorations at the party. I would love to see what you do with them. Please do share some pictures or tag me on social media 😁 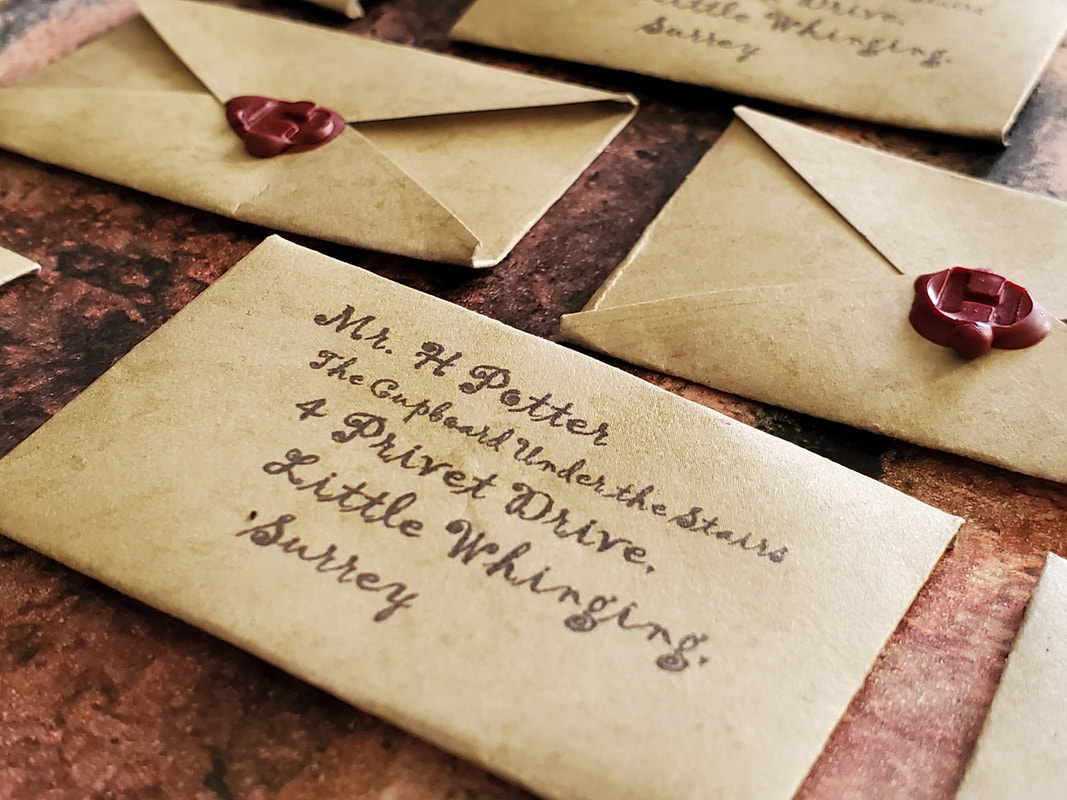 Make a painting of your favorite character or design even if you can't paint or draw.I know, I'm cheap... But $30 for a decent wall decoration? No thanks. I'll make my own for just a few dollars! Why waste money like that decorating your child's room with a character that they will love for a couple of years and then move on to another phase? The only problem is that I can't draw and I'm terrible at painting. So, I did a little experimenting and came up with a "Trace and Swirl" method of painting which really requires no skill. Here are a few examples of what I have hanging in my Nerd Room at home. 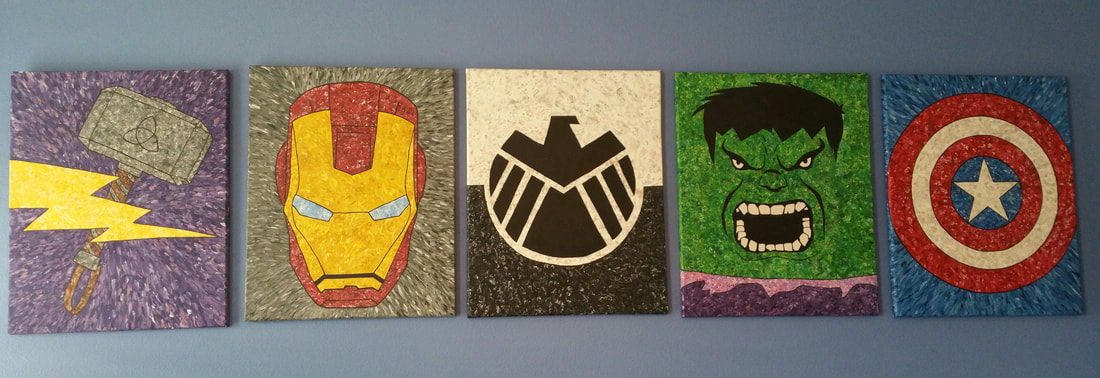 I even made this one for Wade's birthday:  These are some of the supplies that I like to use:
Here is the process: 1 - Find a picture of your favorite character online. This takes a little time to find just the right style. I used words like silhouette, face, stencil, coloring page, outline, etc., with the character's name until I found a good one. 2- Print the character based on how big your canvas is. When I made the big Marvel paintings, I had to print it on four sheets of paper to get it big enough. I pasted the picture into Microsoft word, set the margins as narrow as I could and rotated the picture and printed so I would get each of the four corners. 3 - Once you have taped the sheets together to have one large image, tuck it behind the back of the canvas and use a few pieces of tape to hold it in place. It's time to trace! If you have a lamp handy that has an easily removable lampshade then that will work perfectly. I like to use a big clear Rubbermaid container for a flat surface to work on but you could just go right over the lamp if you want. Trace the outline of the image with a pencil and be sure to double check that you got the whole picture before you remove it from the back of the canvas. 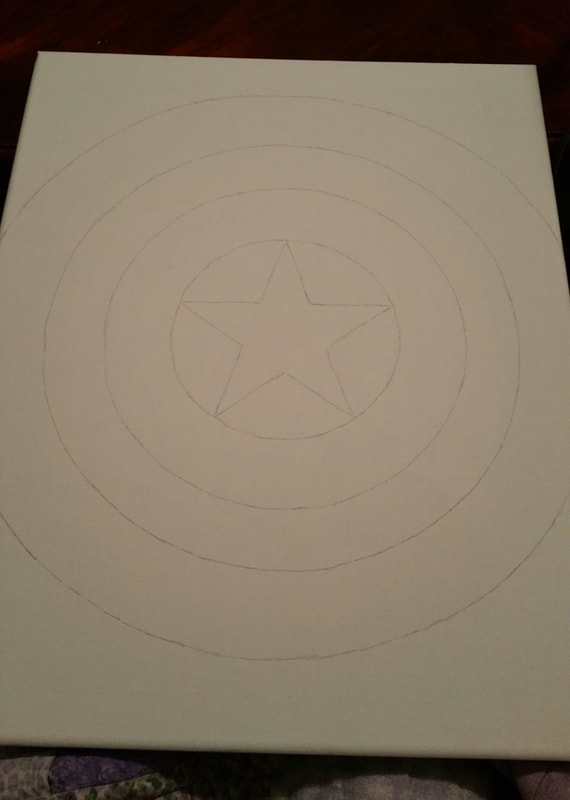 4 - Go back over the outline with a black sharpie, making it as thick or thin as you want it to be. Then, grab a good eraser to remove the pencil marks. It's okay if the lines aren't perfect at this point since they will get messed up a bit later as we fill it in with color and we will also be going back over the lines with black paint later. 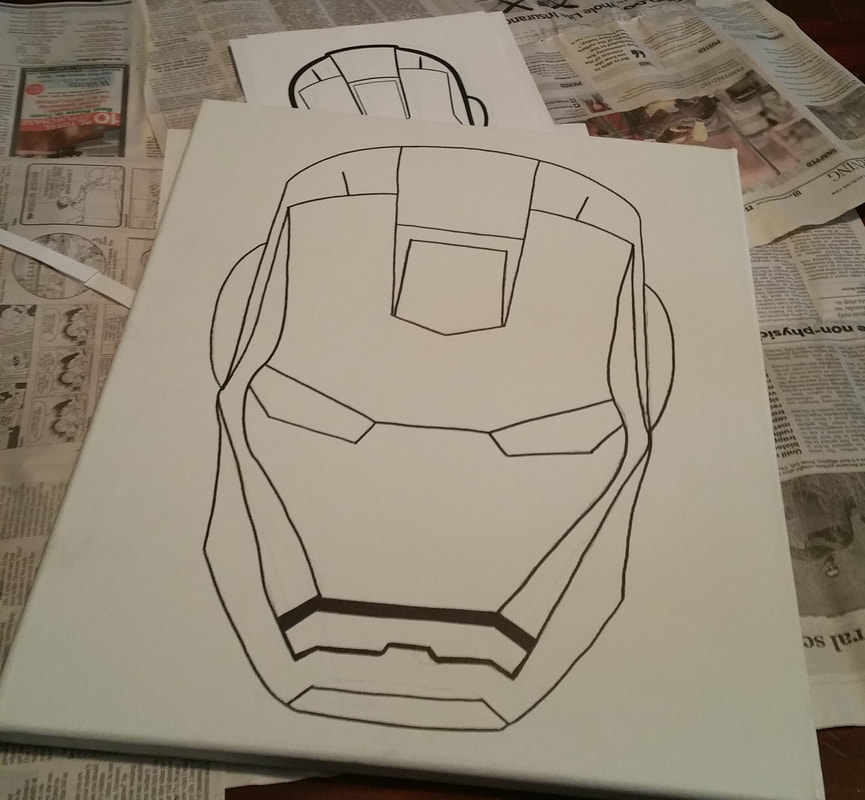 5 - I painted a few of these before I realized that you really need to do a base coat. This way, if you miss a few spots with your swirls then the color of the base coat will show through instead of the white canvas. Also, if your design is a little bit intricate then it will help you to remember which sections are which colors. So, just put a thin coat of paint in each section, trying not to get on the sharpie line too much, but ensuring that you cover all of the white. 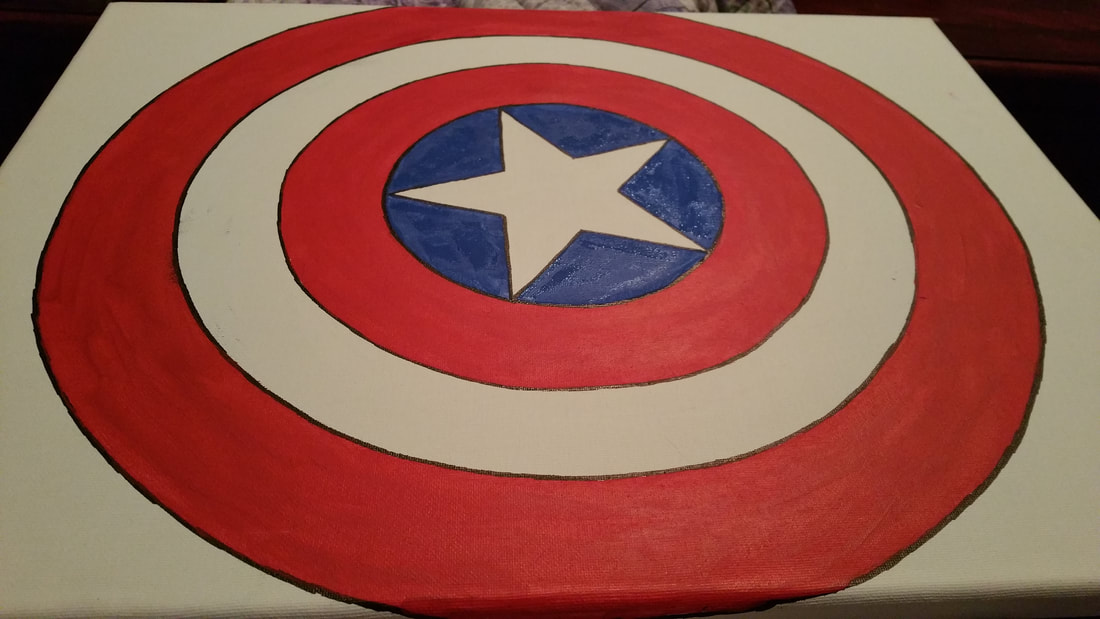 6 - Now it's time for the fun part! Get about five colors ready for the first section. I use 3 or more different shades of the same color along with a white and black. The majority of the paint used will be the main color (like the bright red for Mario's hat) and then a shade darker or lighter that might have an essence of another color (like a brownish-red or an orangish-red). If I really knew how to paint then I would use that for shading and highlighting, but this tutorial is all about painting something awesome even if you can't do all that 😆.I like to use a mix of the glossy and the flat paint to show some texture. You can see on Mario's face. The majority of his skin is flat but his eyes and his hat kind of pop out because I use more of the glossy on it. So, scoop big dots of your main color and little dots of your other colors until you have a decent amount of paint in that section. I work on a few inches at a time so my paint dots don't dry before I can get to Swirl them. Now, flip that paint brush over and start swirling! Don't just go in a clockwise circle over and over again. Move it all around in different directions. If you don't like the way you just swirled something? Throw some more paint on it and swirl again. I try to start with the innermost sections and work my way out so I don't end up putting my hand in wet paint and smearing it. 7 - After you have filled in the whole painting with your swirls then give it a while to dry so you can go back and define your sharpie lines without smearing anything. I like to let it dry overnight, but a couple of hours might suffice. Just touch it lightly in the thickest areas to see if it is still tacky. Now it's time to redefine our outline. You have two options here: you can use the sharpie again to go back over the lines (this is simpler since it's easier to control a pen than a paintbrush). The second option is to use paint for your outline. It's a little more challenging, but it does give it a nice finish. Either way it's going to look great.  8 - The only last thing that I recommend is to spray it with a sealer, especially if it is going in a kids room. We know that kid messes are not reserved just for the floor. Sealing it also makes it easier to dust. And now you're done! You have a beautiful painting and you didn't have to worry about drawing, blending or brush strokes. Please so show me what you made with this tutorial. I would looooove to see your creations. You can tag me on Facebook or Instagram. 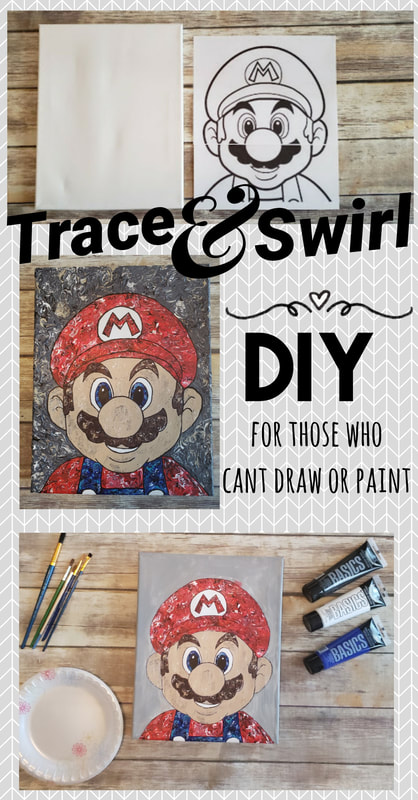 Create your own masterpiece and save money when you trace your favorite character on this painted canvas. |
Rebecca RiceOwner of Crafty Rice LLC. Categories
All
My Crafty Life is full of recipes, crafts, DIY, sewing, crafting, cooking, sanding, painting, glueing, cutting, planning, organizing and so much more! |
||
 RSS Feed
SOCIAL MEDIAwww.facebook.com/craftyrice
www.pinterest.com/craftyrice www.instagram.com/crafty.rice poshmark.com/closet/craftyrice |
ADDRESSP.O. Box 742
Lyman, SC 29365 |
|
Proudly powered by Weebly