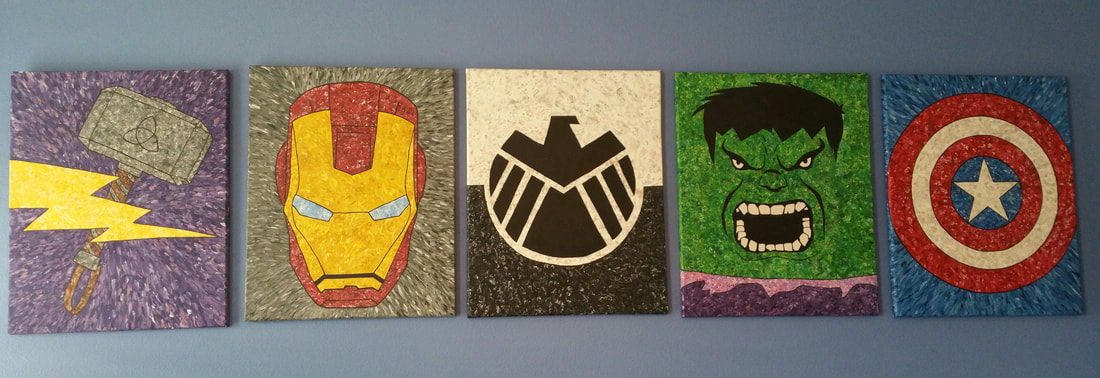
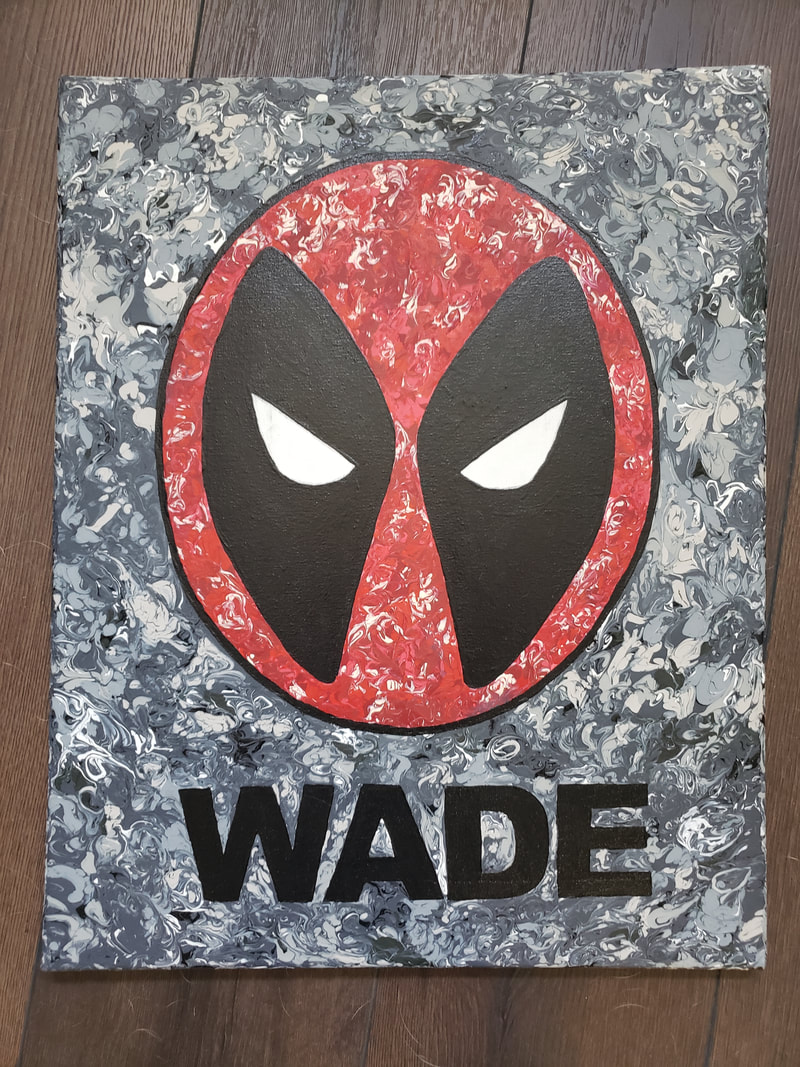
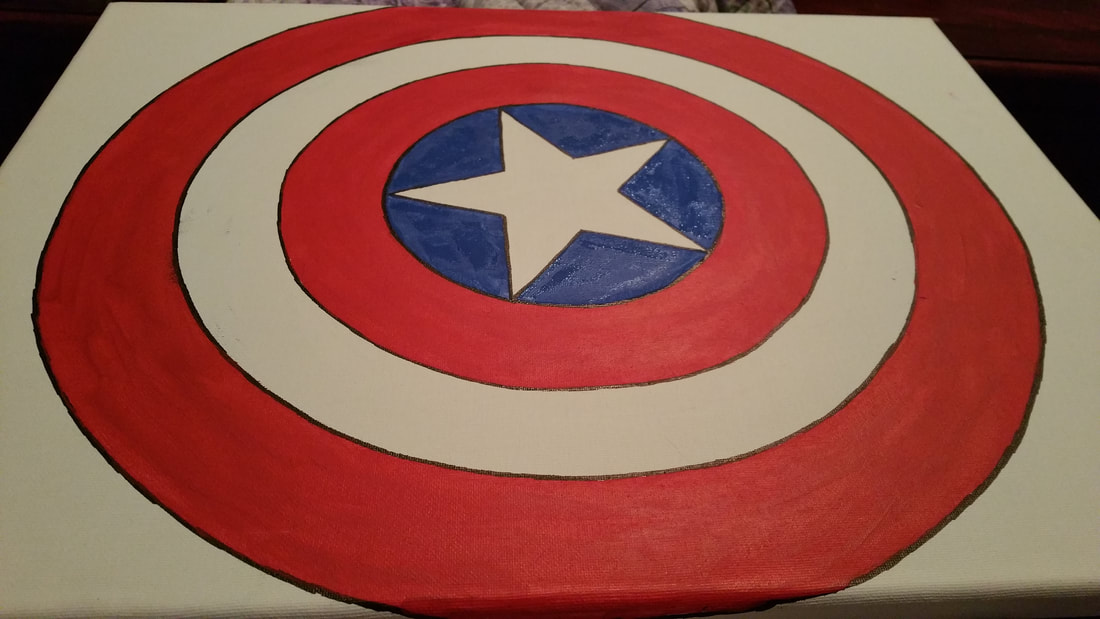
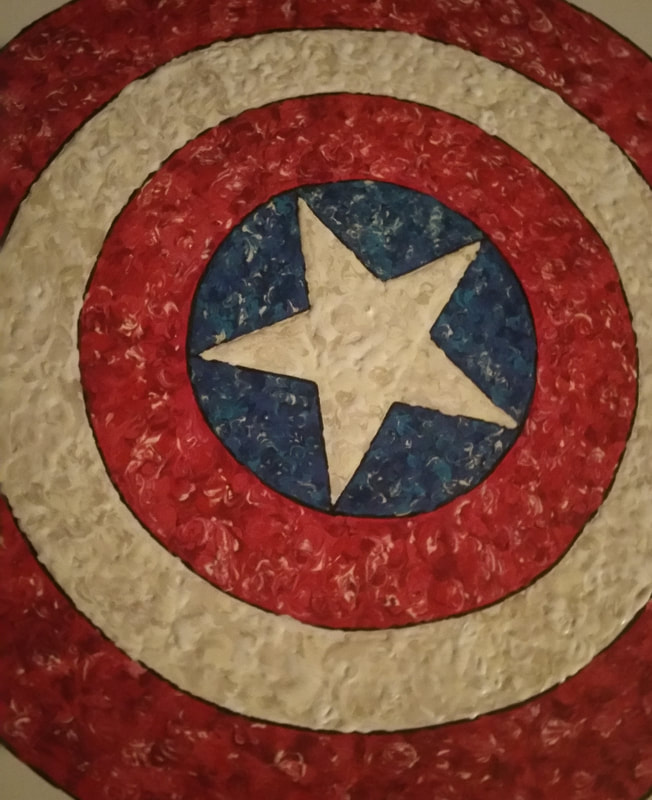
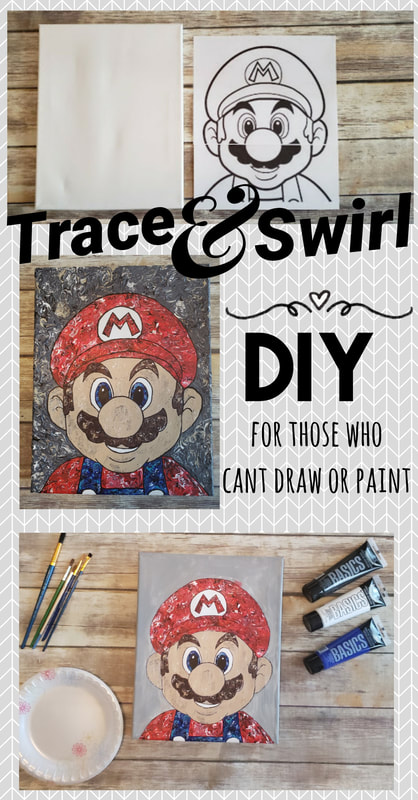
Make a painting of your favorite character or design even if you can't paint or draw.I know, I'm cheap... But $30 for a decent wall decoration? No thanks. I'll make my own for just a few dollars! Why waste money like that decorating your child's room with a character that they will love for a couple of years and then move on to another phase? The only problem is that I can't draw and I'm terrible at painting. So, I did a little experimenting and came up with a "Trace and Swirl" method of painting which really requires no skill. Here are a few examples of what I have hanging in my Nerd Room at home. I even made this one for Wade's birthday: These are some of the supplies that I like to use:
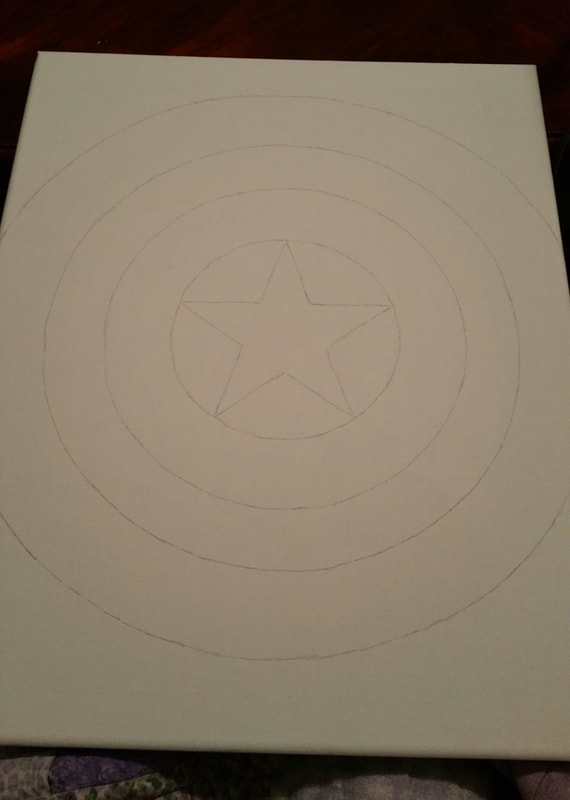
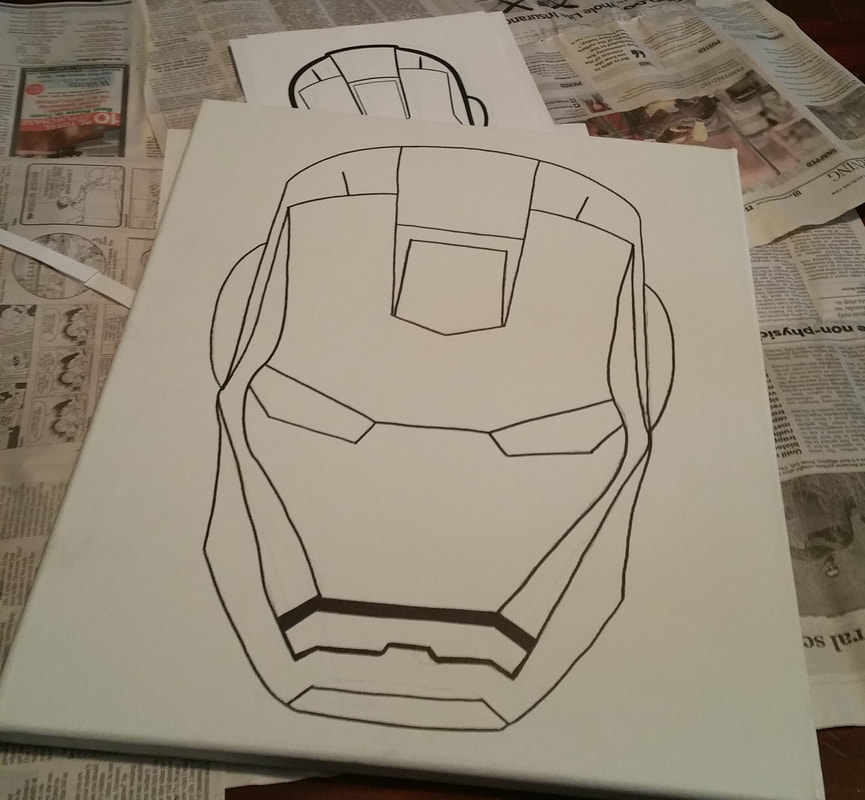
Here is the process: 1 - Find a picture of your favorite character online. This takes a little time to find just the right style. I used words like silhouette, face, stencil, coloring page, outline, etc., with the character's name until I found a good one. 2- Print the character based on how big your canvas is. When I made the big Marvel paintings, I had to print it on four sheets of paper to get it big enough. I pasted the picture into Microsoft word, set the margins as narrow as I could and rotated the picture and printed so I would get each of the four corners. 3 - Once you have taped the sheets together to have one large image, tuck it behind the back of the canvas and use a few pieces of tape to hold it in place. It's time to trace! If you have a lamp handy that has an easily removable lampshade then that will work perfectly. I like to use a big clear Rubbermaid container for a flat surface to work on but you could just go right over the lamp if you want. Trace the outline of the image with a pencil and be sure to double check that you got the whole picture before you remove it from the back of the canvas. 4 - Go back over the outline with a black sharpie, making it as thick or thin as you want it to be. Then, grab a good eraser to remove the pencil marks. It's okay if the lines aren't perfect at this point since they will get messed up a bit later as we fill it in with color and we will also be going back over the lines with black paint later. 5 - I painted a few of these before I realized that you really need to do a base coat. This way, if you miss a few spots with your swirls then the color of the base coat will show through instead of the white canvas. Also, if your design is a little bit intricate then it will help you to remember which sections are which colors. So, just put a thin coat of paint in each section, trying not to get on the sharpie line too much, but ensuring that you cover all of the white. 6 - Now it's time for the fun part! Get about five colors ready for the first section. I use 3 or more different shades of the same color along with a white and black. The majority of the paint used will be the main color (like the bright red for Mario's hat) and then a shade darker or lighter that might have an essence of another color (like a brownish-red or an orangish-red). If I really knew how to paint then I would use that for shading and highlighting, but this tutorial is all about painting something awesome even if you can't do all that 😆.I like to use a mix of the glossy and the flat paint to show some texture. You can see on Mario's face. The majority of his skin is flat but his eyes and his hat kind of pop out because I use more of the glossy on it. So, scoop big dots of your main color and little dots of your other colors until you have a decent amount of paint in that section. I work on a few inches at a time so my paint dots don't dry before I can get to Swirl them. Now, flip that paint brush over and start swirling! Don't just go in a clockwise circle over and over again. Move it all around in different directions. If you don't like the way you just swirled something? Throw some more paint on it and swirl again. I try to start with the innermost sections and work my way out so I don't end up putting my hand in wet paint and smearing it. 7 - After you have filled in the whole painting with your swirls then give it a while to dry so you can go back and define your sharpie lines without smearing anything. I like to let it dry overnight, but a couple of hours might suffice. Just touch it lightly in the thickest areas to see if it is still tacky. Now it's time to redefine our outline. You have two options here: you can use the sharpie again to go back over the lines (this is simpler since it's easier to control a pen than a paintbrush). The second option is to use paint for your outline. It's a little more challenging, but it does give it a nice finish. Either way it's going to look great. 8 - The only last thing that I recommend is to spray it with a sealer, especially if it is going in a kids room. We know that kid messes are not reserved just for the floor. Sealing it also makes it easier to dust. And now you're done! You have a beautiful painting and you didn't have to worry about drawing, blending or brush strokes. Please so show me what you made with this tutorial. I would looooove to see your creations. You can tag me on Facebook or Instagram. Create your own masterpiece and save money when you trace your favorite character on this painted canvas.
1 Comment
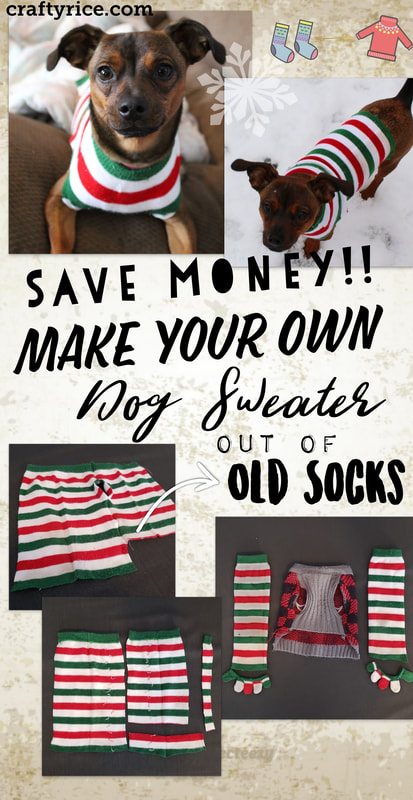
Follow this step-by-step tutorial to create a sweater for your pup from the socks that are collecting dust in the closet.
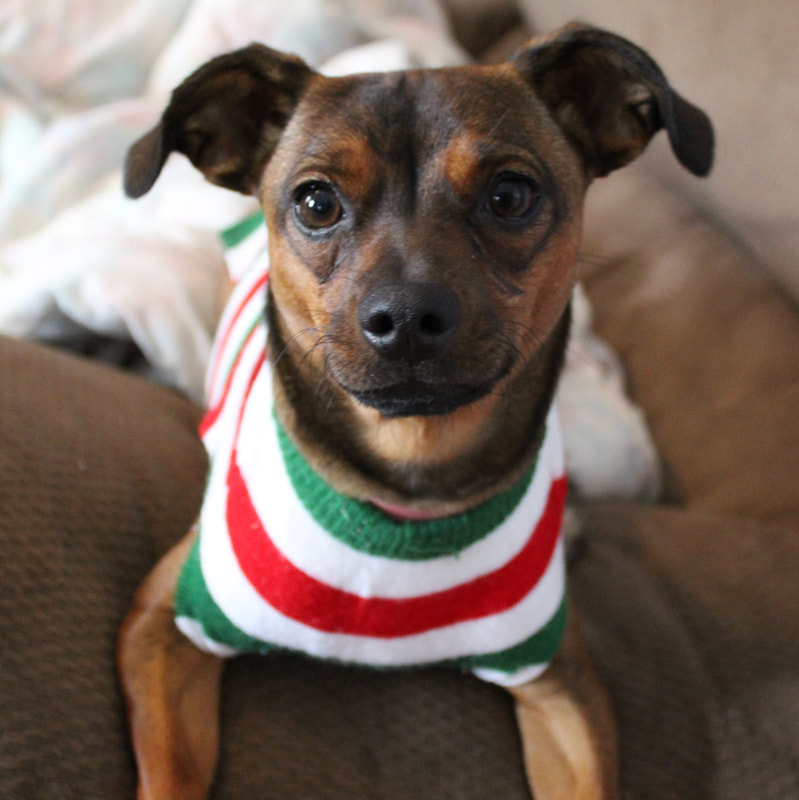
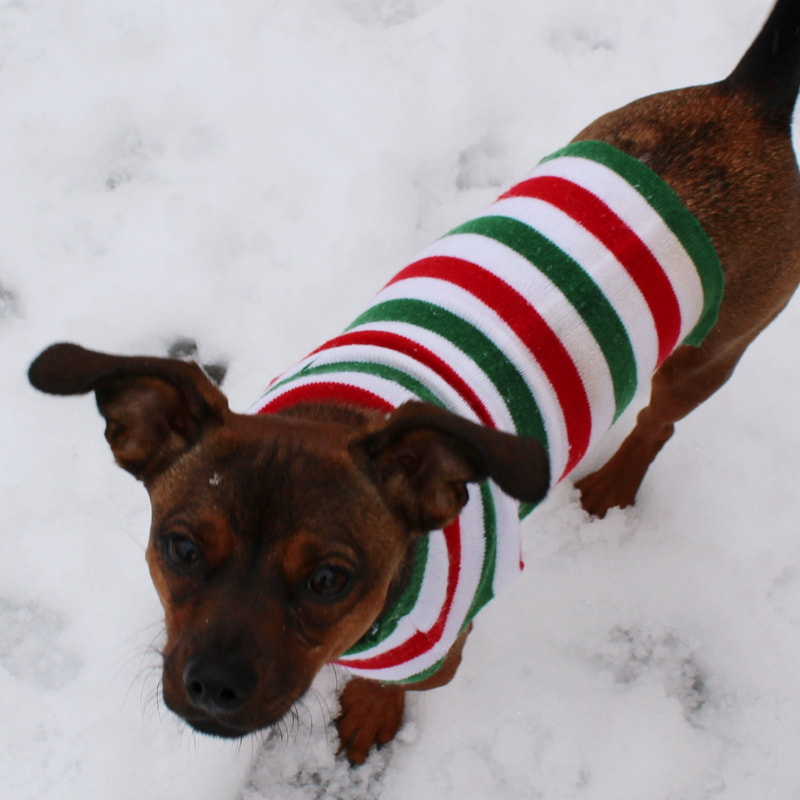
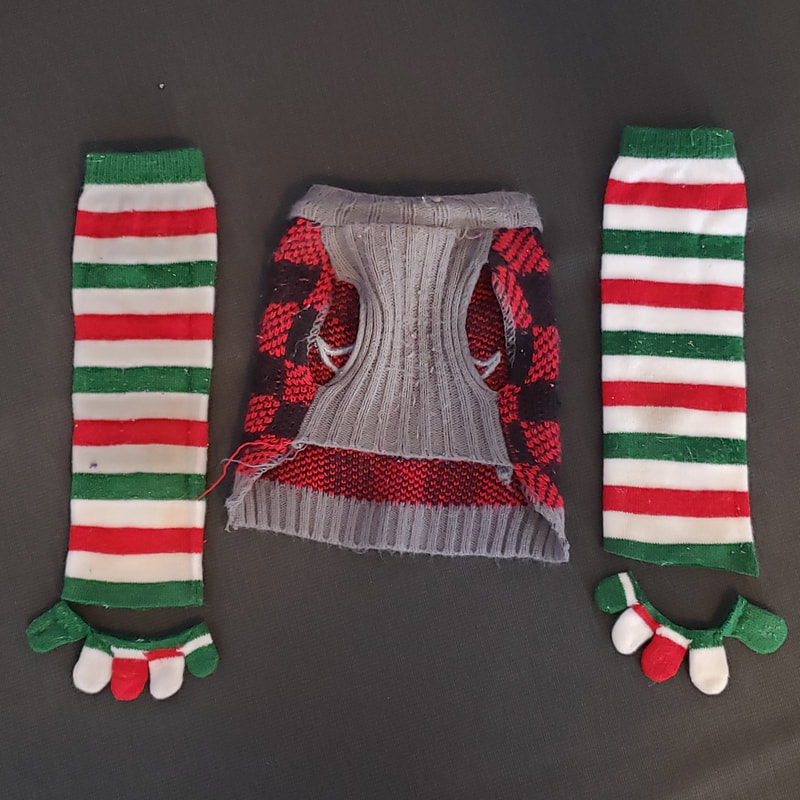
Remember when toe socks were a thing? I never really much cared for them. But I still ended up with a few pairs in my closet that were never being used. So, I decided to turn them into a sweater for my poor little shivering chiweenie. #dobbytherescuechiweenie
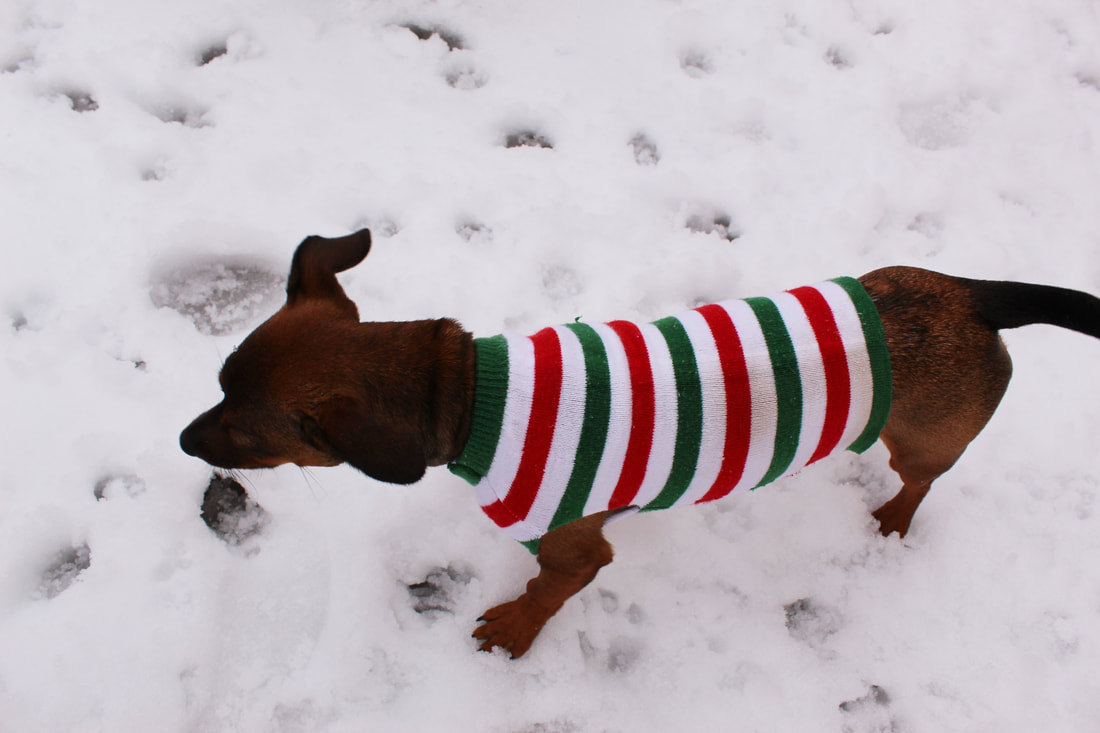
She needs to wear sweaters in the winter because she gets so cold and she needs to cover her scars on her back in the summer so she doesn't get sunburned. They don't seem to make dog sweaters long enough to cover up the scars all the way down her back. Therefore I decided to make my own. I used one of her best fitting sweaters as a starting template.
These socks work really well because they have a cuff on the top of them that can be the neck for the sweater.
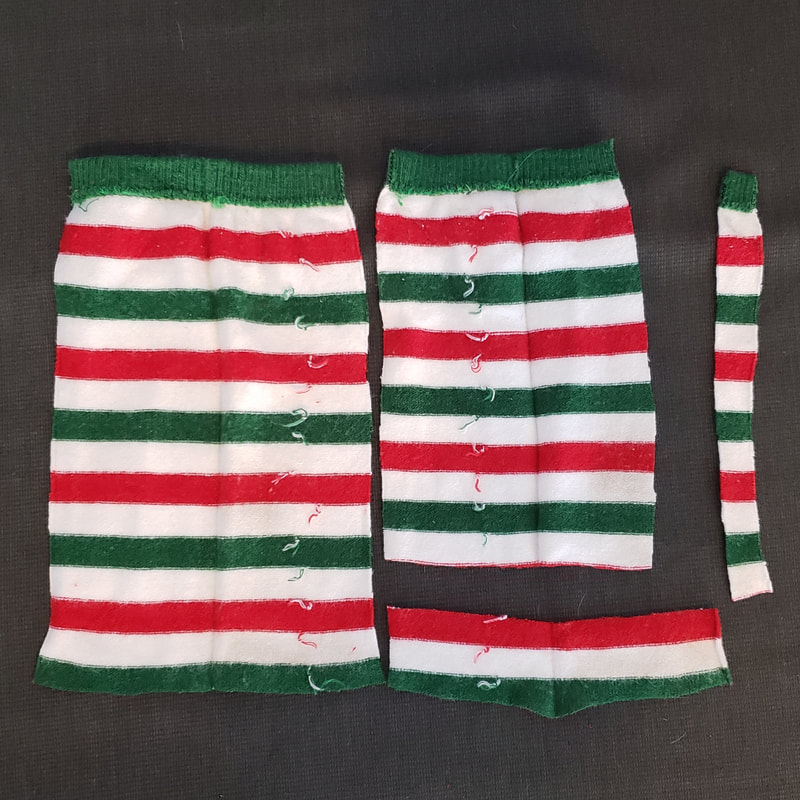
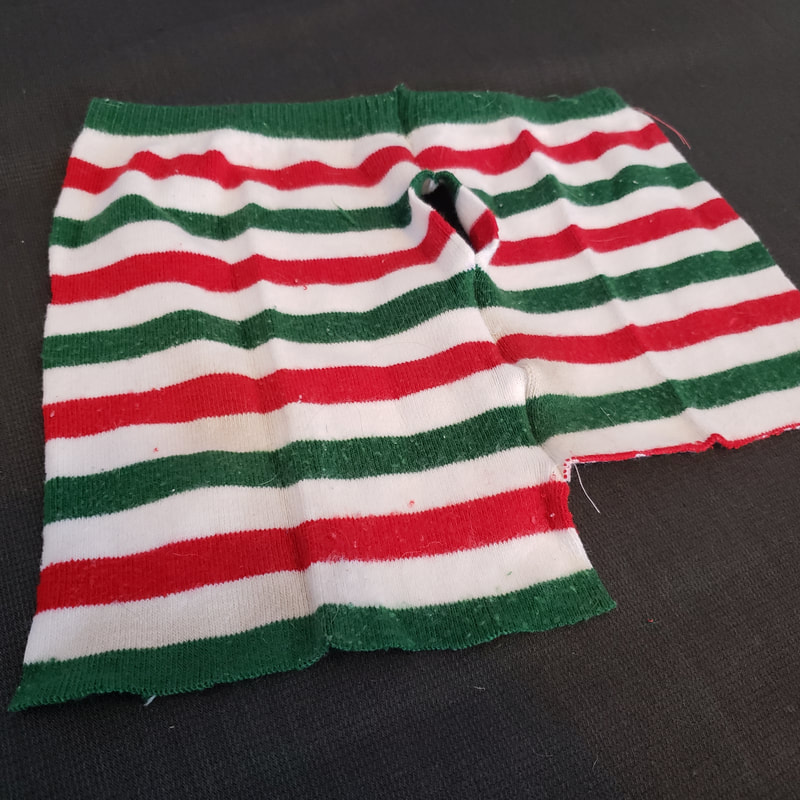
The first thing I did was cut off the toes and cut both socks down the side so I have two big rectangles of fabric. One of them should be slightly narrower and shorter than the other to go on the underside.
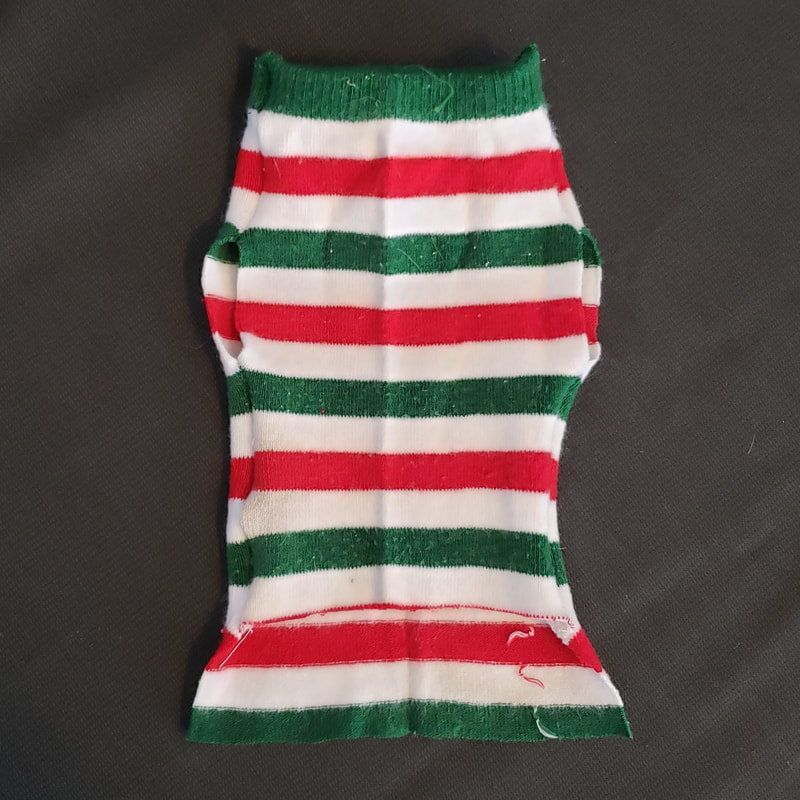
I pinned them with the good side together leaving a gap for the arm holes with a little mark of washable marker to make sure I don't sew too far.
I don't have a serger so I zigzagged the edges. Since it is sweater fabric, I zigzagged each of the seams twice just to be safe.
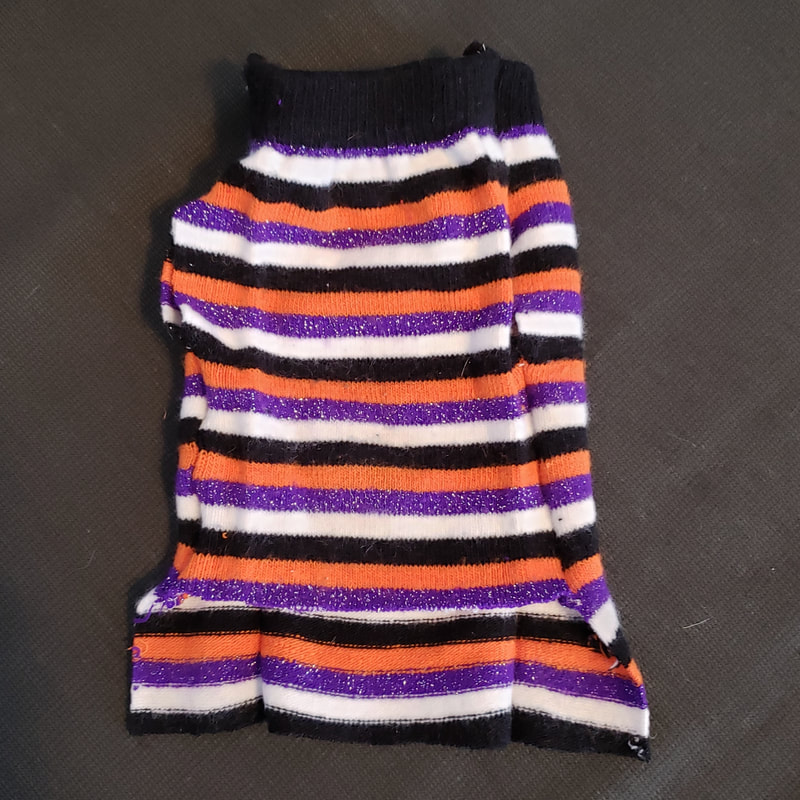
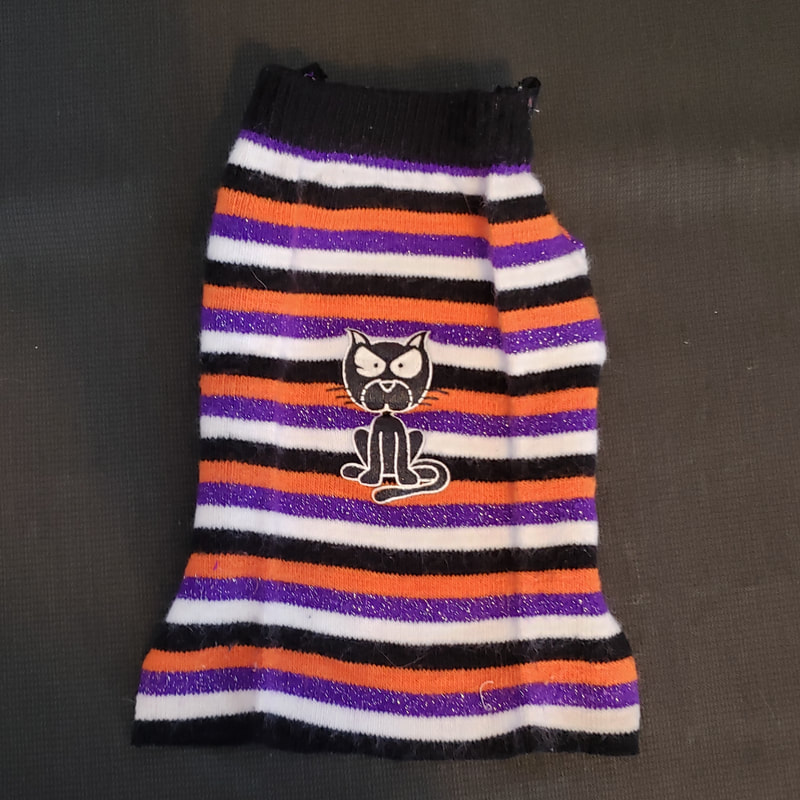
The first one that I made, the underside was a little too big so when I made the sweater from the Halloween socks, I cut the other sock a little bit smaller and it fit her perfect.
There is still a stack of socks on my sewing table that will become a new wardrobe for Dobby!
Here is a Pinterest-Friendly picture. Feel free to pin and share :)
And as always, here is a list of some of the supplies that I used in this project in case you want to take a look:
**Throughout this article, there may be several affiliated links. Purchasing items through these links generates revenue to cover the cost of running this website at no extra cost to you. In fact, in most cases the links provide you with an extra discount or sign-up bonus** |
Rebecca RiceOwner of Crafty Rice LLC. Categories
All
My Crafty Life is full of recipes, crafts, DIY, sewing, crafting, cooking, sanding, painting, glueing, cutting, planning, organizing and so much more! |
SOCIAL MEDIAwww.facebook.com/craftyrice
www.pinterest.com/craftyrice www.instagram.com/crafty.rice poshmark.com/closet/craftyrice |
ADDRESSP.O. Box 742
Lyman, SC 29365 |
|
Proudly powered by Weebly

 RSS Feed