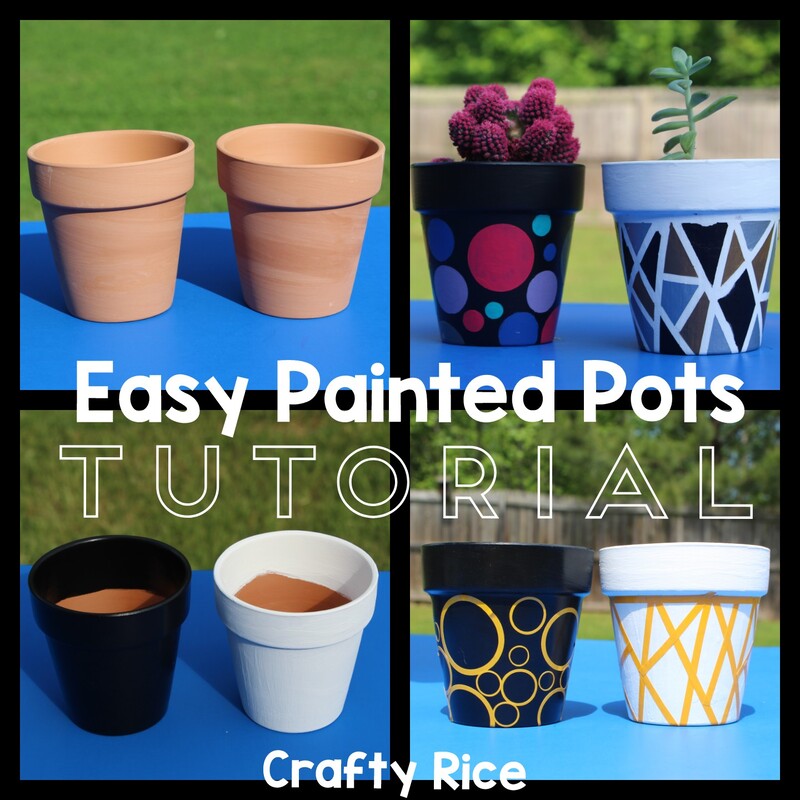
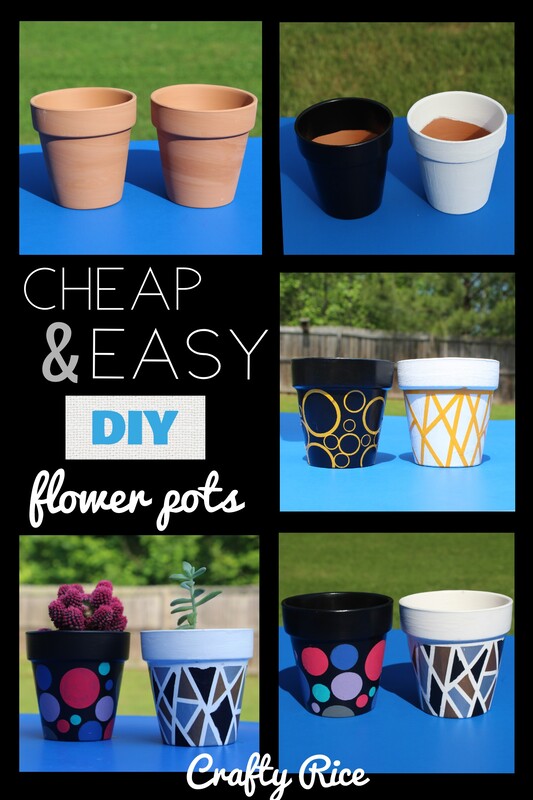
Quick and easy way to turn cheap, boring terra cotta pots into functional home decor.
Can you believe that I got a new 6 foot tall plant shelf for $15 off of Facebook Marketplace??
I was really excited to get some new plants to fill it up. However; there was no way that I was going to spend $5 a piece for some nice little pots. As usual, I decided to paint my own.
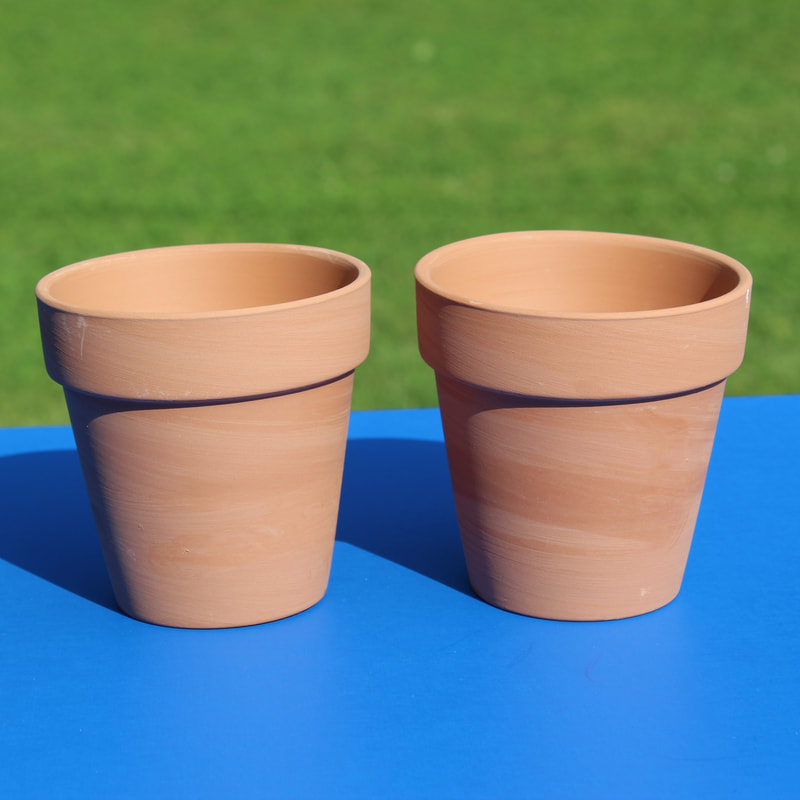
Dollar tree had packs of two clay pots for only $1 but I wanted something colorful.
I found inspiration from those nail painting videos that I'm obsessed with watching all the time. They use stickers to cover parts of the fingernails and then paint amazing designs. I can watch them all day (and sometimes I do).
I gathered up all my supplies: acrylic paint, paintbrushes, newspaper (because I always make a mess), clay pots and I looked through my craft bins for stickers that would make neat designs.
These are some of the products that I used or suggestions for something similar:
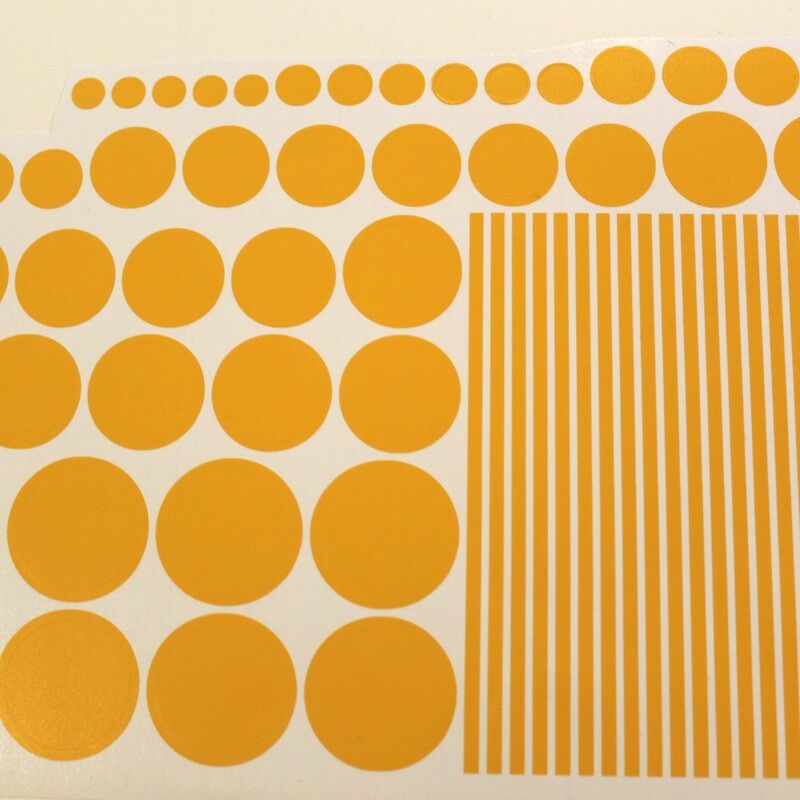
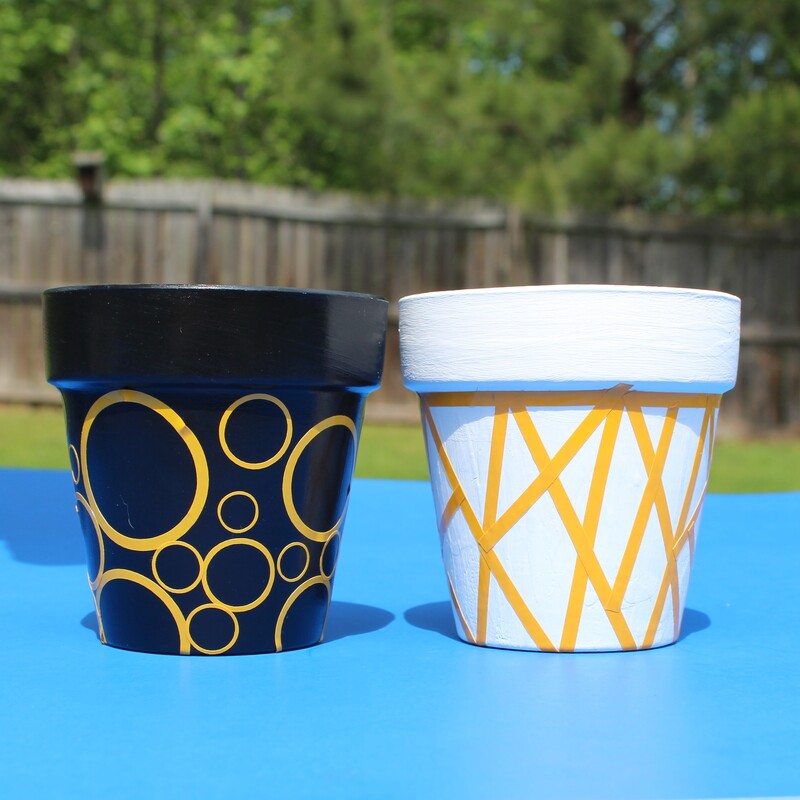
That's when I cheated a bit. I didn't really have great stickers for this project so I went into Cricut Studio and just cut a bunch of circles and lines. You want to make sure that they are thick enough so you can paint on top of them and it won't end up in the wrong section.
This is what my sticker sheet looked like:
Layer on a few coats of the base color until you can't see the color of the pot anymore. I needed two of the black and 3 of the white.
Make sure that you paint down far enough on the inside to where the dirt is going to reach. No point in wasting time or effort or paint for the part that you won't be able to see.
Once it's dry, arrange the stickers as randomly as you can. This is where I usually struggle. I am a bit OCD with how I need things to be organized and straight, so most of my designs are too symmetrical. I think these came out okay.
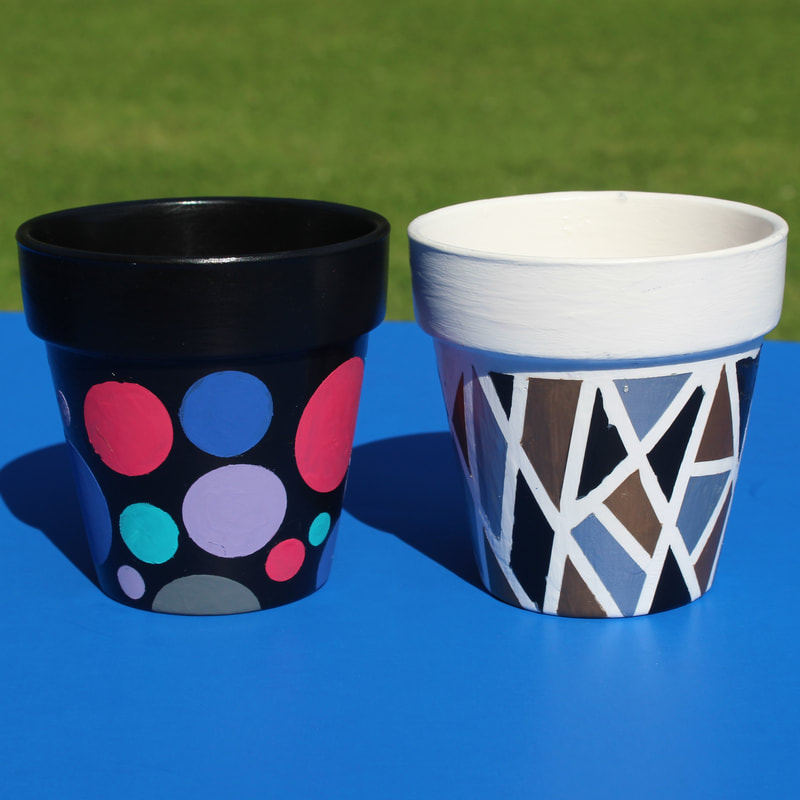
Have some fun painting all sorts of random colors inside your design. I went with metallic paints for the white one and bright colors for the black one.
You need to paint a few layers so the color of the base coat does not bleed through.
I used my Xacto knife to pull off the stickers and there were a few spots where I painted outside the lines but the knife also worked well for scraping those small spots off. A little bit of the paint peeled off with the stickers in a few spots too, but I'm happy with the result.
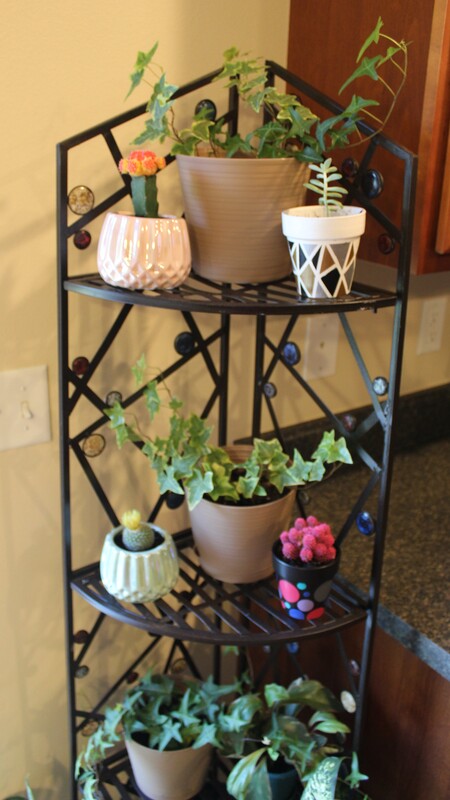
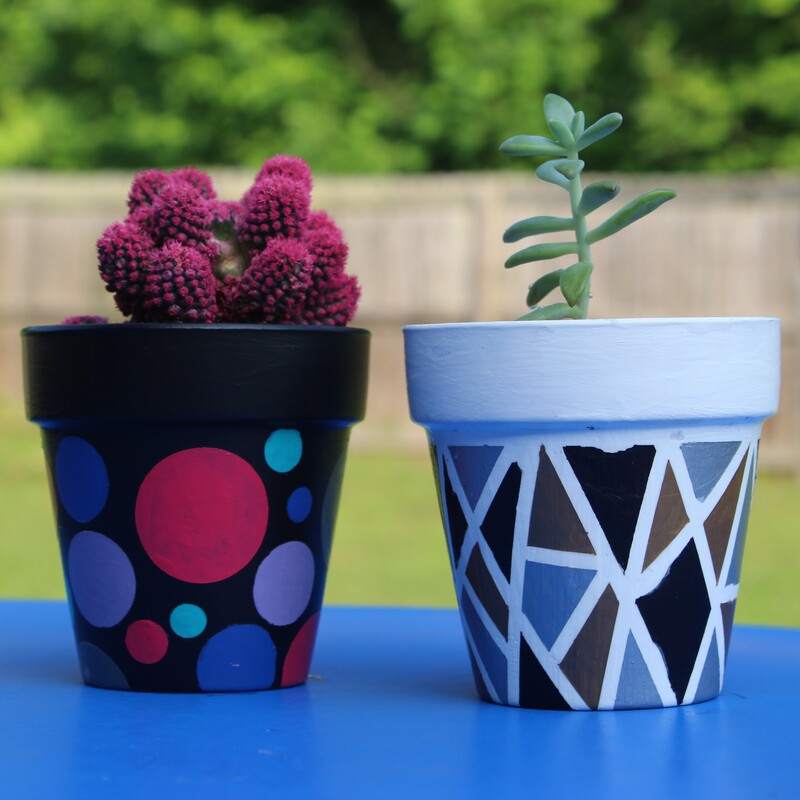
As a rule, whenever I paint something with acrylics, I like to spray some sealer on it or put a coat or two of Modge Podge to protect it. All that is left is to find some cute little flowers or succulents for your adorable little pots. I used a little bit of landscaping fabric and rocks in the bottom to avoid a mess. Here they are!
Don't they look fantastic on my new cheap shelf!!
2 Comments
6/9/2021 07:31:09 am
I am never really one to believe to believe in facts like these, however, I cannot help but try them out. For the most part of my life, I have been sick. I spent my entire childhood in a hospital, and it really made me depressed. I really wished that I could live a normal life, but that is not what God has envisioned for me. I will try my best to get better, I will even use these tips that you shared.
Reply
Leave a Reply. |
Rebecca RiceOwner of Crafty Rice LLC. Categories
All
My Crafty Life is full of recipes, crafts, DIY, sewing, crafting, cooking, sanding, painting, glueing, cutting, planning, organizing and so much more! |
SOCIAL MEDIAwww.facebook.com/craftyrice
www.pinterest.com/craftyrice www.instagram.com/crafty.rice poshmark.com/closet/craftyrice |
ADDRESSP.O. Box 742
Lyman, SC 29365 |
|
Proudly powered by Weebly


 RSS Feed