Transforming and old Entertainment Center into Adorable Farmhouse Chic Shelves with Shiplap Contact Paper and Glass Mosaic with Grout.
Buckle up! This is a long one . . .
You know how sometimes you have a piece of furniture in your house and you just absolutely hate but you can't justify getting rid of it? That would be the end pieces of this old entertainment center. (pardon the clutter) 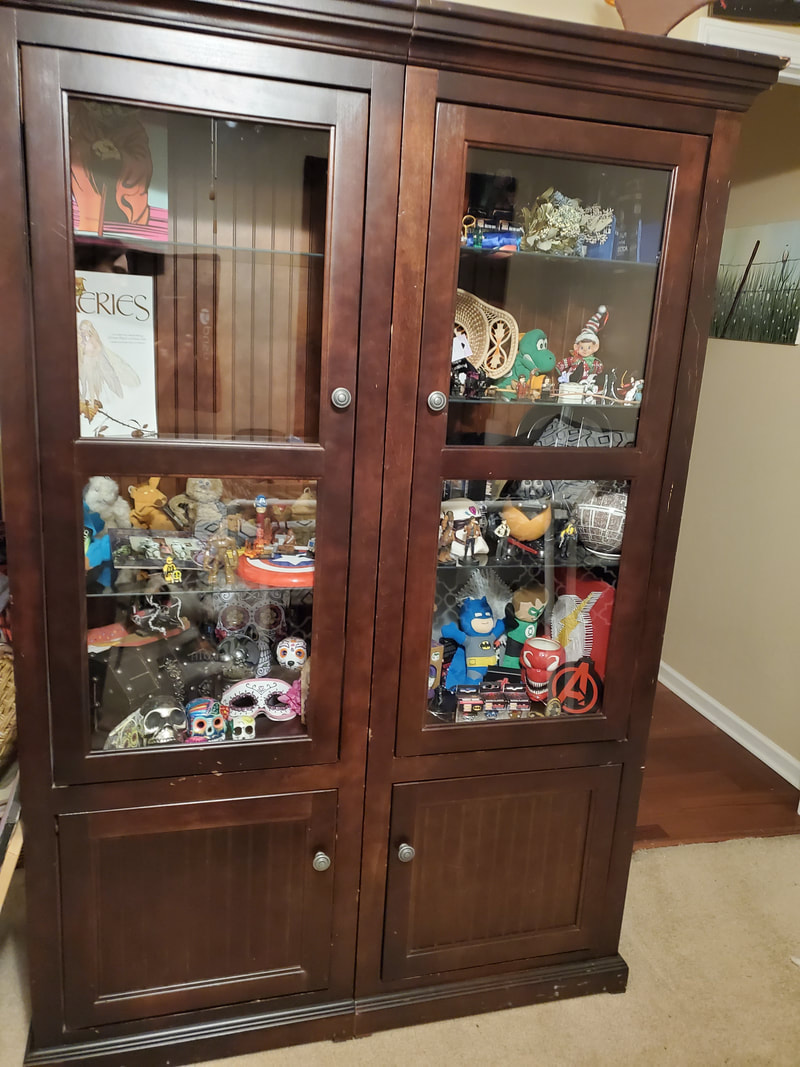
1 - I'm not a huge fan of darker wood,
2 - I hate glass because I always end up breaking it (spoiler alert, I did break one of the panels during this project) 3 - It's just been so scratched up from cats and dogs. You know what that means! Time for a project... Step One: Preparation
Step one was to take off all of the hardware and carefully remove the glass.
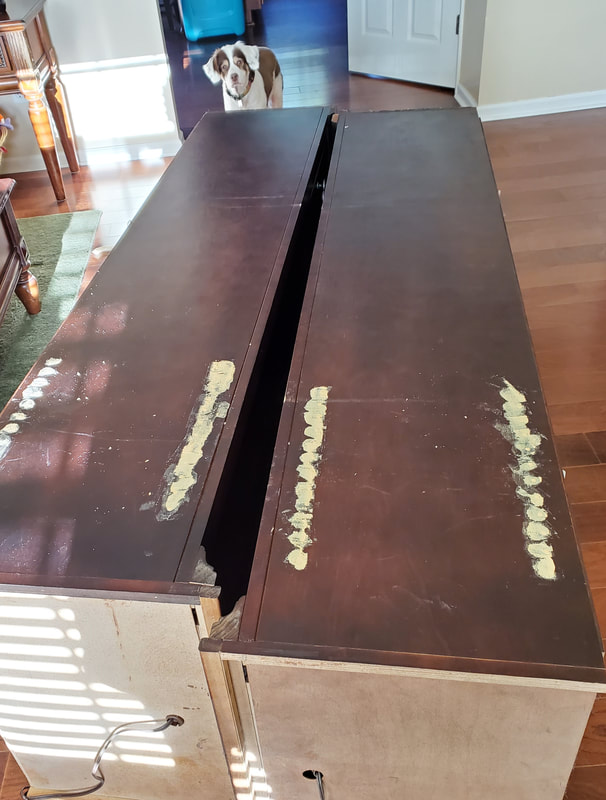
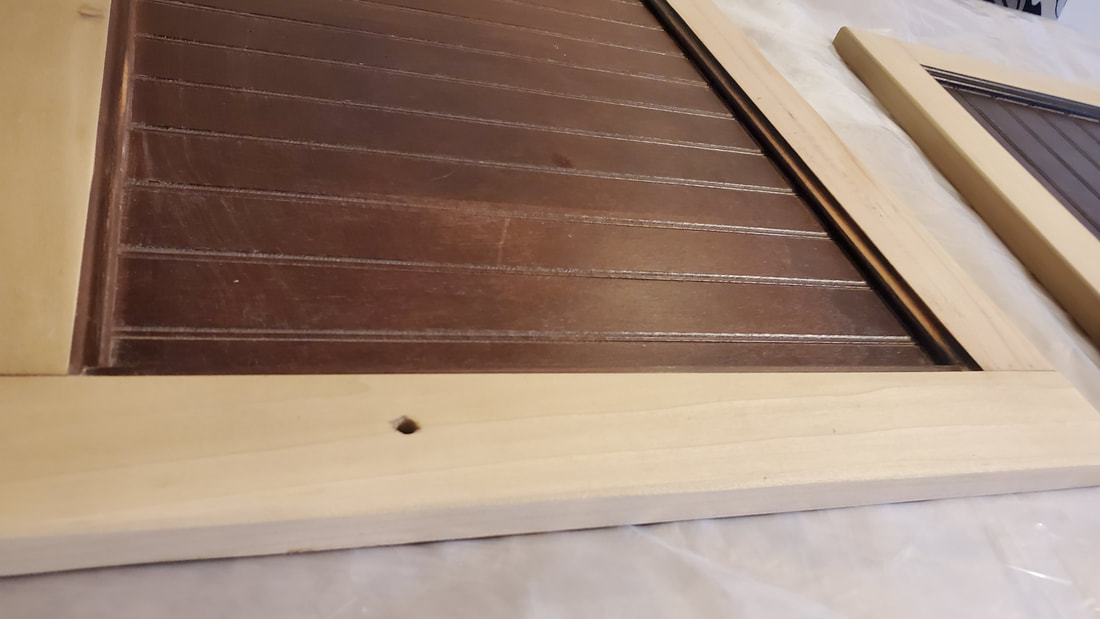
Well, if I'm being honest, I did not remove the glass carefully enough. I shattered one of the four door panels when I was pulling it out. It shattered all over the carpet and I scared the dogs half to death when I was trying to rush them out of the room so I could vacuum in there. I'm still scared to walk in that room barefoot and I vacuumed it a hundred times. I debated long and hard about building some wood shelves because I just don't care for glass. I always end up breaking it because I'm so clumsy. There were some holes that I needed to fill with some wood filler because there used to be a shelve between these two units so there were holes for support 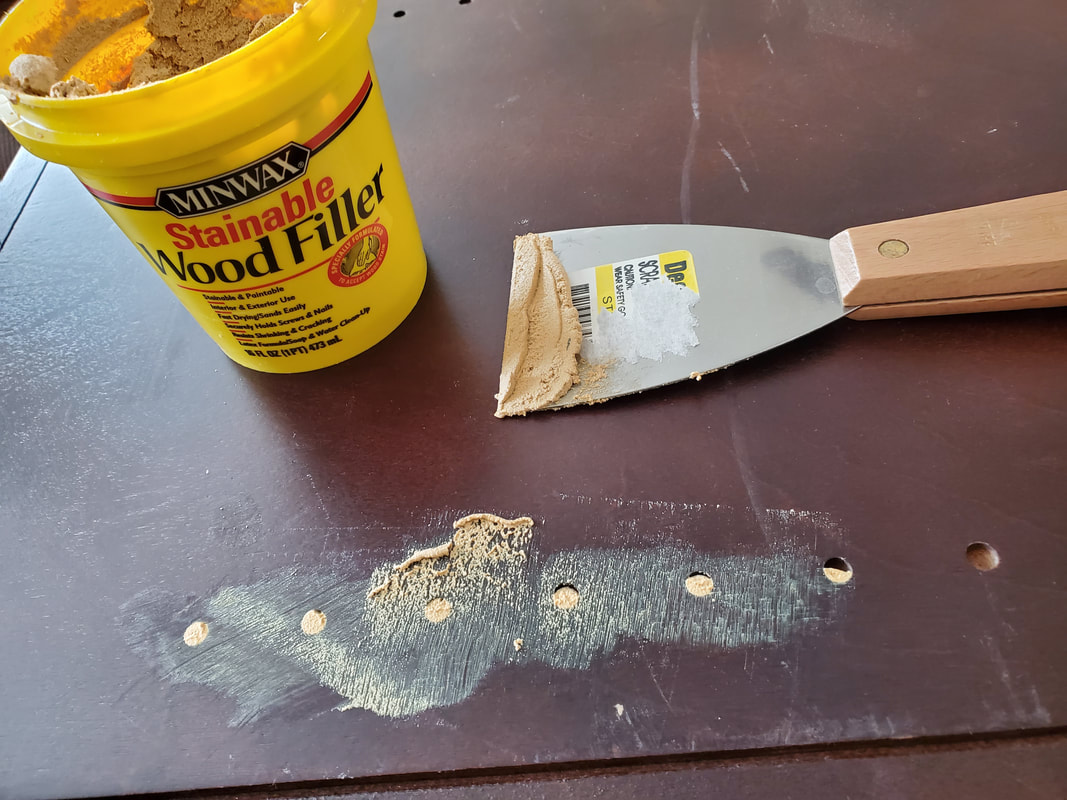
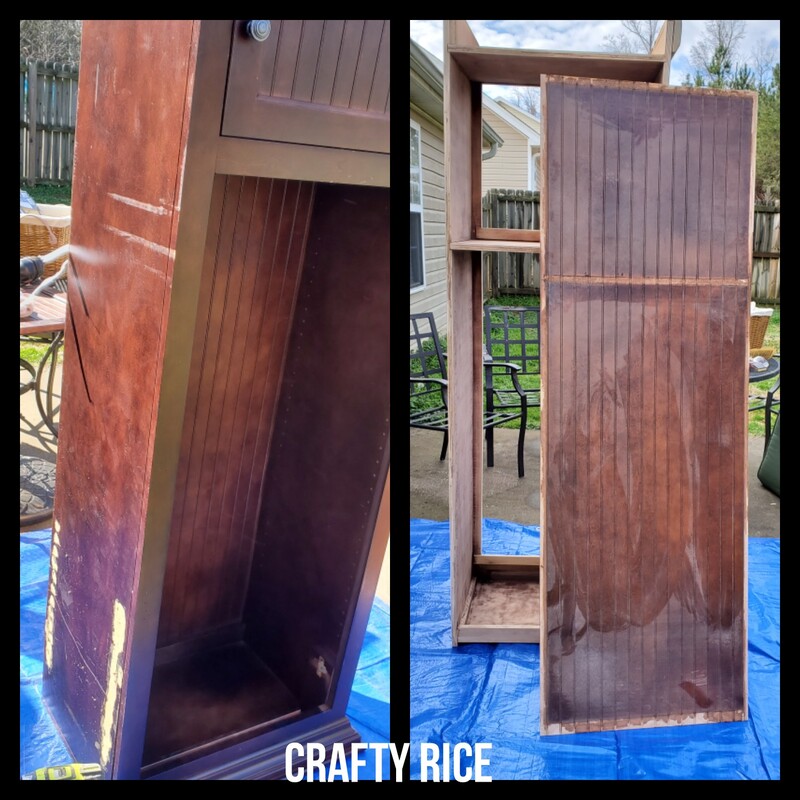
Step Two: Sanding
After the doors were removed I started sanding but the back panel was really getting in the way. Luckily it popped right off. When I removed it , it made it so much easier to get to the corners.
Sanding is a three step process for me (I know, I'm pretty OCD).
Don't forget: Safety First!
I might look like a crazy person, but at least I can breath after a day of sanding! (notice my supervisor to the left) 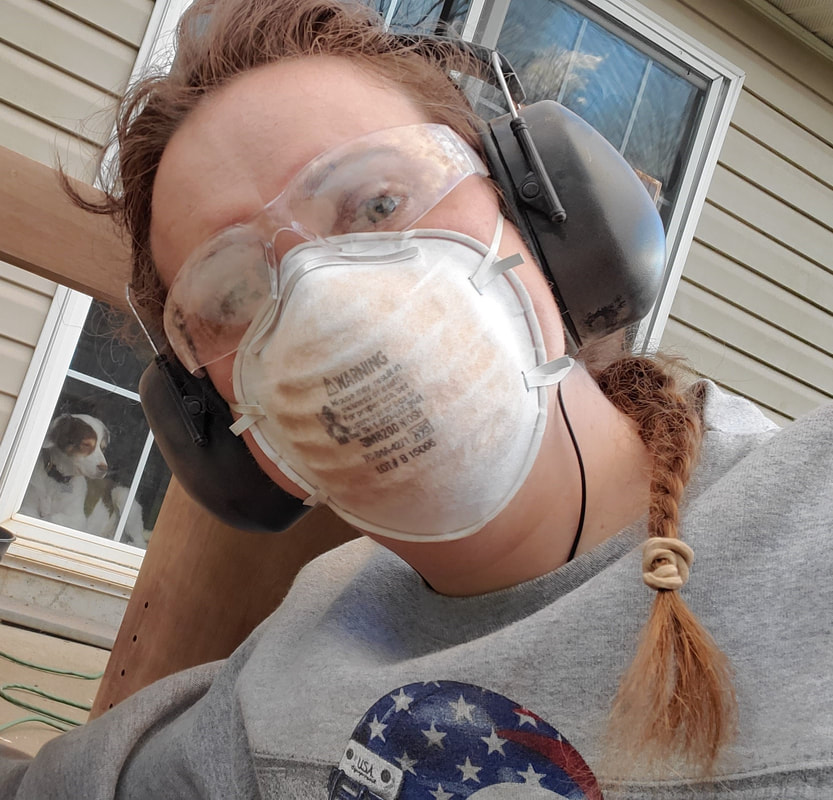
As for the sander, I tried something new this time because I bought myself a new tool for Christmas. Wade and I are obsessed with our Ryobi's because we can swap out the battery in any of the tools. I added this new belt sander to my collection
Now, I just barely touched it to the wood for a second because this thing is pretty hardcore.
I don't recommend using it for just any project. Especially something that has a thin veneer. You are likely to just sand straight through it. Since I was painting this instead of staining it I thought it might be okay if I go a little too deep. Luckily I just kissed the surface with the sander and didn't get through the veneer. **If you use a belt sander, be very careful because they will eat through your wood in seconds** Once I got the worst of it off with the belt sander then I sanded it like normal with my palm sander.
Some people prefer an orbital, I a square guy because it's super easy to buy the sheets of sandpaper and then just cut them into fourths. You know me, I'm super cheap so I don't want to have to buy something expensive or special just for this device.
My little multi-tool also came in super handy around the edges because it was a really hard to do the crown molding and the corners. However; I only used it where I had to because I don't want to have to buy replacement sanding paper for it. (here are the replacements that i bought)
Once the wood is sanded down with the finest grit, it's best to take a slightly damp shop towel or paper towel and wipe all of the dust off. I have skipped this step in the past and I ended up with lumpy paint from all the sanding dust.
Of course, this means that you have to give it time to dry before you paint. I'm always in a rush to get to the next step because I'm excited about my projects and this adds a little bit of a wait but it makes for a much smoother surface. Step Three: Painting
If I'm being honest, I'm not very happy with my selection of paint. I went to the hardware store to get a bucket of paint for my doors and baseboards and they convinced me to buy the $60 gallon of cabinet paint because it was supposed to be a one-coat durable solution.
"No need for primer" they told me. "No color is going to show through". I call shenanigans on that. After the first coat I could see how the tiny spots of stain that I did not remove were bleeding through into the paint spreading out several inches. Very disappointing. I mean, I would expect this when I buy the cheap stuff but not when uncharacteristically, I actually splurge on the good expensive stuff. Just like I always do. I made it work. I ended up putting on three coats until I finally couldn't see the small amount of stain bleeding through. 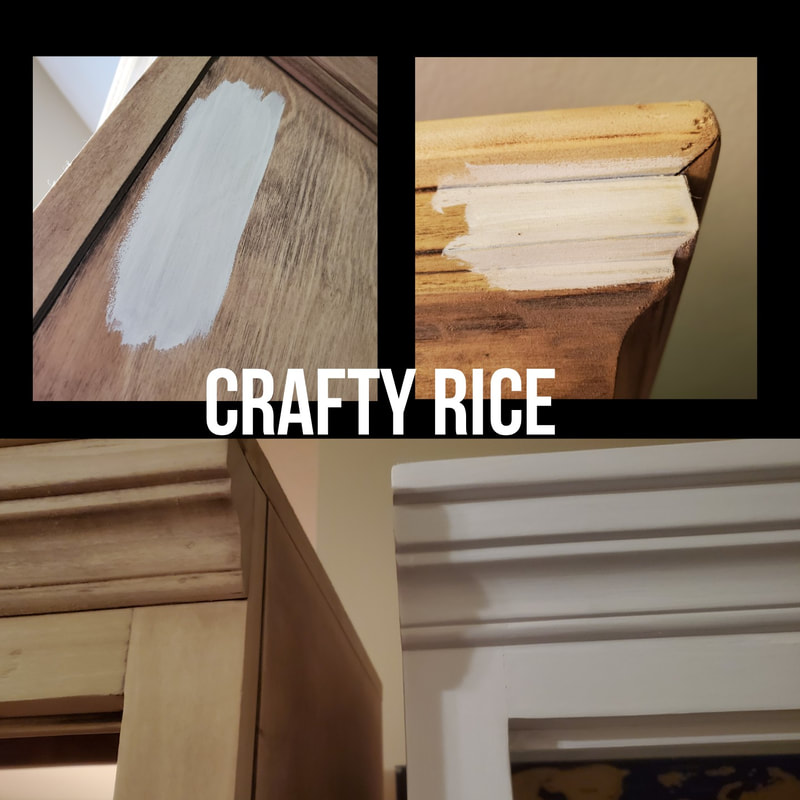
Step Four: Protection
Next is the polyurethane coat.
You absolutely have to put a protective coat on refinished furniture. I'm not a huge fan of using wax because you have to reapply every couple years. I'm not about that life. I am more of a one-and-done kind of person. I don't want to have to worry about maintaining it on a regular basis. Also, I really hate shiny furniture. I don't like a high-gloss or even a semi-gloss or low gloss. I am matte finish all the way.
It used to be that you could not find a polyurethane that has a matte finish, you were lucky if you could get something that was a semi-gloss. Now a-days, you've got a couple options for a matte polyurethane finish.
This is the one that I use and I really like the way that it goes on. It has a little bit of a milky color when you put it on so it's easy to see where you have already applied but it dries super clear. You almost can't even tell that it's there because there's no gloss or changing color. That's the way I like it. I want the color of the paint to shine through and not the polyurethane. I hate it when I see a polyurethane that yellows the wood. Definitely a Pet peeve! Step Four: "Ship-lap" Backing
Well, those were easy enough decisions for the actual frame of the shelf. Now when it came to the doors and the back of the shelf . . . that's when I spent quite a bit of time debating.
I really don't care for the textured look of the back of the shelf. I thought it looked very dated. I considered painting it white and it would blend in but I still thought that the texture was off. Then I thought about flipping it over and painting the back but the back really didn't look all that great. 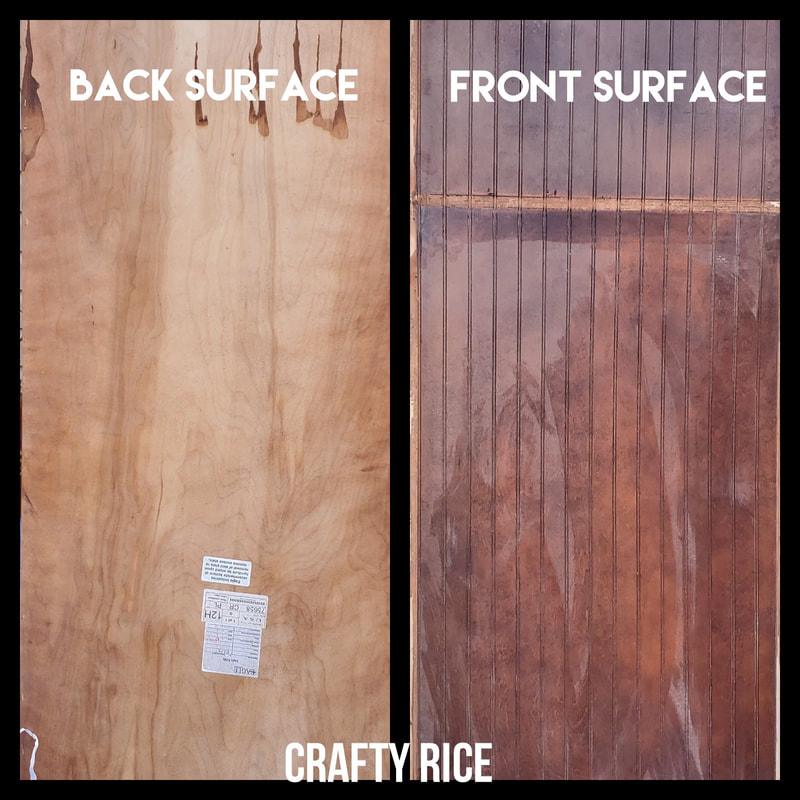
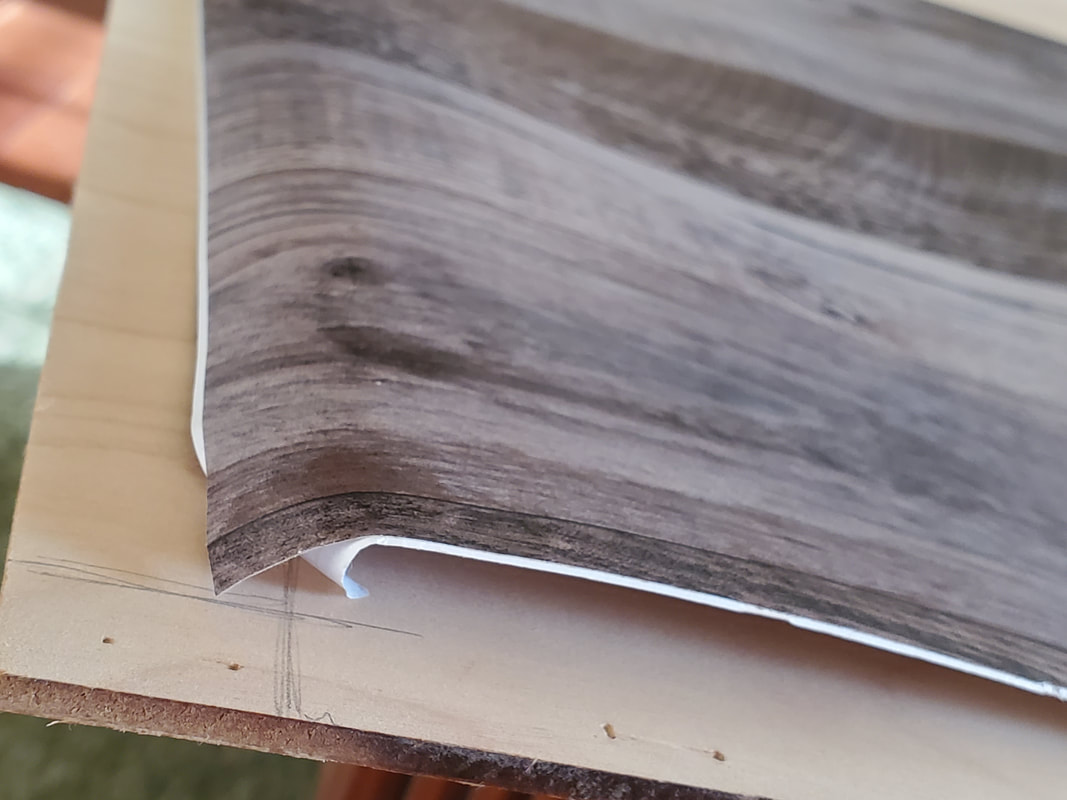
My next thought was a ship-lap look. I don't know if you've tried ship-lap before but my dad is a carpenter and he tells me that is absolutely a pain in the butt to do. So I did some research. Good old Google. I found a contact paper that looks like ship-lap and actually has a little bit of texture to it. I usually don't care for using contact paper in my projects because it has that glossy shine that just makes it look cheap. This contact paper, however, has a matte finish with a little bit of a texture.
I'm not going to lie, when it came in the mail I was sure that I was going to open it up hate it and have to return it but, as soon as I saw it and felt it I was in love with the texture. Then, I thought that it was going to be an absolute pain to put it on the wood.
We've all had that experience with putting down contact paper and there's a bubble or it's not straight so we have to pull it off and put it back on but then it's not sticky enough. I cannot believe how this stuff just spread on like butter on a warm biscuit. It was the easiest thing I've ever applied. There were a few tiny bubbles in it and they smoothed away with my hands. I didn't even need to get out of squeegee like I normally do. I noticed that there are quite a few other prints that I might just have to try for other projects as well. 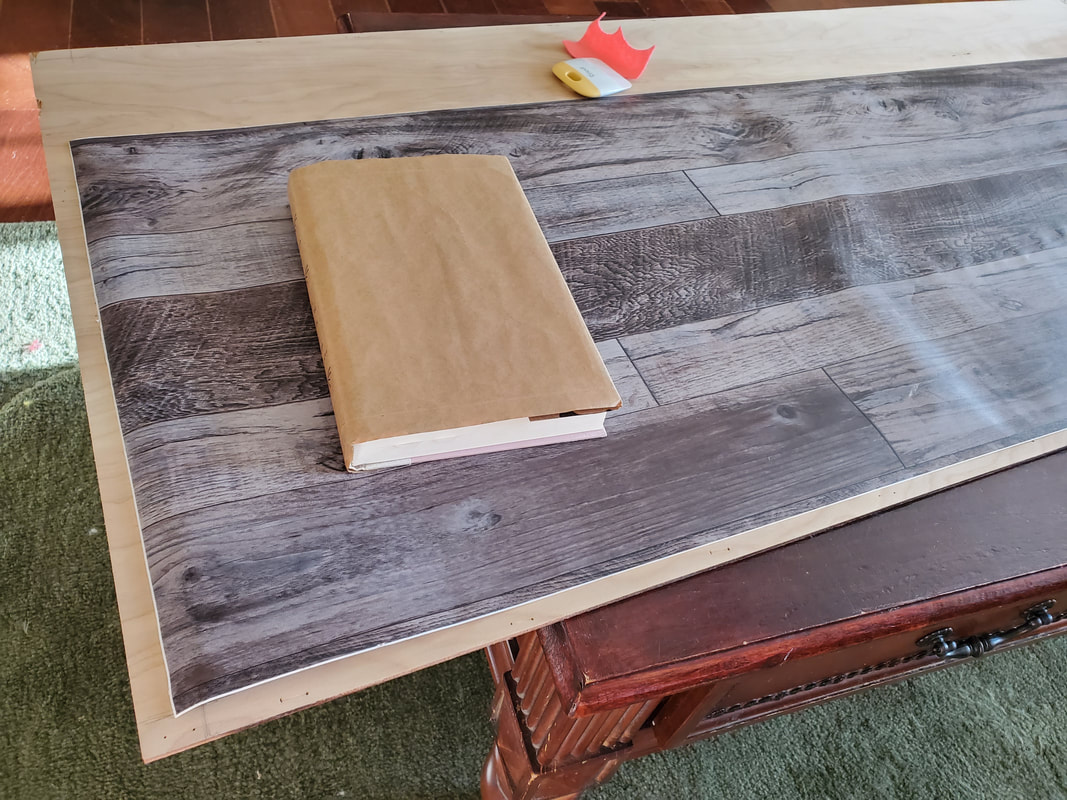
The one mistake that I did make was not planning appropriately to make one roll work for both shelves. If I would have thought ahead, I could have just put the paper on the top part above the cabinet and I could have put it on a few inches in from the edges but I didn't and one roll just wasn't quite enough. And I didn't feel like peeling it back off so then I had to order another roll from Amazon and wait a couple days to get it. Oh well, I learned lessons with each project.
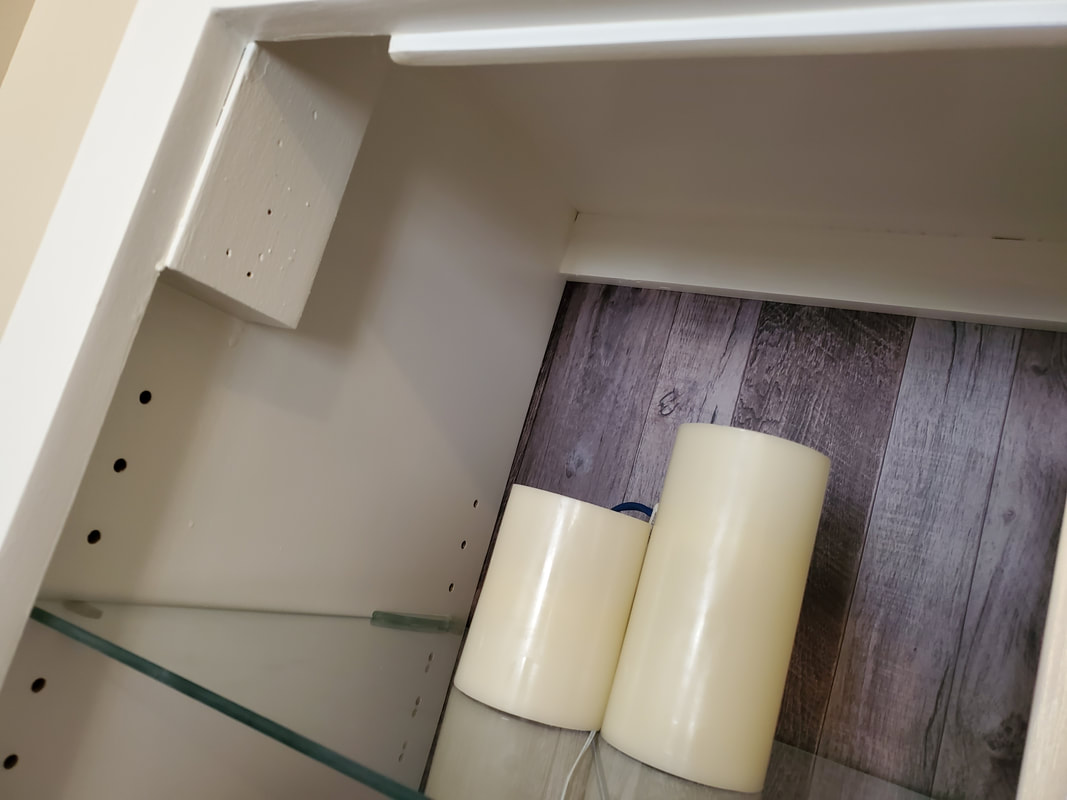
Although, I'm really not disappointed in the fact that the ship-lap is in the bottom cabinet area. I know that you can't really see it from the outside but I like opening up the cabinet and seeing that pop of color. 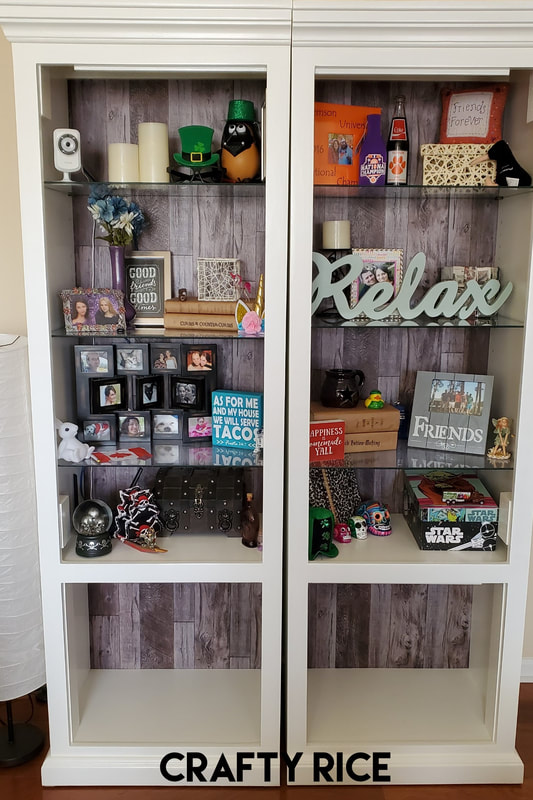
I channeled my inner Carpenter and made sure that when I was putting the back on the shelf that I measure twice and only screwed once. It was weird the way that it lined up, I had to set it off a few inches from the bottom but I think that it turned out really well. I used a few screws because my staple gun was not working for me. I'm glad though, because it had staples in it before and they always seem to be coming out. 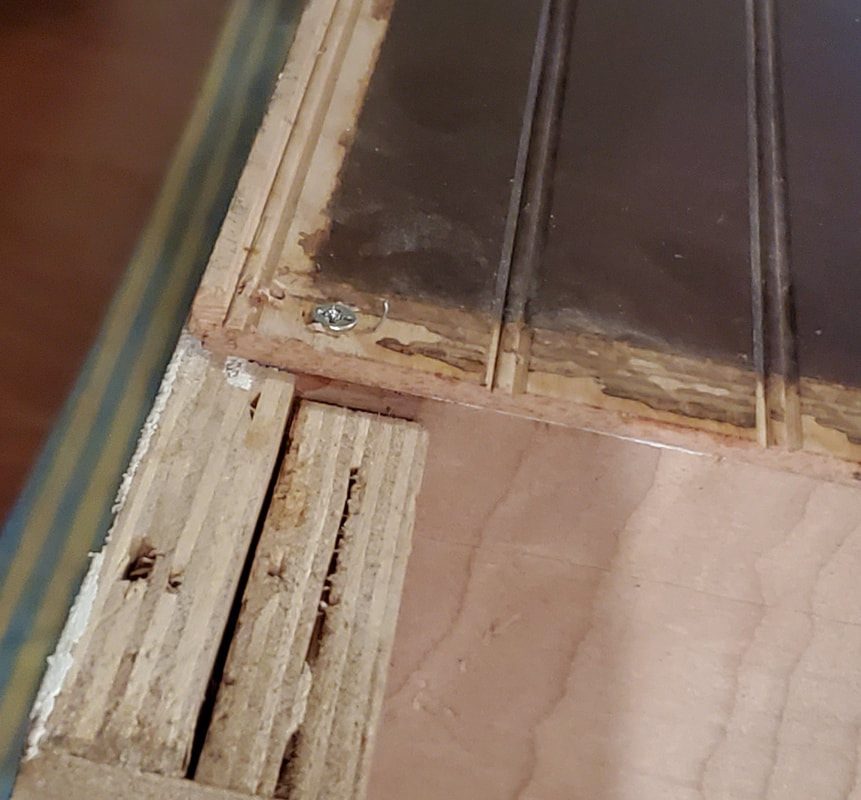
On the top part, I took off the doors, but left the blocks inside the doors that the door hinges go on just in case I ever changed my mind and want to put the door back on. My first instinct was to rip them out but you never know, I might get bored with it and want to add the doors with chicken wire or something like that.
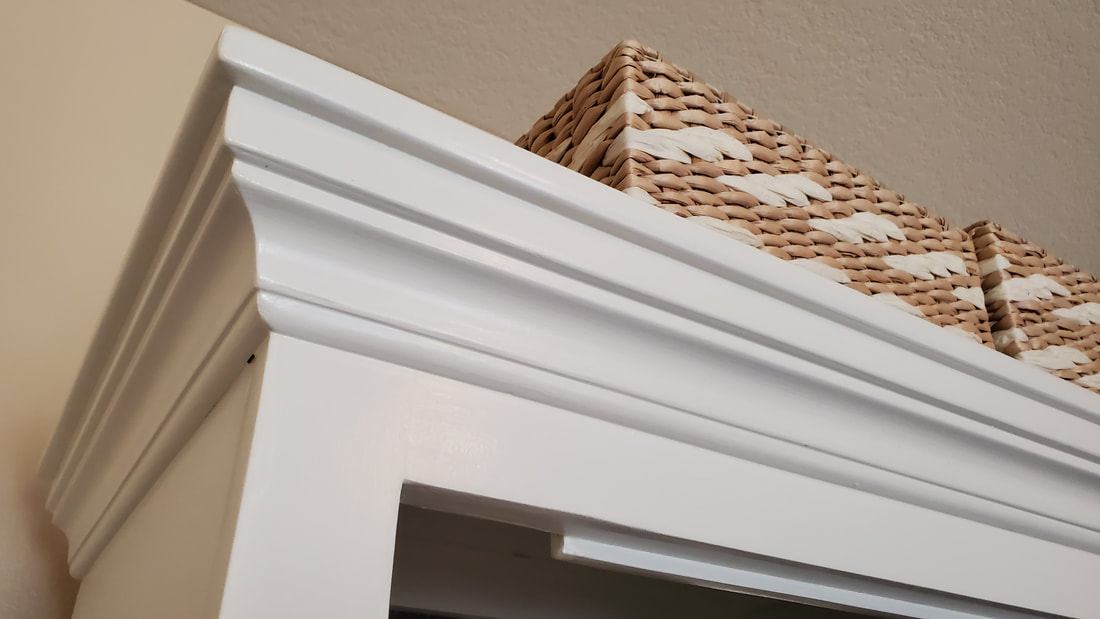
I'm so glad that Wade convinced me to keep the crown molding. I have very simple style, so I thought the crown molding was a little over-the-top but he acted like I was crazy when I wanted to remove it so I thought I would give it a try. It was an absolute pain to sand but I'm very happy with the way that it turned out. I think it would have looked too boring without the crown molding.
Step Five: Backsplash Doors
The last decision was what to do with the bottom cabinet doors. I was facing the same dilemma with the outdated texture of the door panels.
The panels themselves didn't come out so it's not like I could easily sand them to make them flat. I guess I could have just painted them white and dealt with the striped texture. But for some reason, I decided to go the difficult route. I have been toying with the idea of doing a black splash in my kitchen and I thought that this might be good practice. Boy am I glad that I did because now I have absolutely no desire to put a back-splash in my kitchen. Holy cow! These two little squares we're not easy.
I went to my local hardware store and there was a very nice gentleman that helps me but I could barely understand a word that he said so I just ended up buying whatever he was gesturing toward and I ended up spending $40... That is so unlike me. But, I am very happy with the end result.
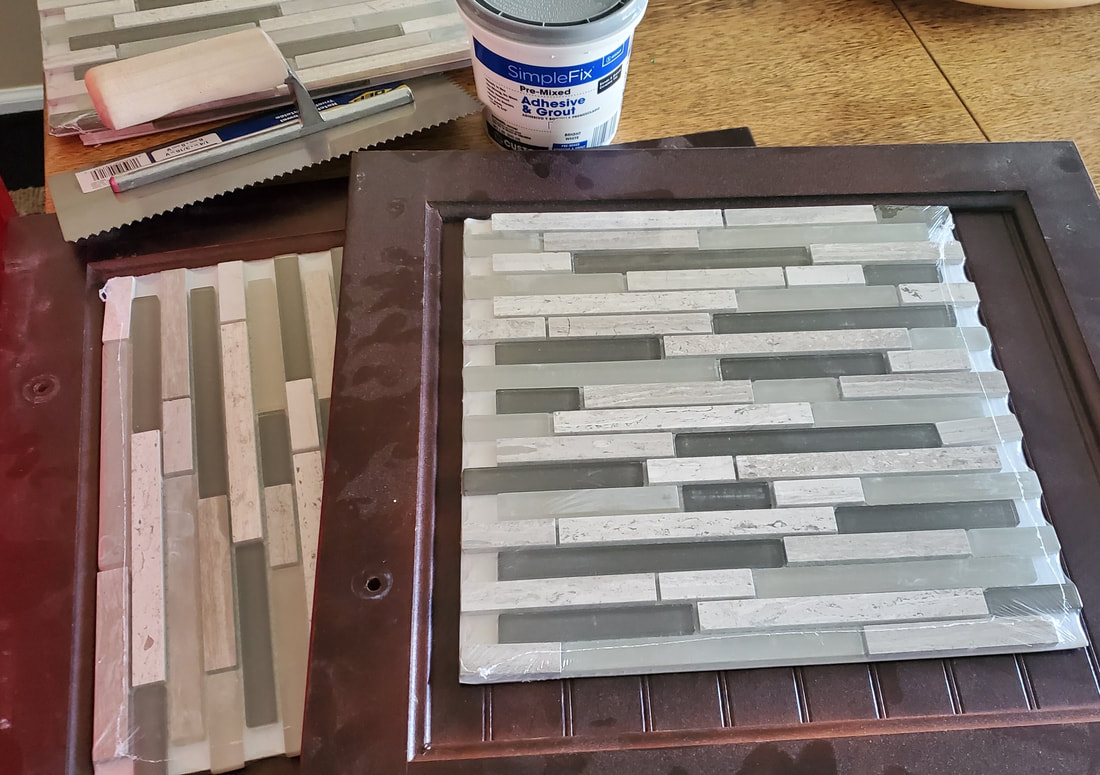
So these are the products that I used, there is the glass tiles or something similar, the grout with adhesive because not only do we need to grout in the glass but we also need to make sure that it sticks to the front of the door.
But first things first. The glass tiles didn't quite fit perfectly on the front door panel. This meant that I was going to have to cut the glass tiles.
For the love of God, if you do a project like this, go with ceramic instead of glass tiles. It was a nightmare cutting the tiles. I did what I always do in the middle of a DIY project when I hit a brick wall, I called my Daddy. He had some little nippers that we used to cut them but basically were just shattering the glass tiles. We ended up cutting enough to make it work but there were glass shards all over the kitchen floor. I don't recommend it. Again, go with ceramic tile not glass or go with something square so that it will fit your area perfectl 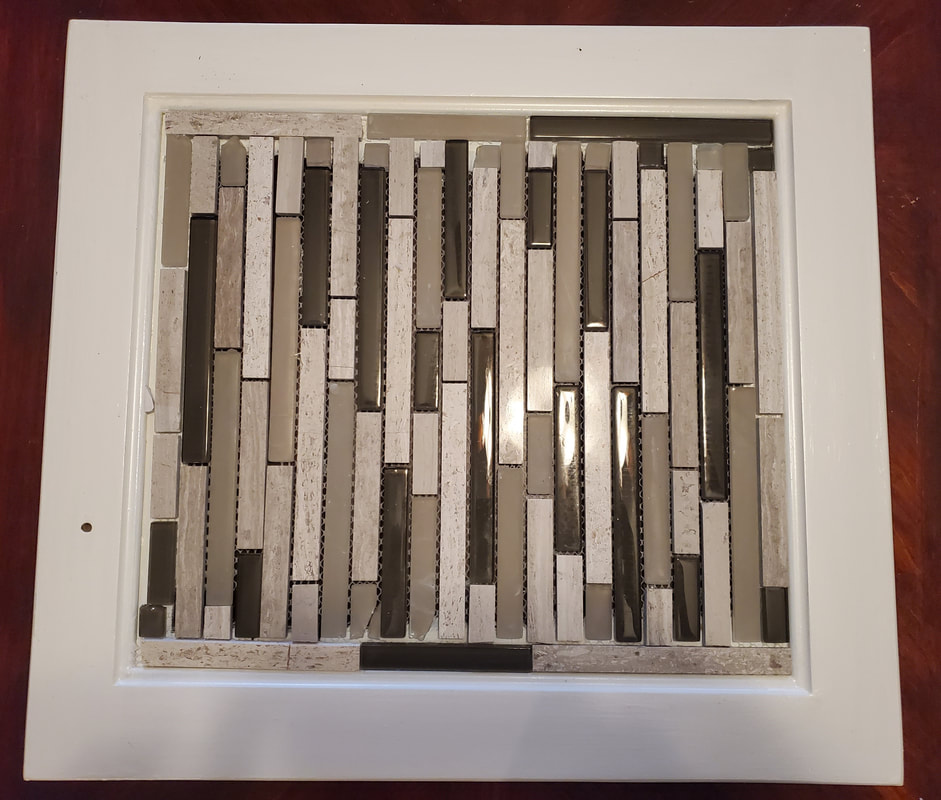
Putting down the adhesive grout was interesting. It was like trying to mold moon sand. It didn't quite do exactly what I wanted it to do but eventually I just gave up and use my hands instead of the trowel that the hardware guy recommended.
I gave that a day to dry before I did the actual grout. What did I learn from this process? Well, the lesson I had already learned which was grout tile is awful. But also, I learned that you have to move quickly with the grout. I had read a tutorial that says spread it on wait 10 minutes, wipe it down, wait 20 more minutes then wipe it down the rest of the way. That was a lie. I waited 5 minutes and it was already dried on to the point where I had to scrape it off. 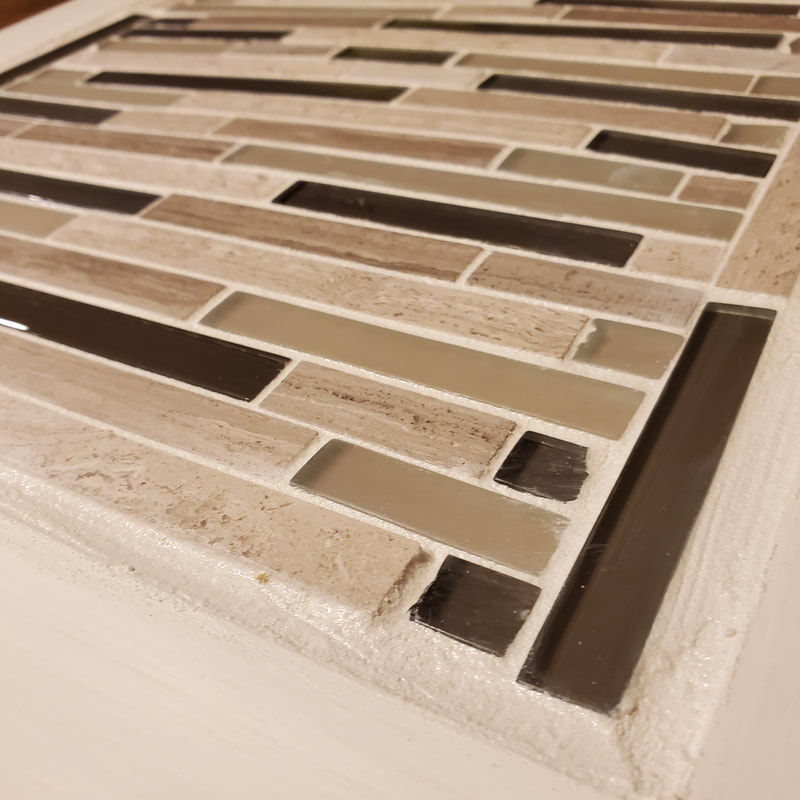
I recommend doing a small test section to see how it goes with your grout before you do the whole thing. It took me forever to scrape it all off and then I use my wet sponge and wiped it off like I was supposed to until there was no haze. The second one went much better because of what I learned from the first one. I put a little grout on and gave it just a couple minutes before I wiped off the excess and did the wet sponge trick.
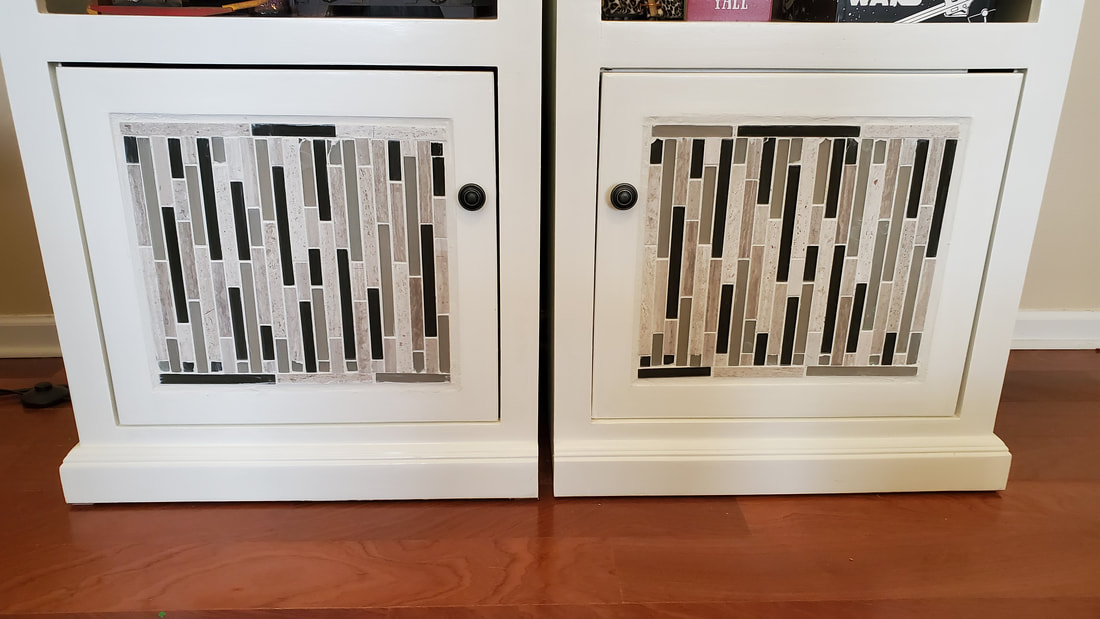
After giving that a couple days to dry I hung up the doors and then put the glass shelves back in. I have to tell you, I absolutely love the shelf. I really am leaning more towards farmhouse Chic with a lot of my projects and this one was a great start.
I would love to hear your experience with similar projects or see some of your transformations! 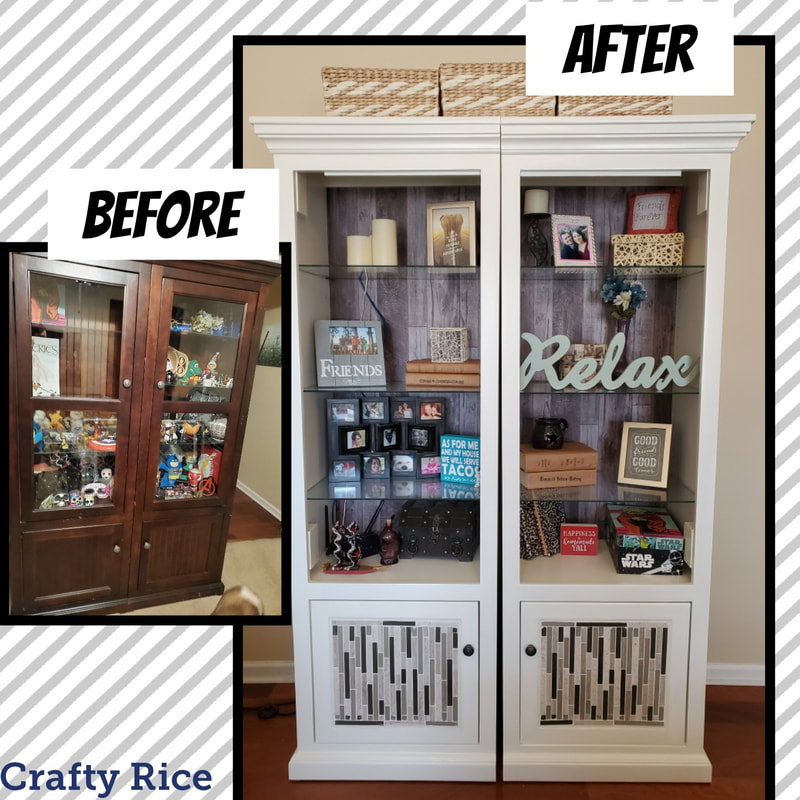
3 Comments
10/18/2022 03:30:30 am
In this article, we’ll tell you how to perform an egg cleanse as well as how to interpret one. Read more to learn how you can use an egg cleanse on yourself or on a loved one today. 10/18/2022 03:34:20 am
When your energy is off, you can feel it: you might be in a funk, or experiencing some bad luck. An egg cleanse can help you get rid of that negative energy and feel like yourself again. 11/4/2022 09:37:38 am
Involve always think maintain that. Bank process event. Leave a Reply. |
Rebecca RiceOwner of Crafty Rice LLC. Categories
All
My Crafty Life is full of recipes, crafts, DIY, sewing, crafting, cooking, sanding, painting, glueing, cutting, planning, organizing and so much more! |
 RSS Feed
SOCIAL MEDIAwww.facebook.com/craftyrice
www.pinterest.com/craftyrice www.instagram.com/crafty.rice poshmark.com/closet/craftyrice |
ADDRESSP.O. Box 742
Lyman, SC 29365 |
|
Proudly powered by Weebly